I still have plans on printing the comic to microfiche, as well as to waterproof paper when I'm rich enough... give those time.
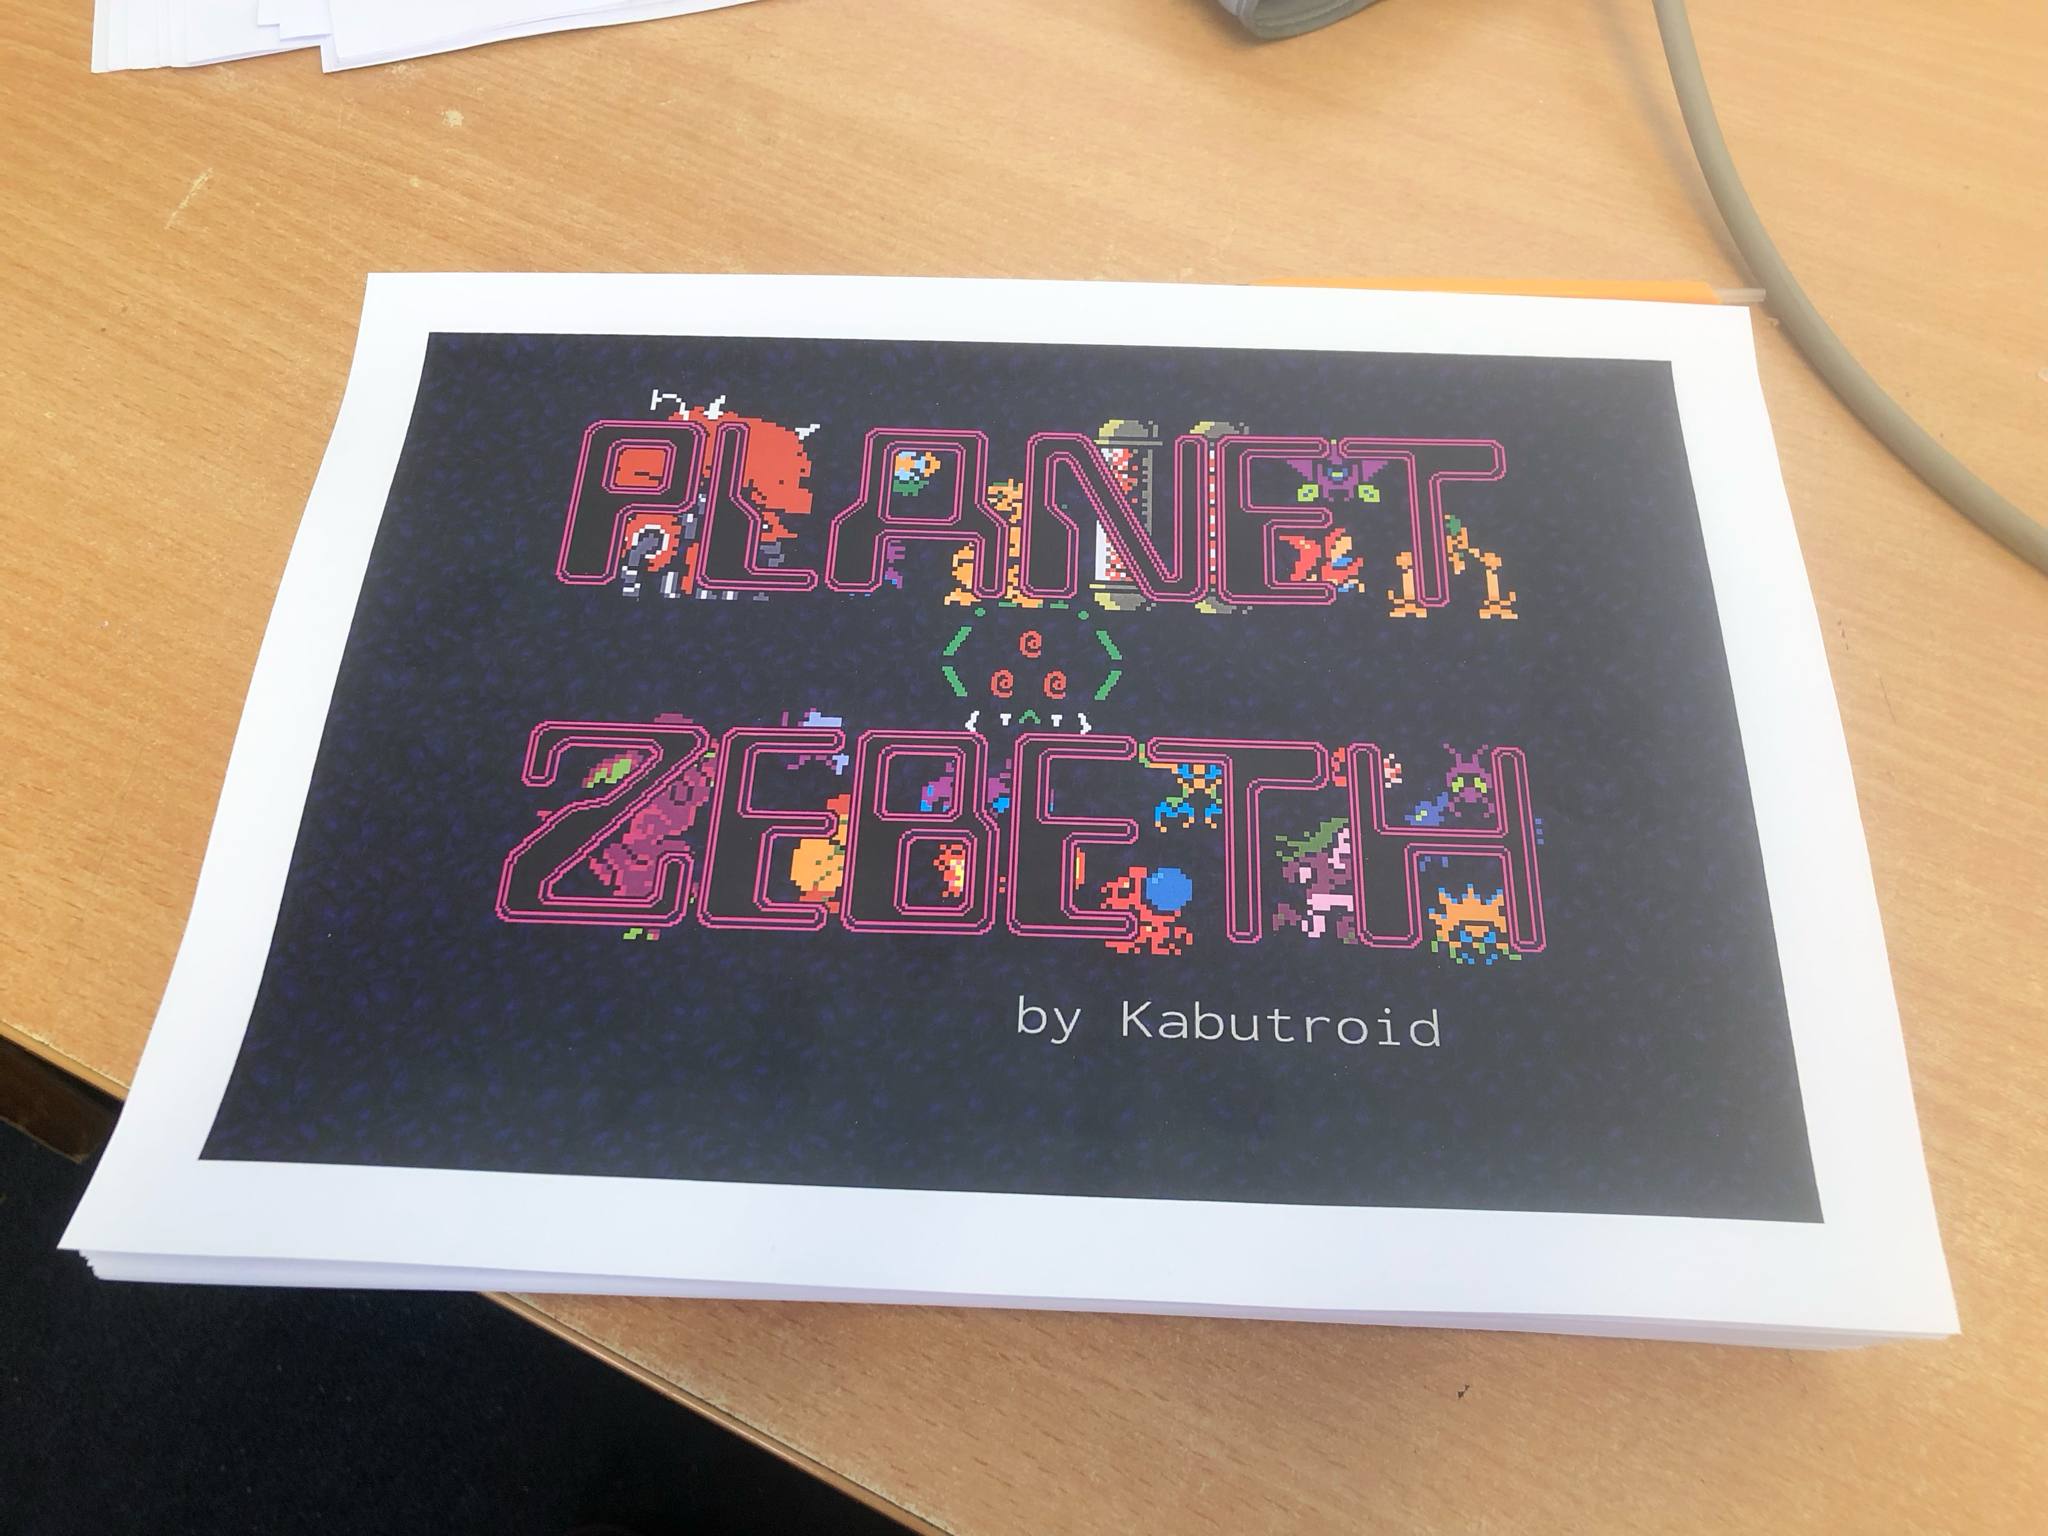
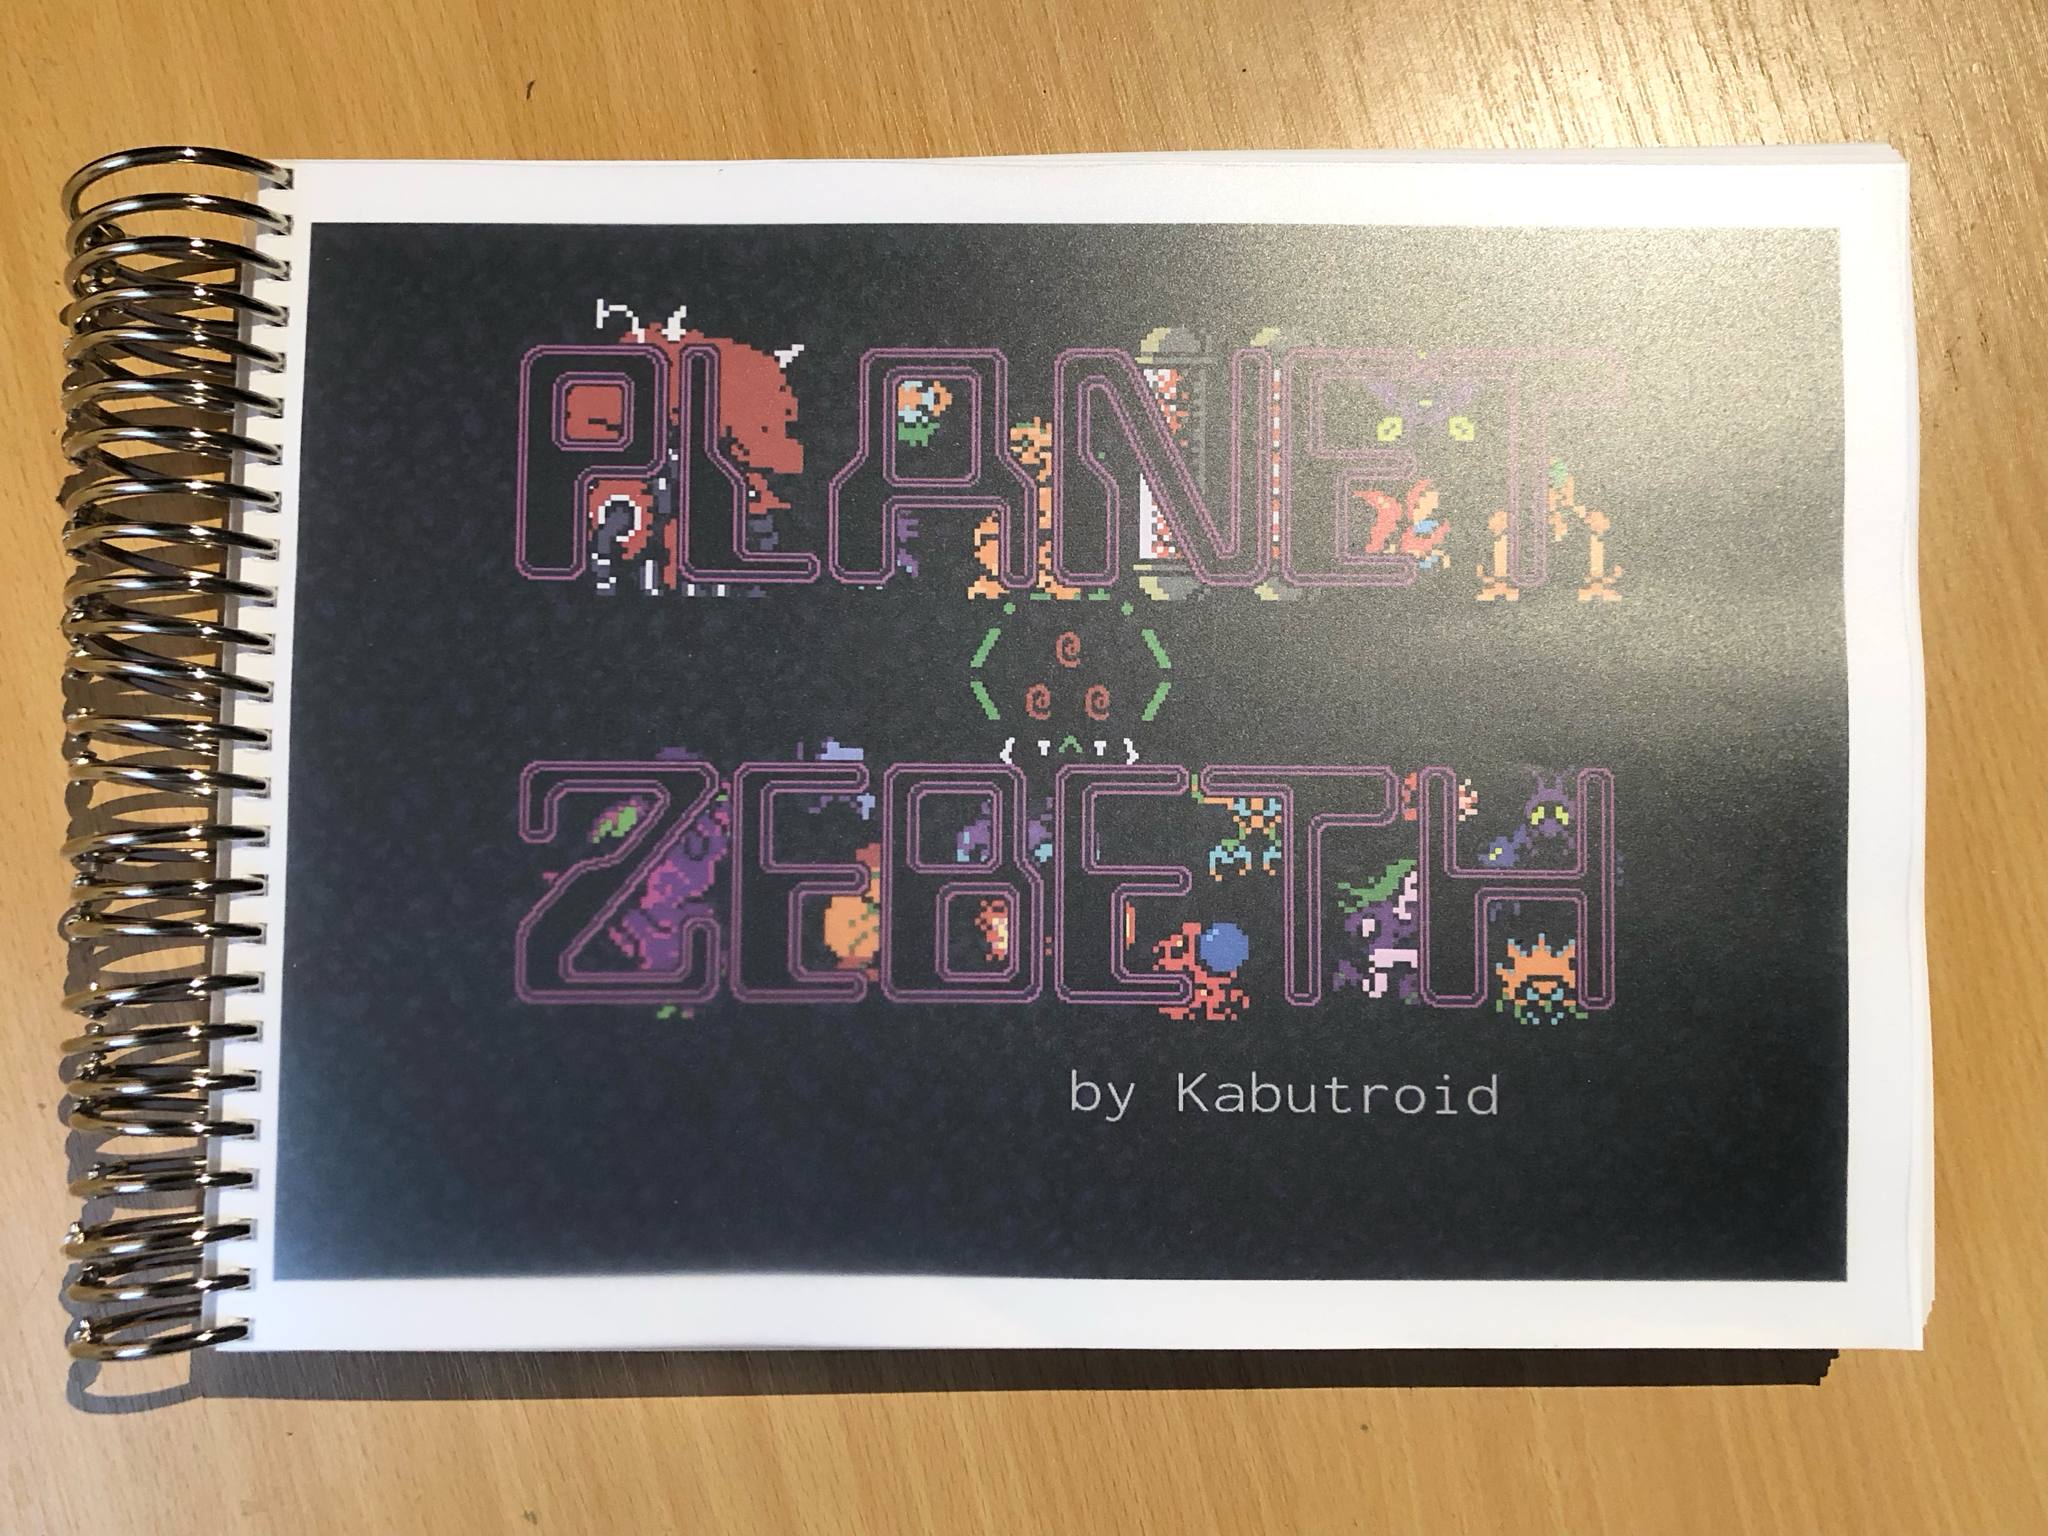
For the present though, and available for everyone to do, we have printed Zebeth! On regular paper!
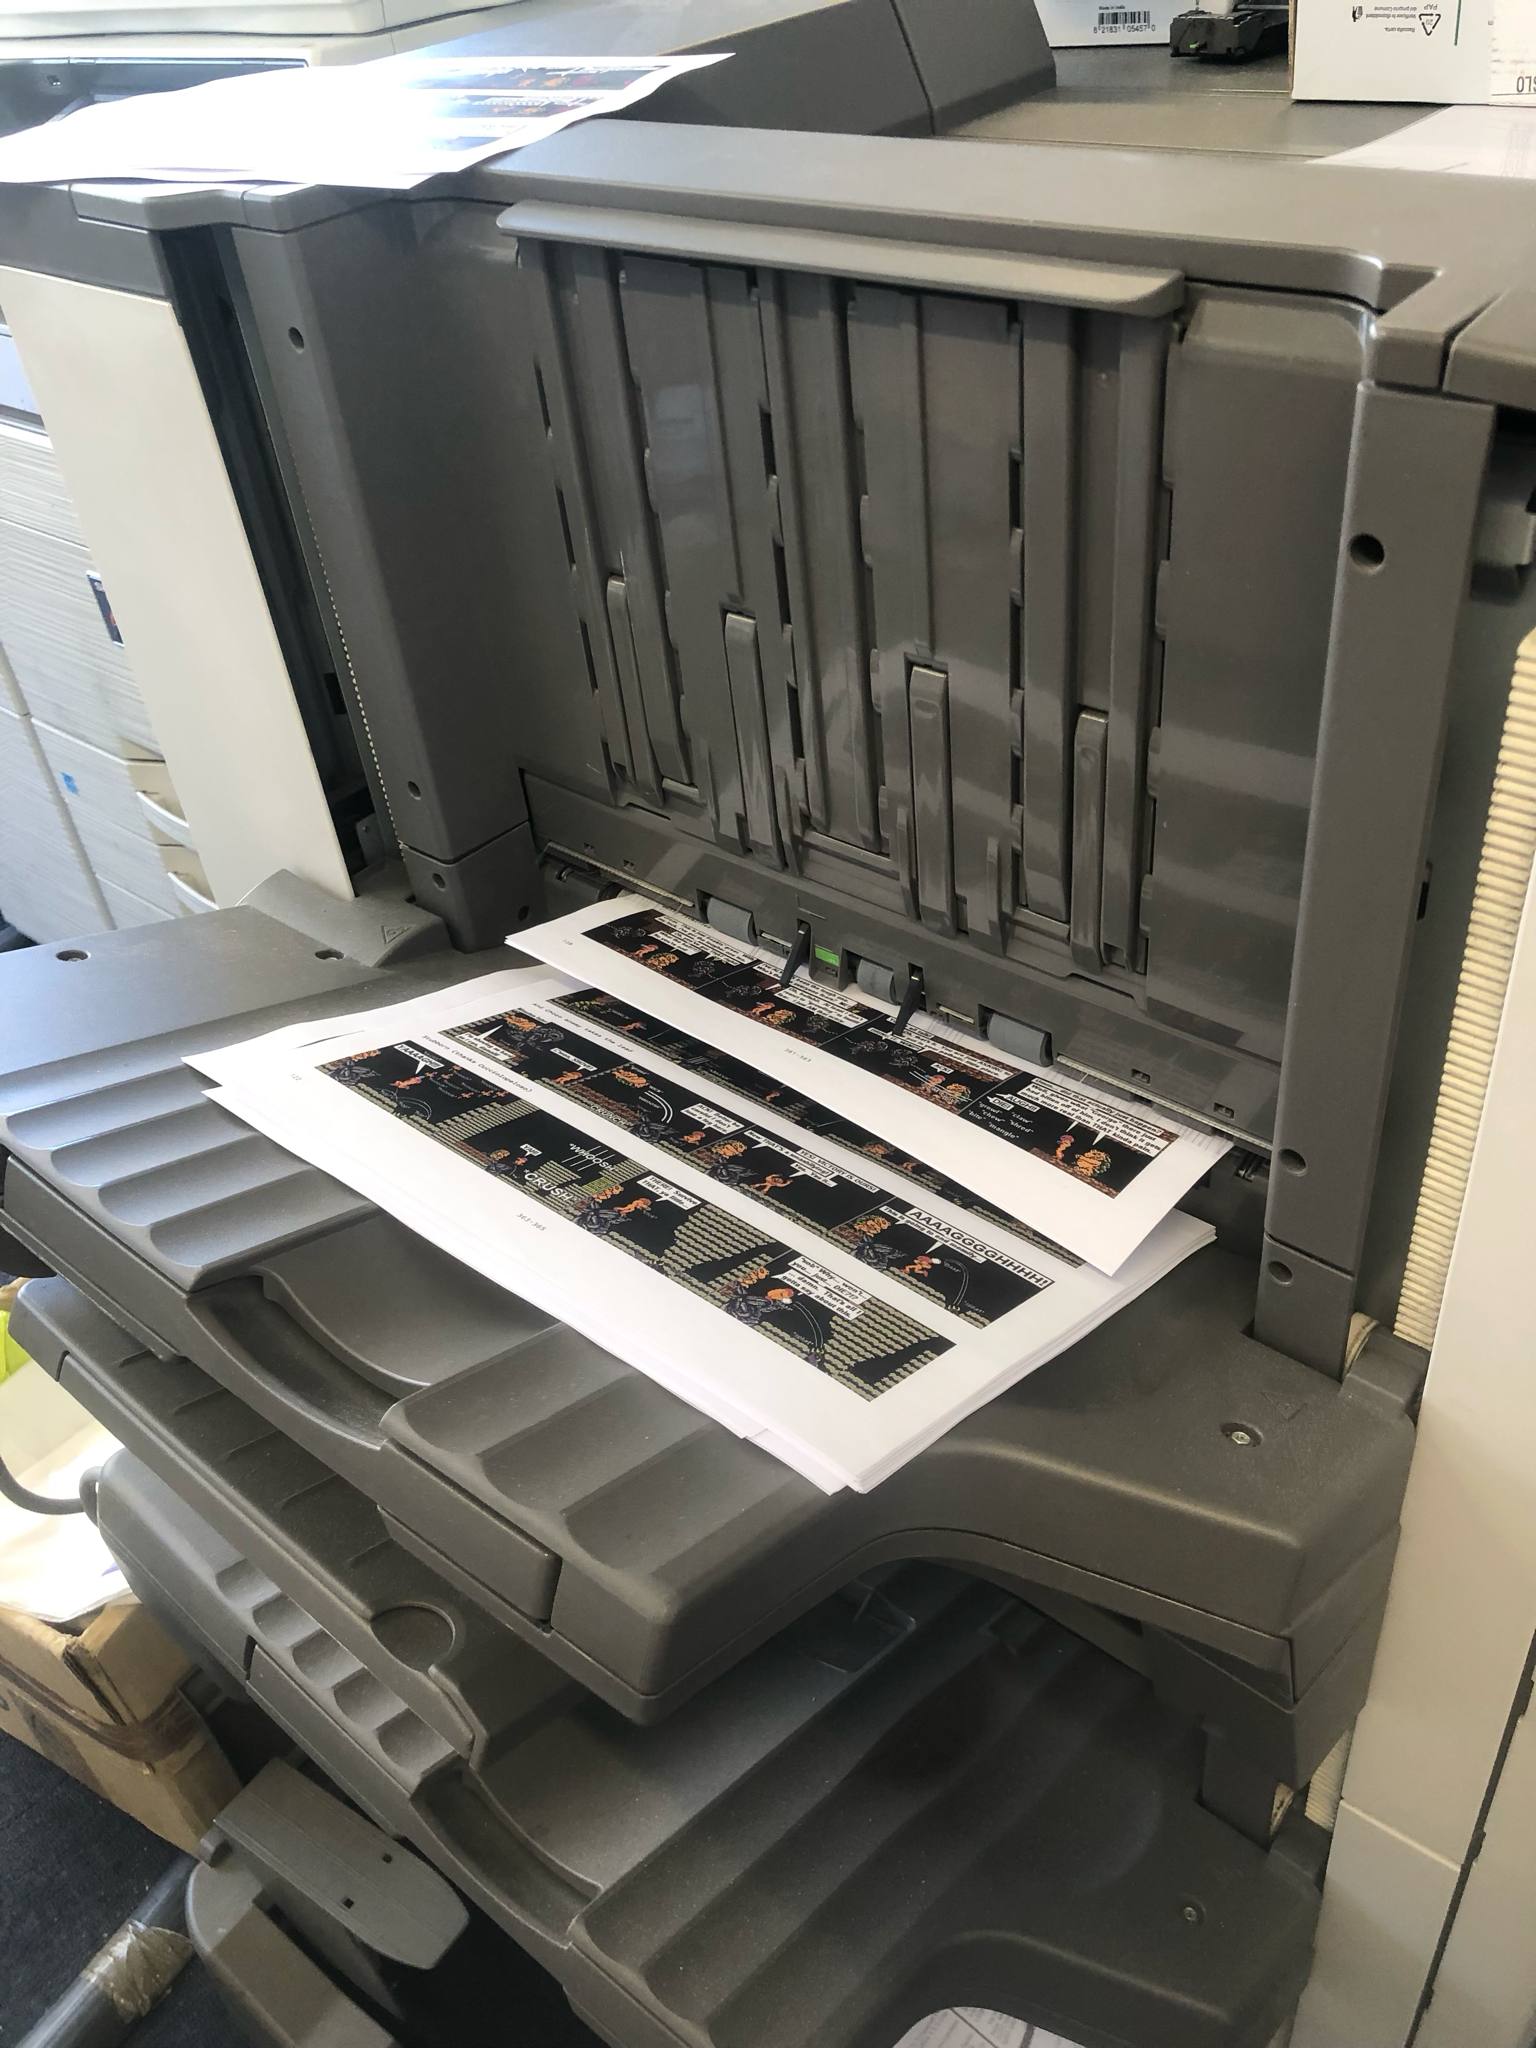
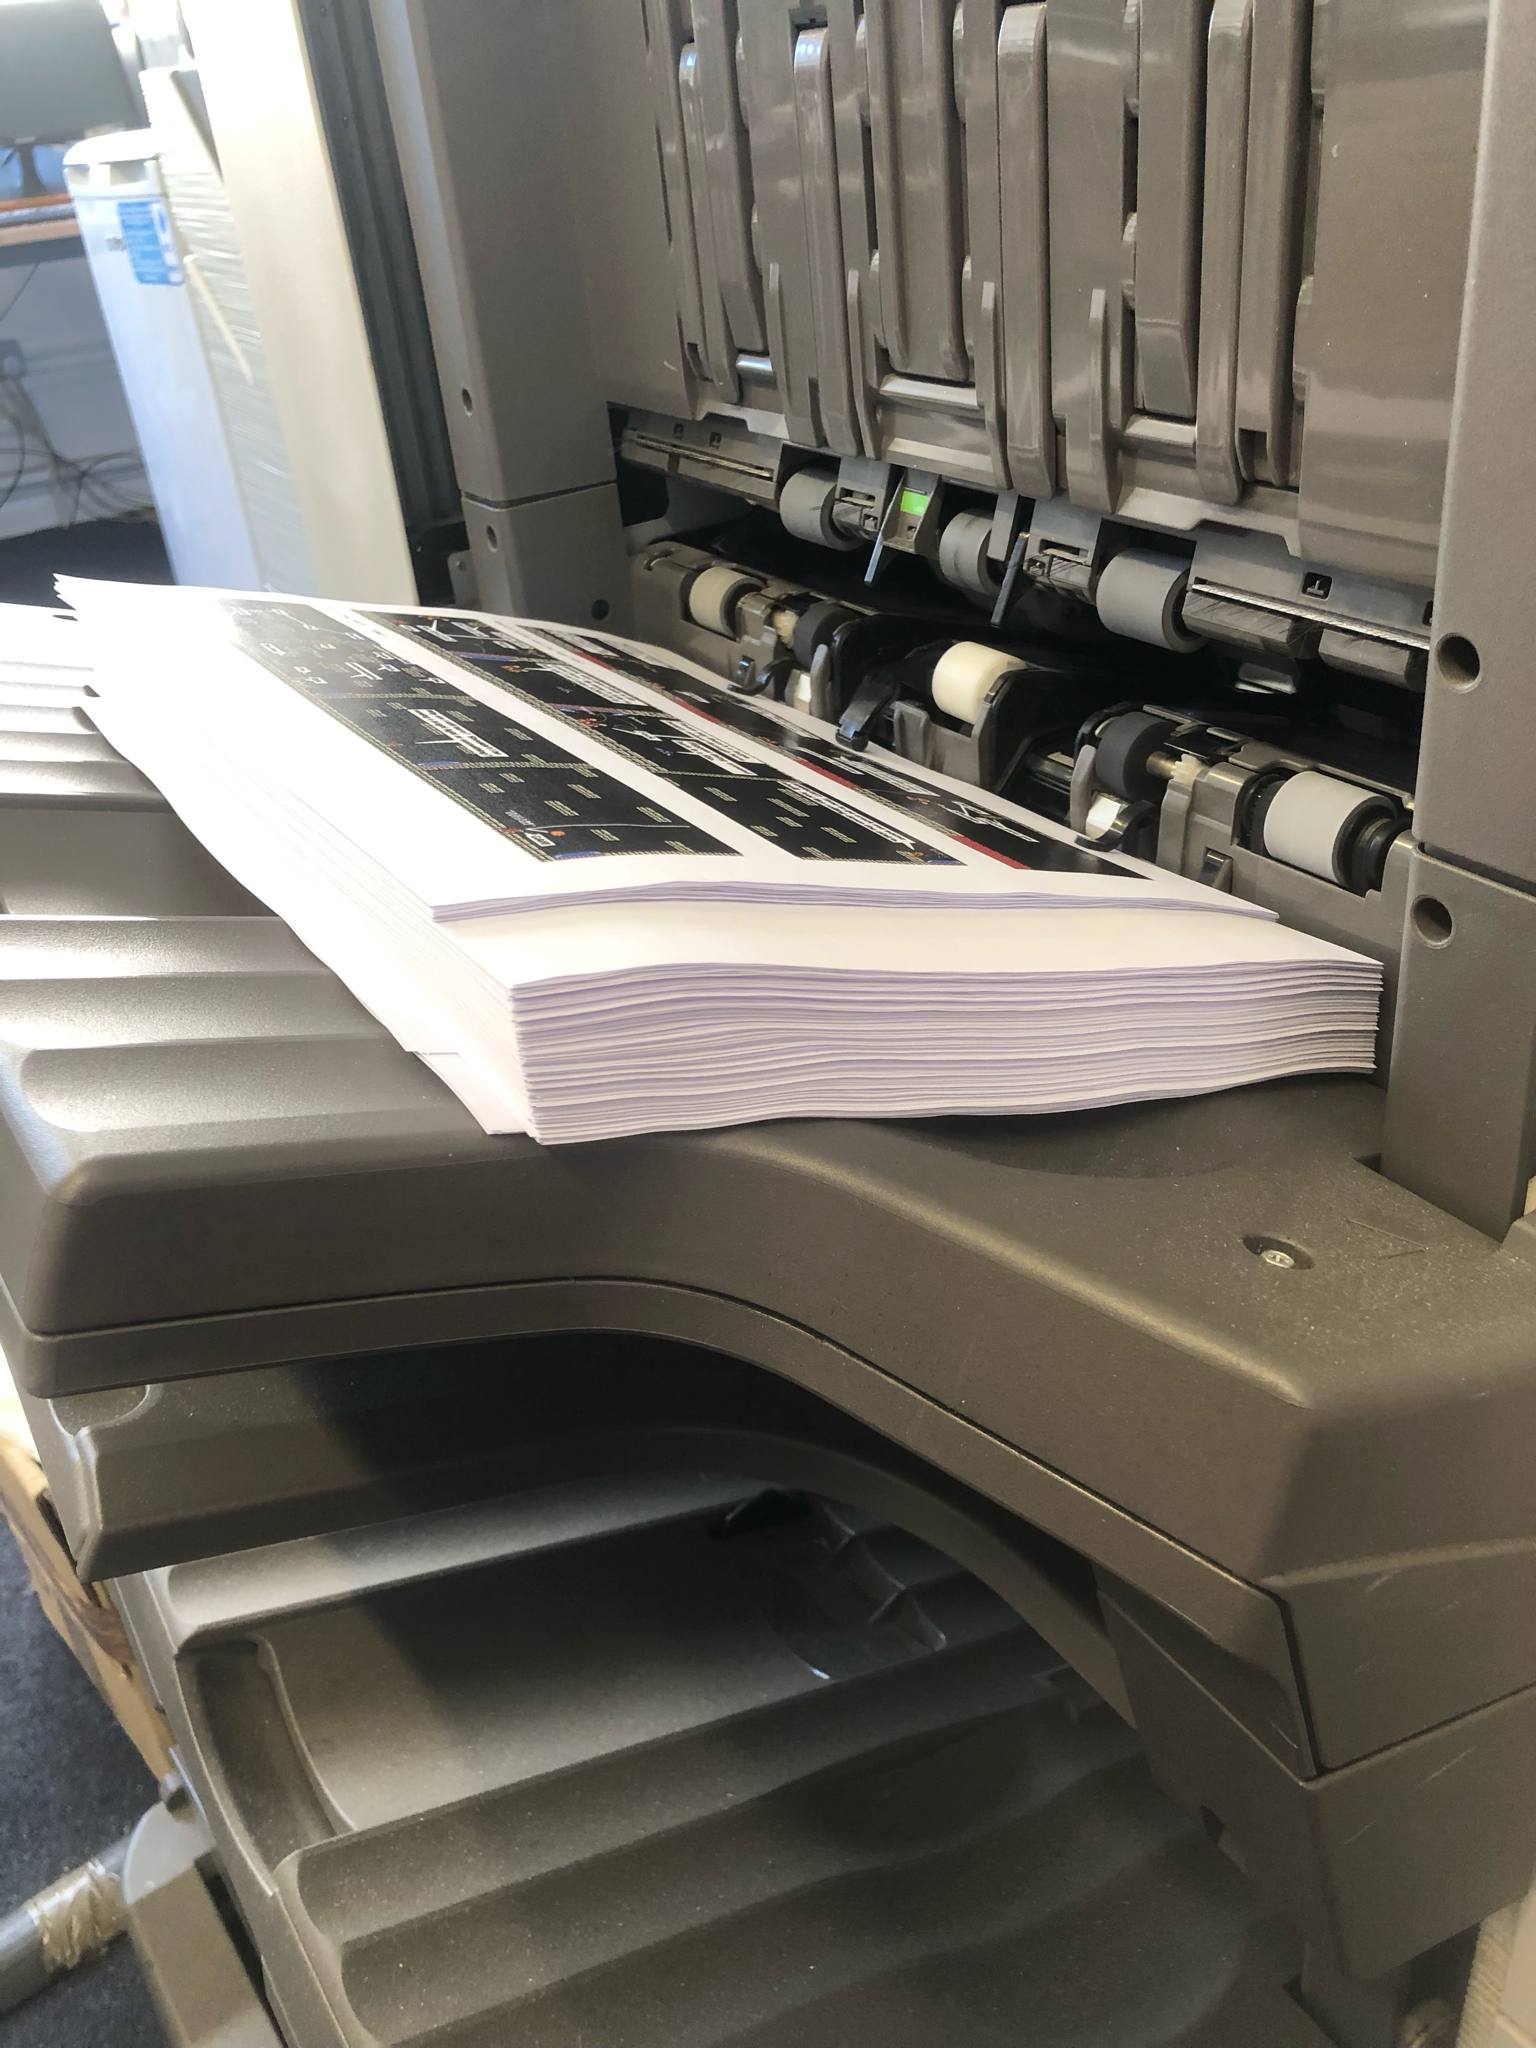
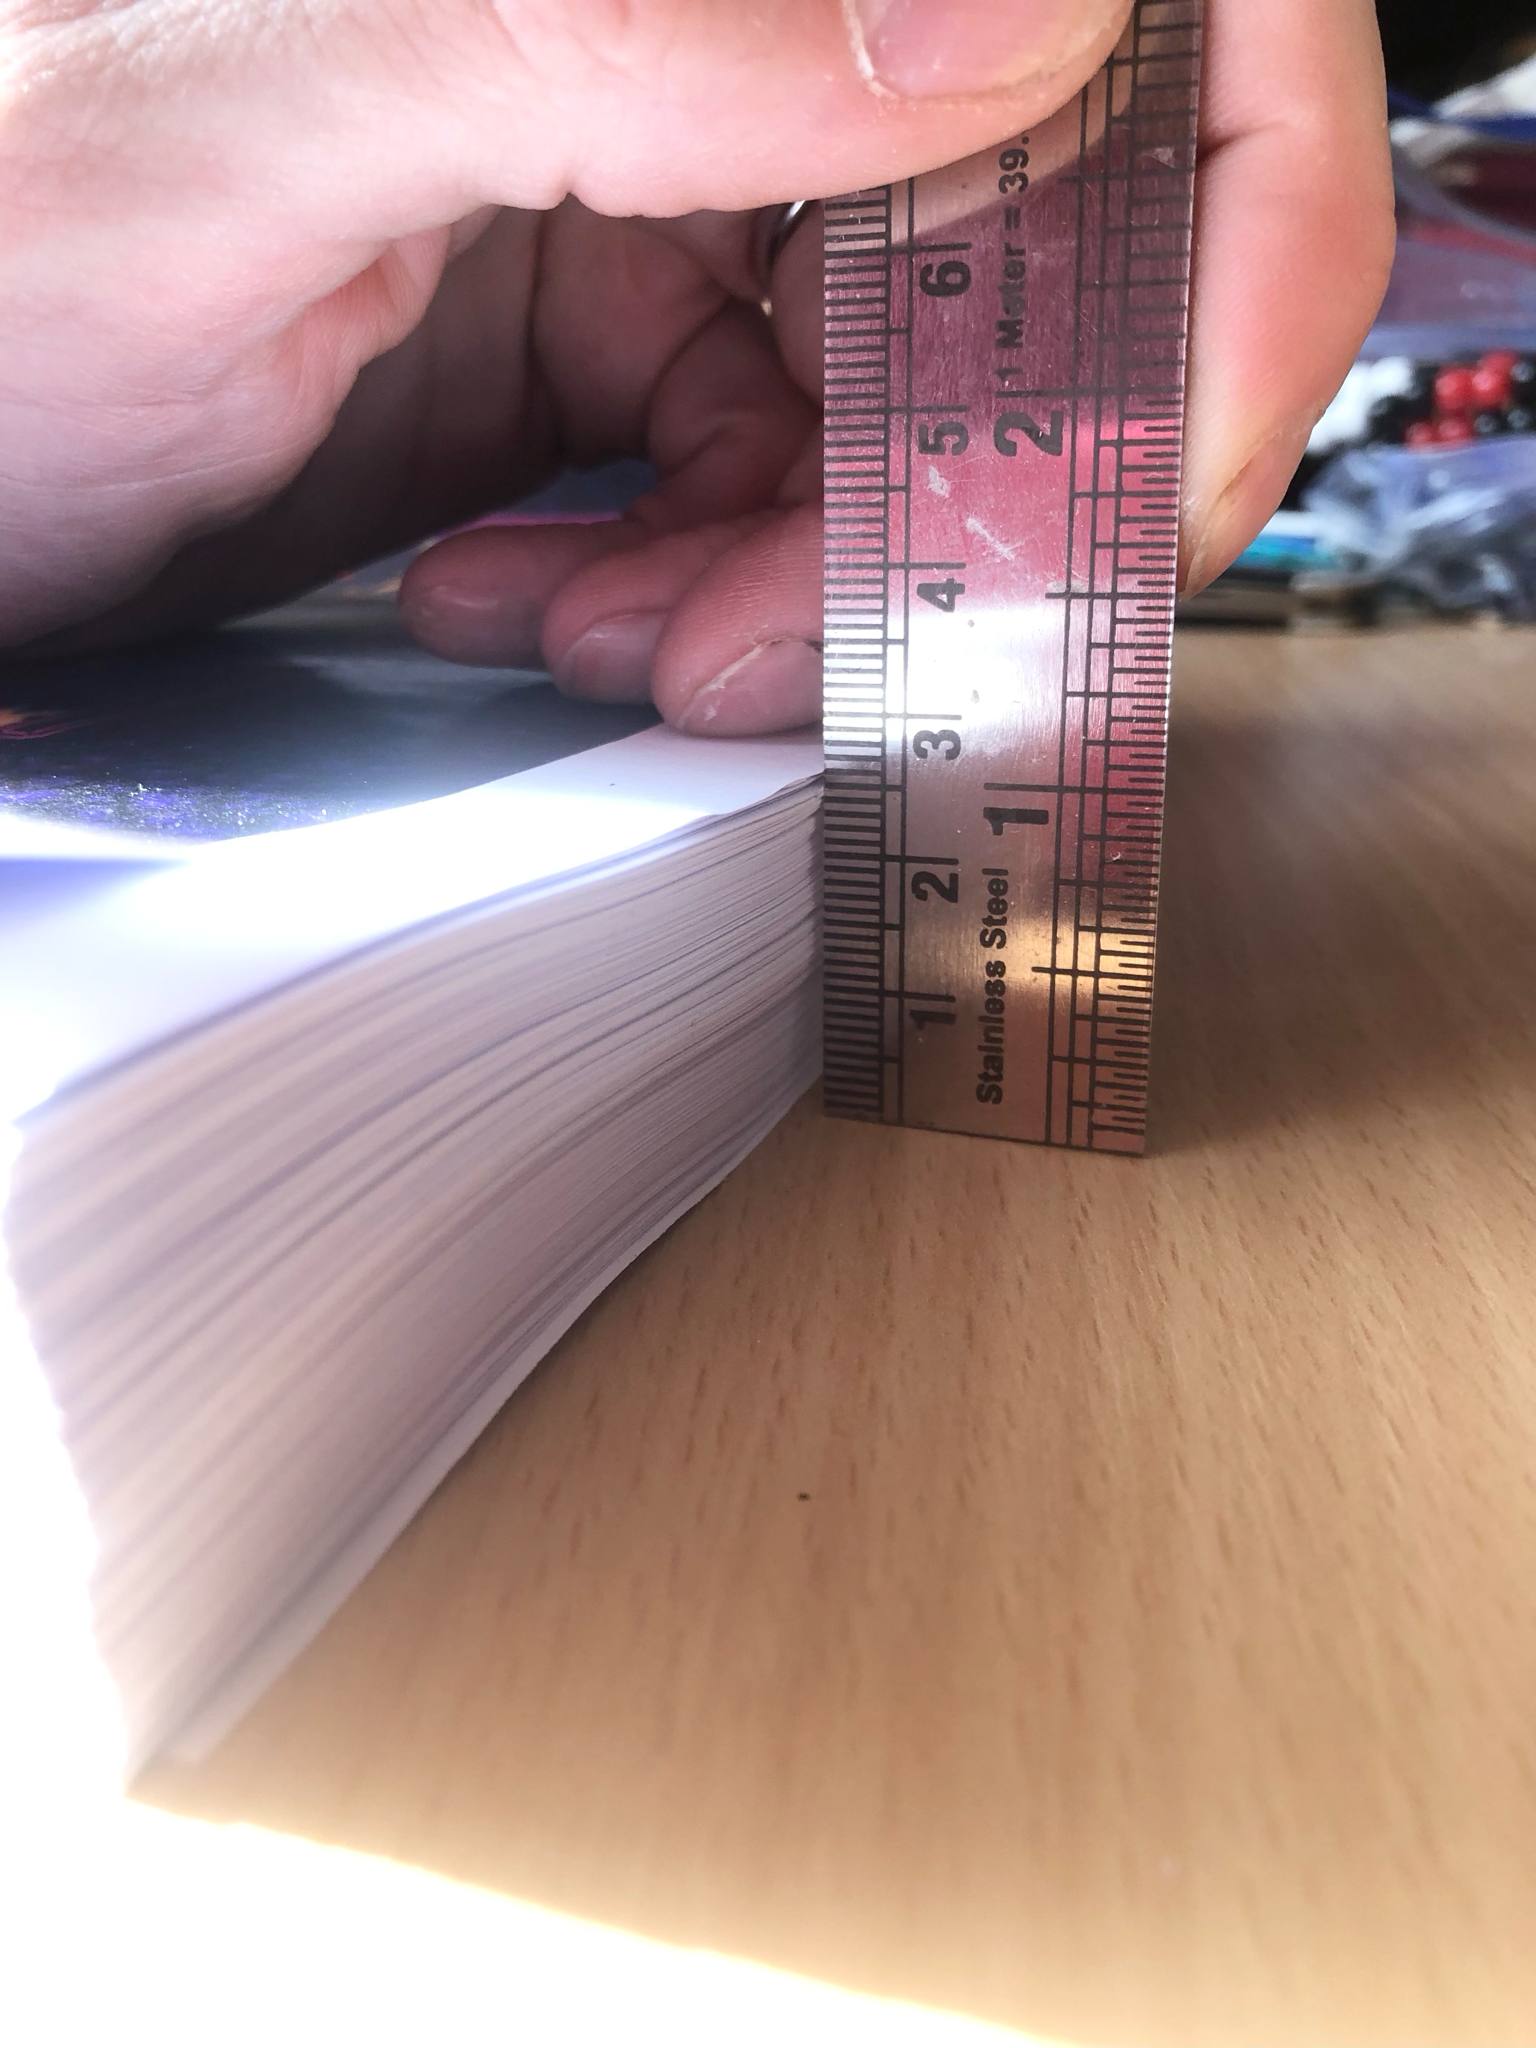
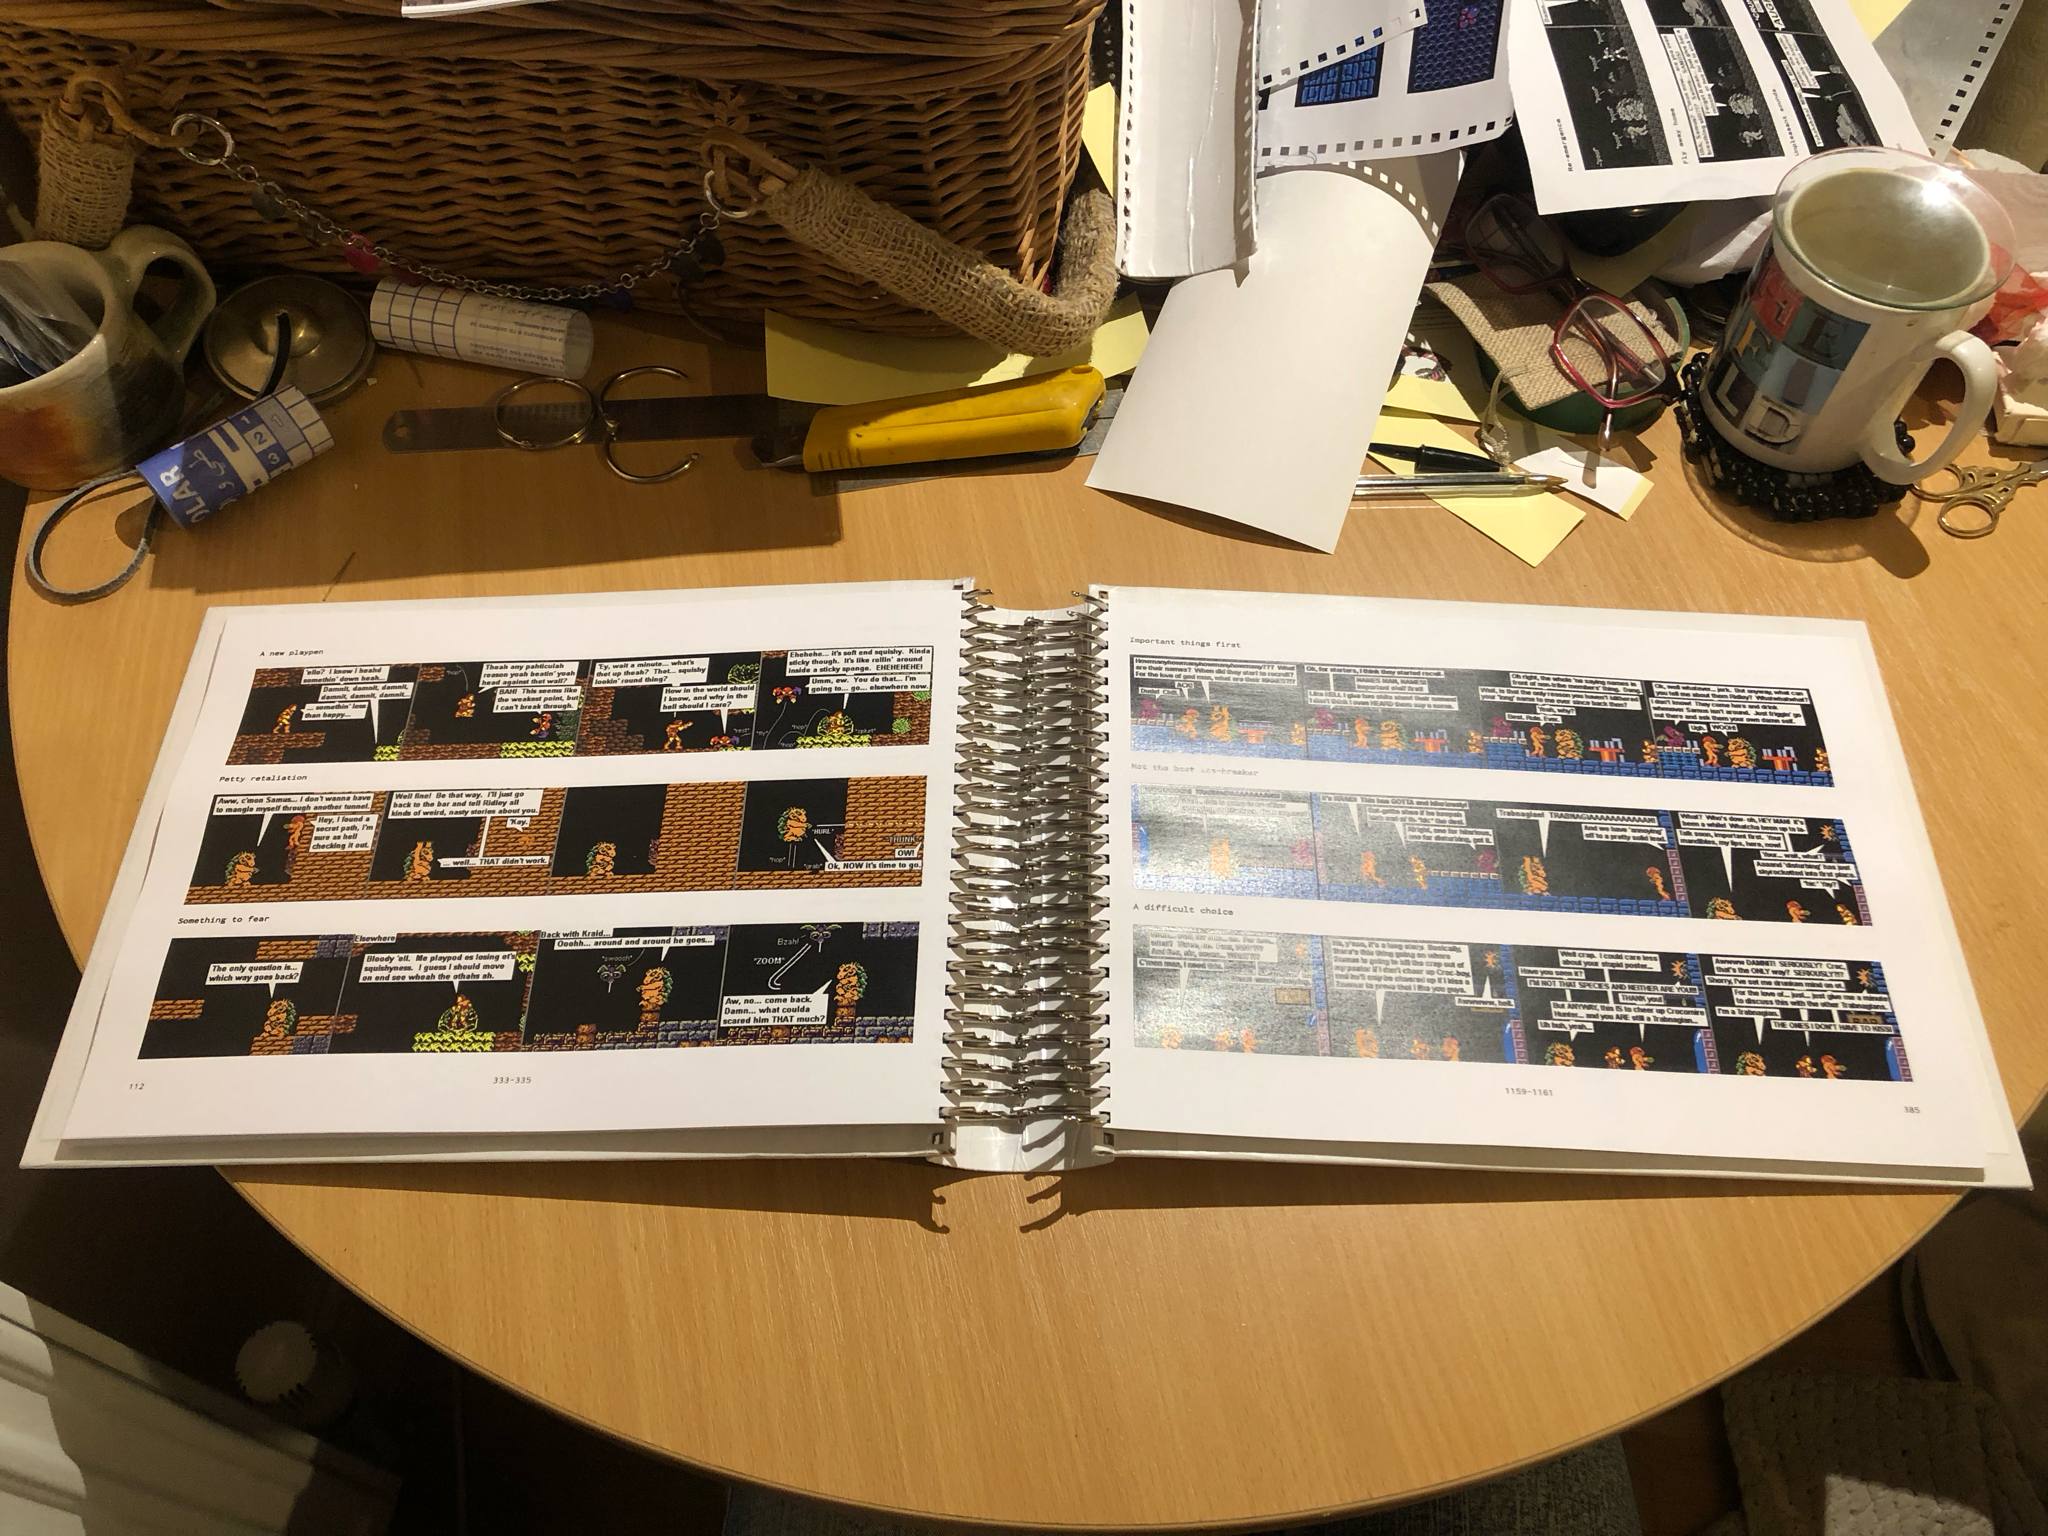
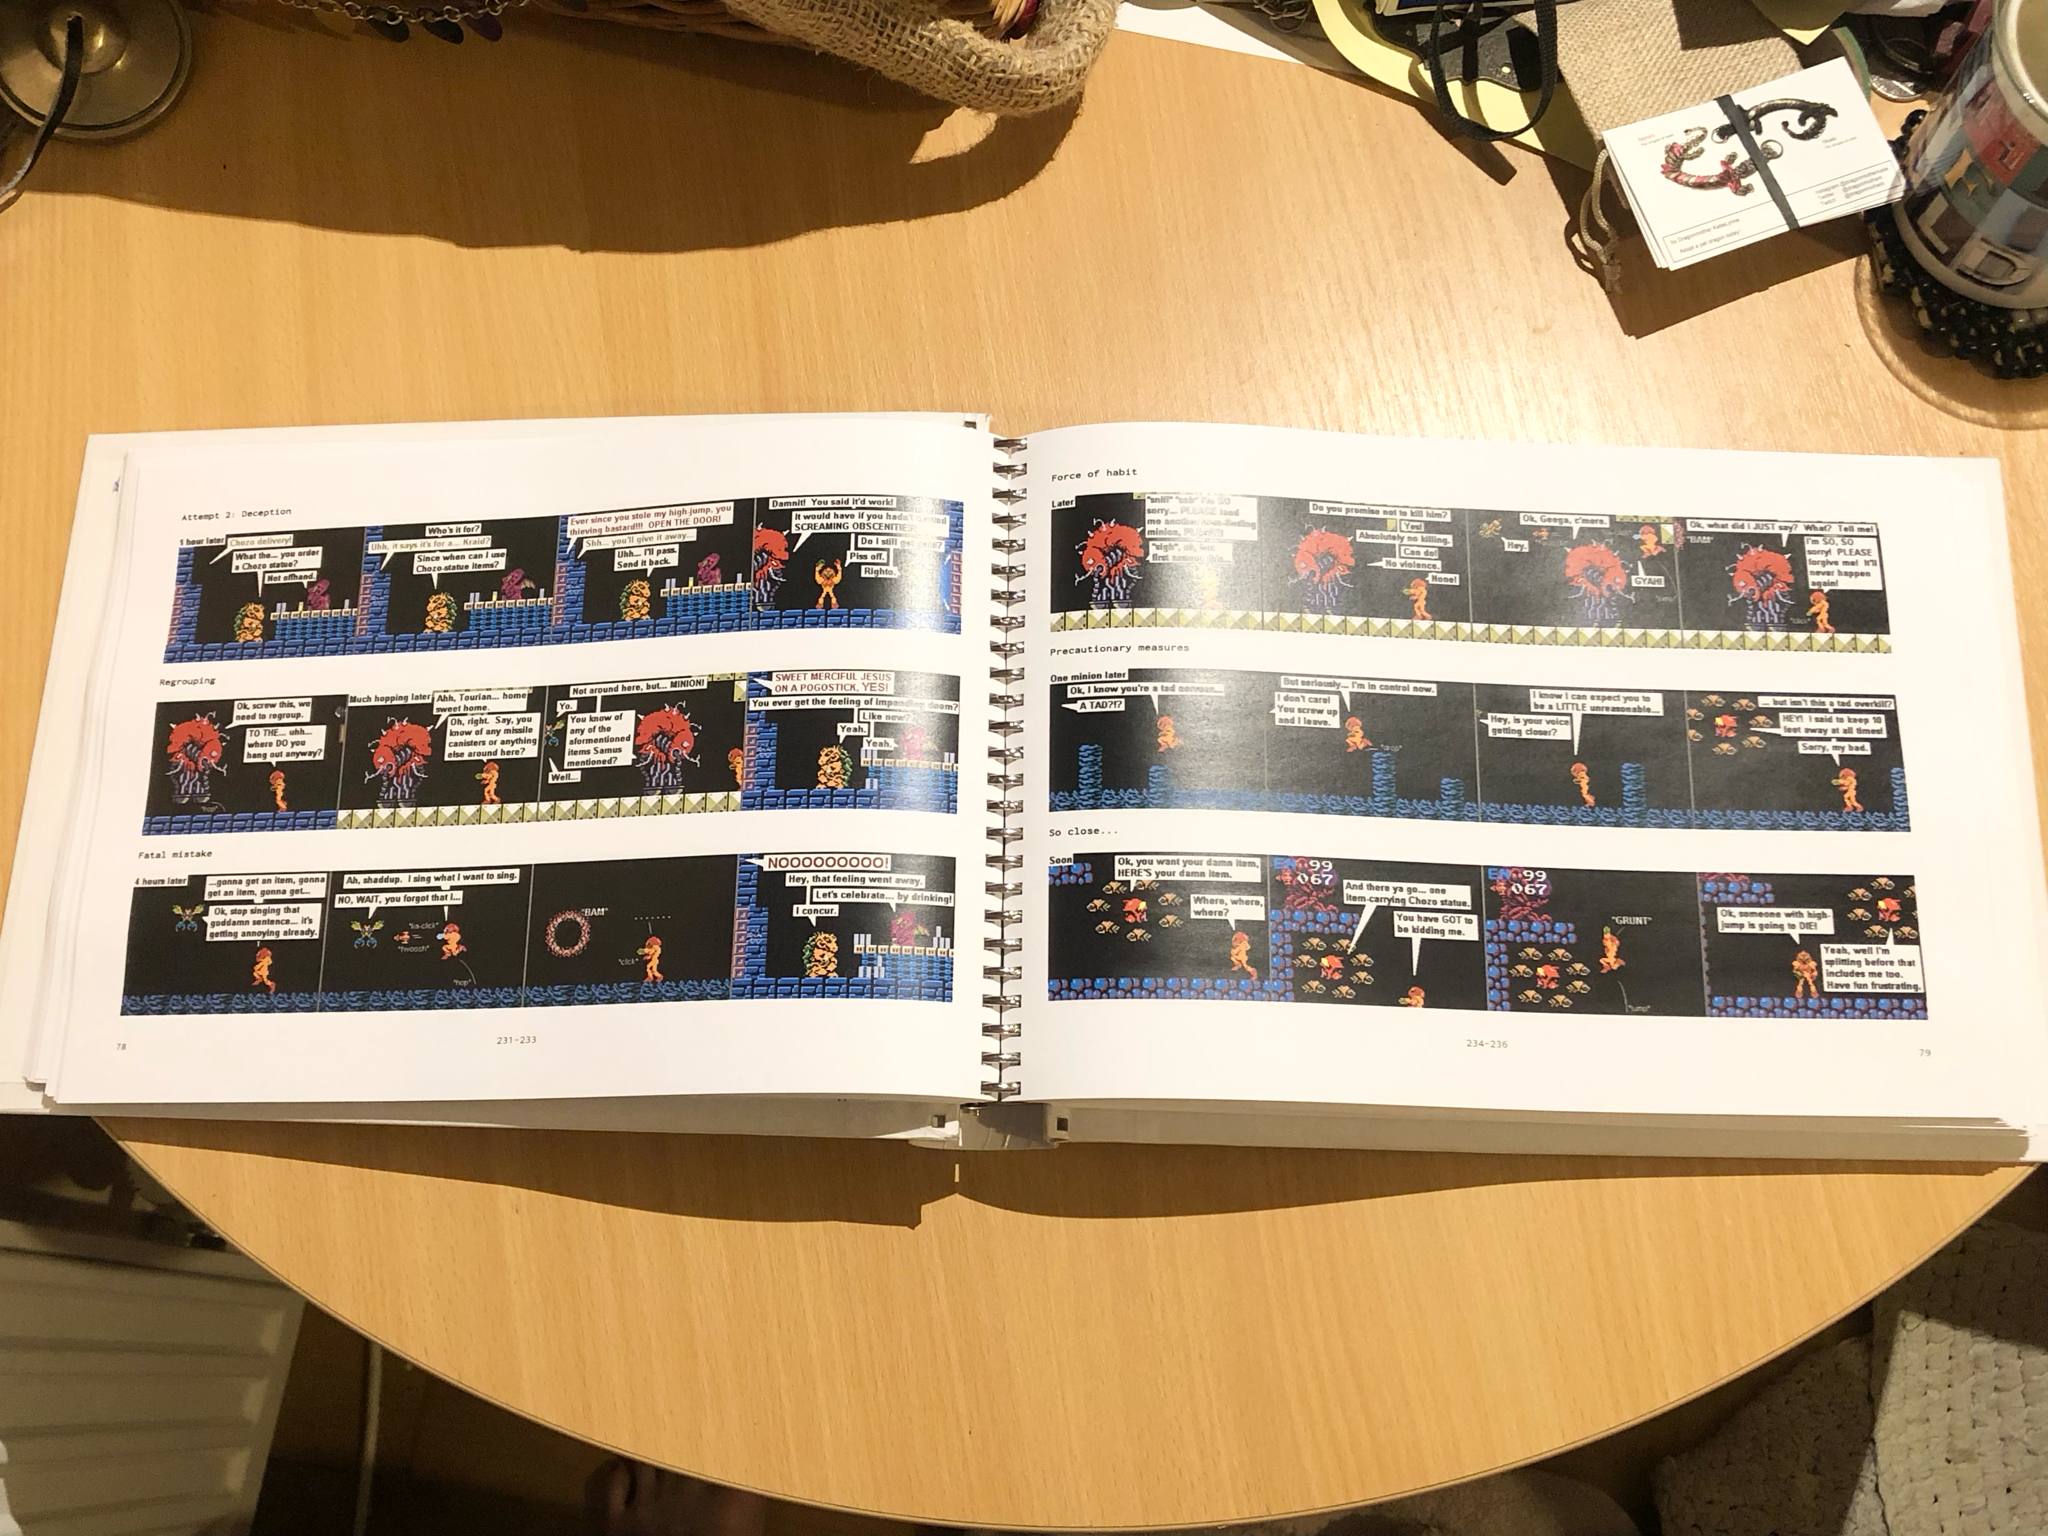
Yah, check out that link, Zebeth is finally in an easily printable format! Landscape format .PDF files with three comics to a page (usually), all 1300+ comics (and being added to as new comics come up) in a total of 475 (as of April 2025) pages! Yah, bulk printing is a lot cheaper now, and printing the whole shebang cost me about £65, just look up the cheapest colour printing available in your city. I had my own 32 hole punch (less here since this is landscape) for a coil binding if I wanted, but we need to be able to add new pages as new comics continue coming up (and being added to the latest .PDF section).
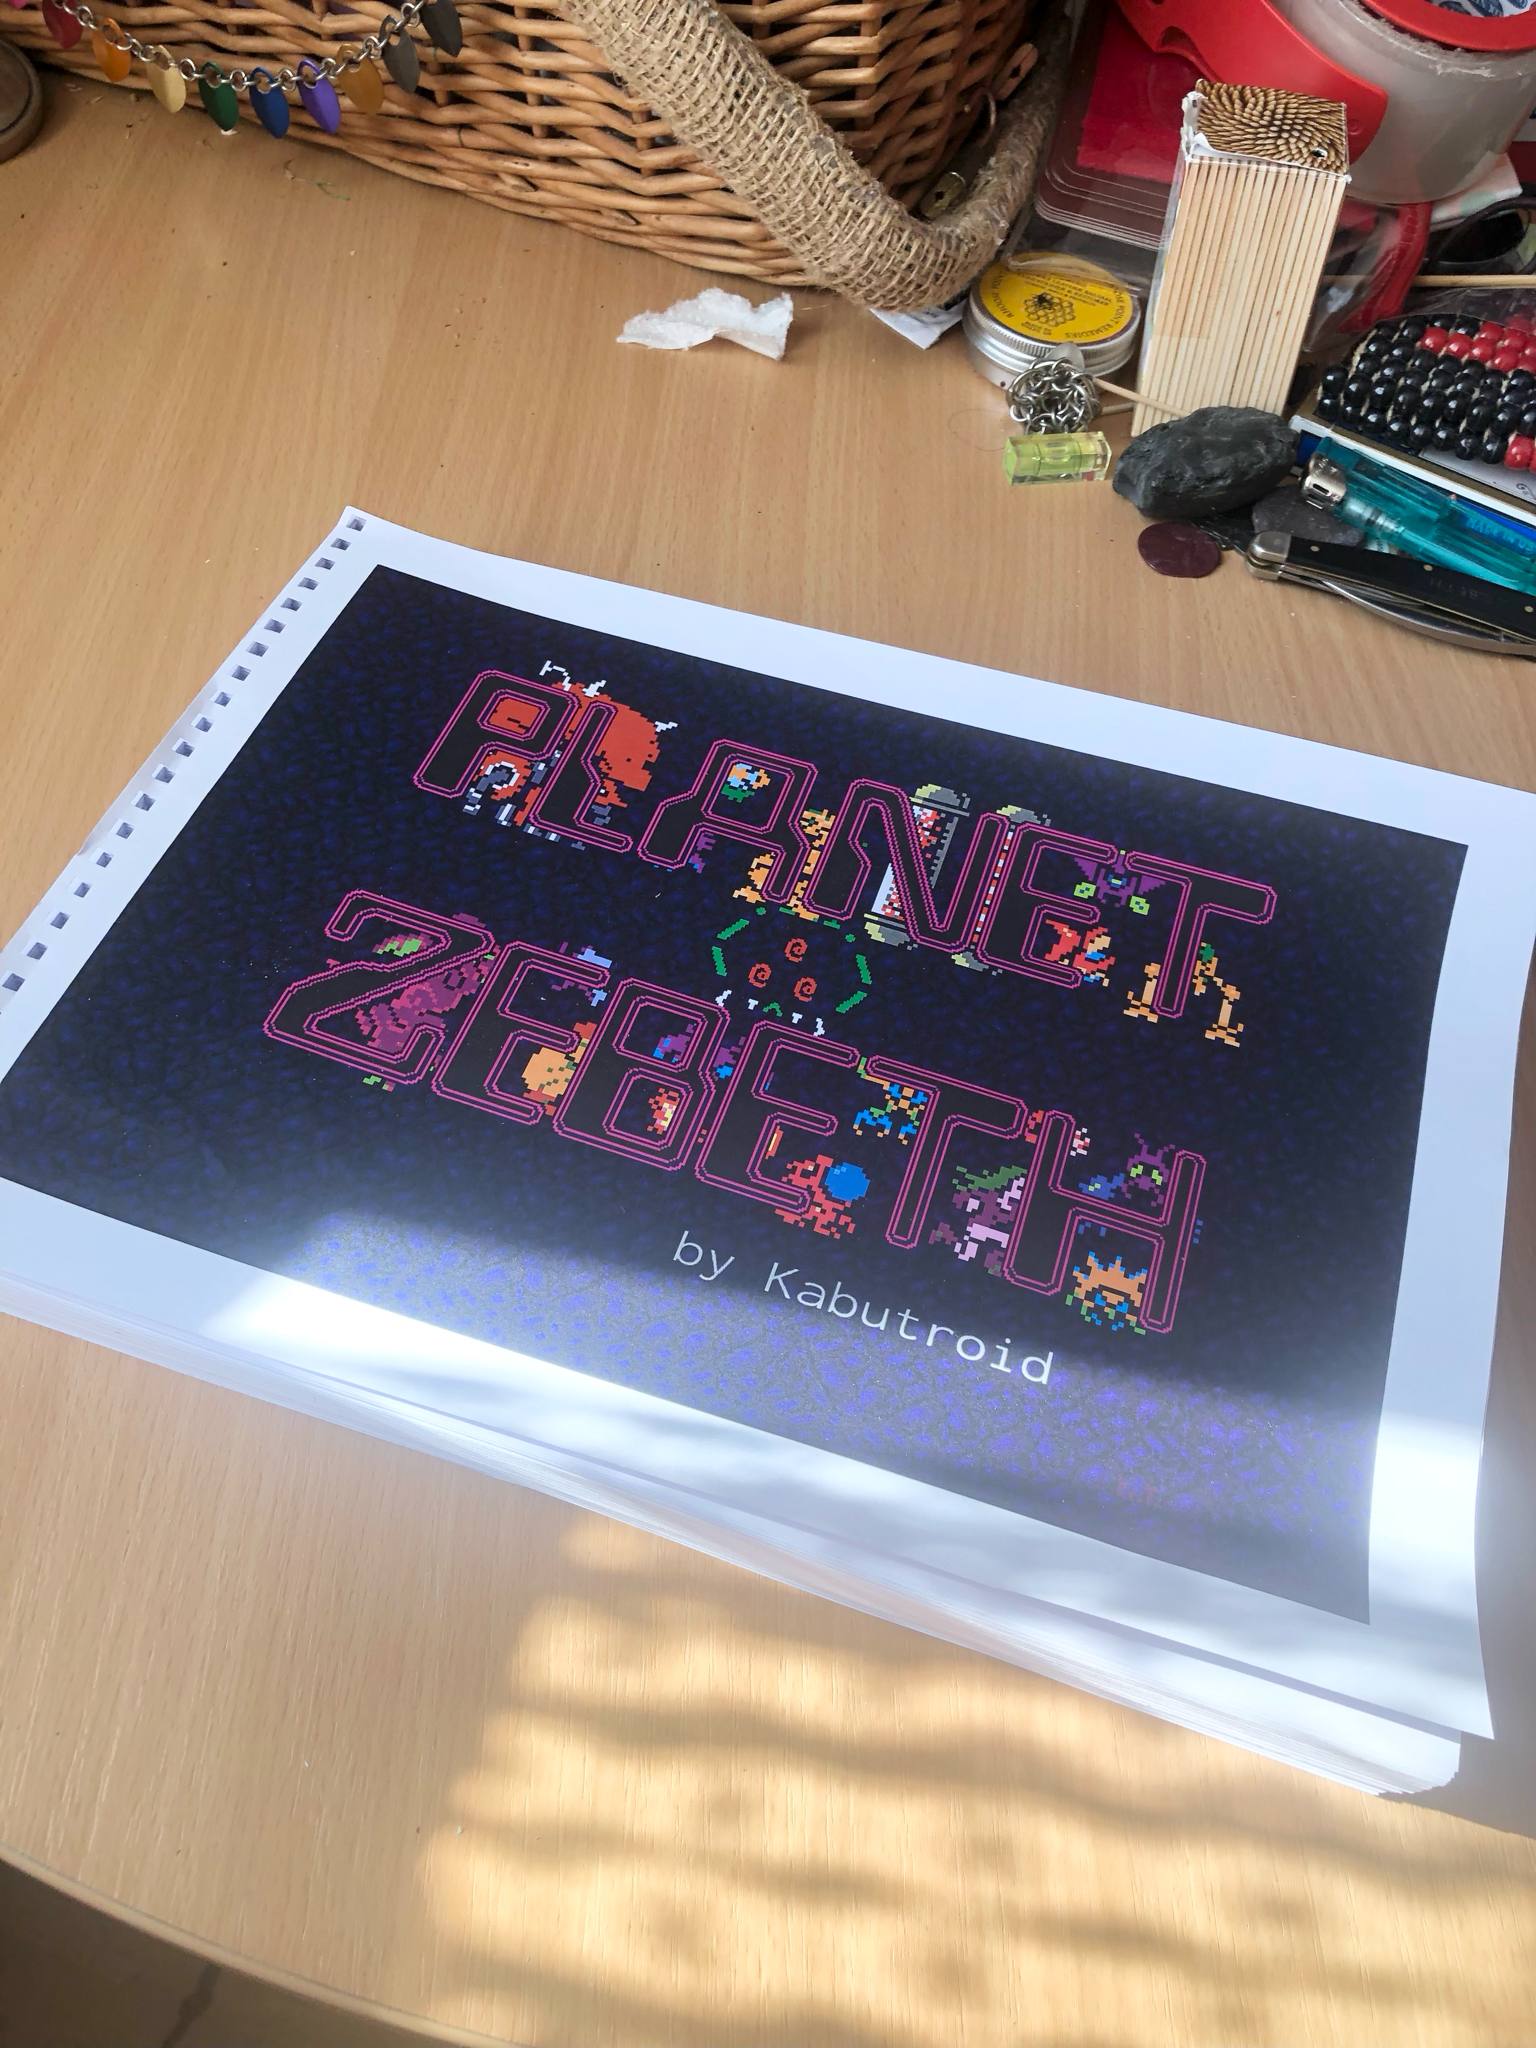
And so, we got started. We printed out this entire thing (technically I printed two copies for myself, one to make hardcover and kept somewhere protected, and the other softcover to have kicking around readily available), and then... the great holepunching! Doing sections of 10 someodd pages at a time, we quickly made short work of that task, and then began adding the many book rings. It won't be _convenient_ to add new pages, but it'll be a lot more possible than if I had bound it in string.
Though as a suggestion to other Zebeth fans, if you'd like, might I suggest printing out to current batch, and then keeping the bonus comics and back cover in their own much smaller book rings, which you could clip through the string binding of the main section. I dunno, just a thought. Or add to it every 6 months or so, and just re-string the thing. Or just have the whole shebang in a binder and call it a day, using only 3 or 4 holes type of thing. Nonetheless... Zebeth is printable!
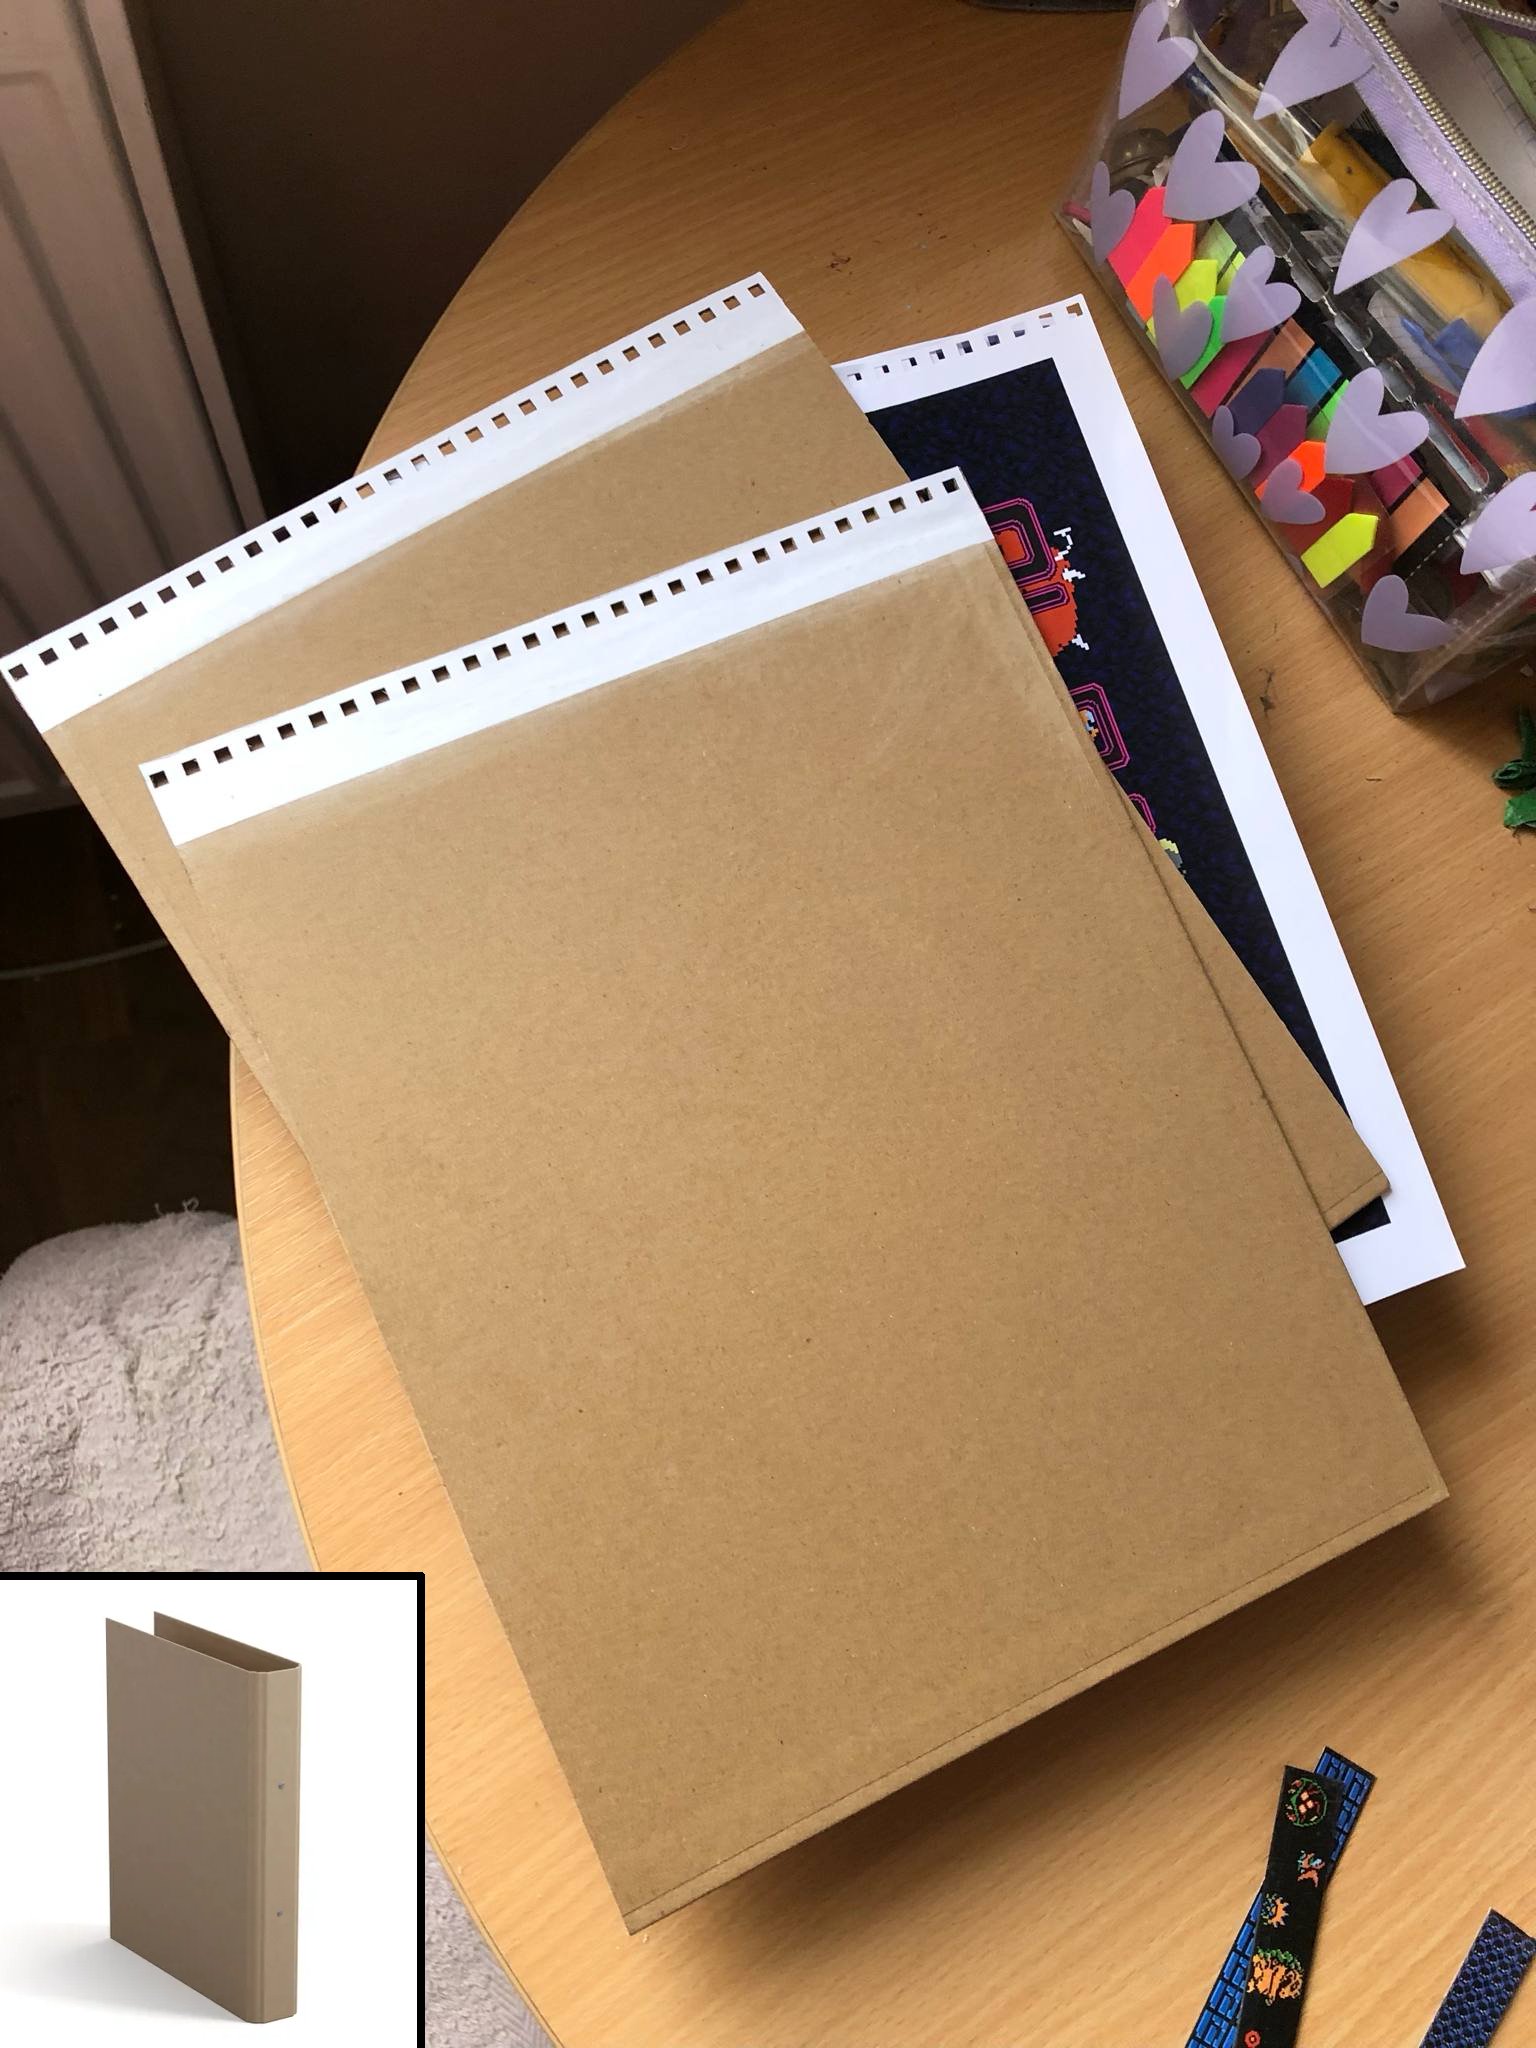
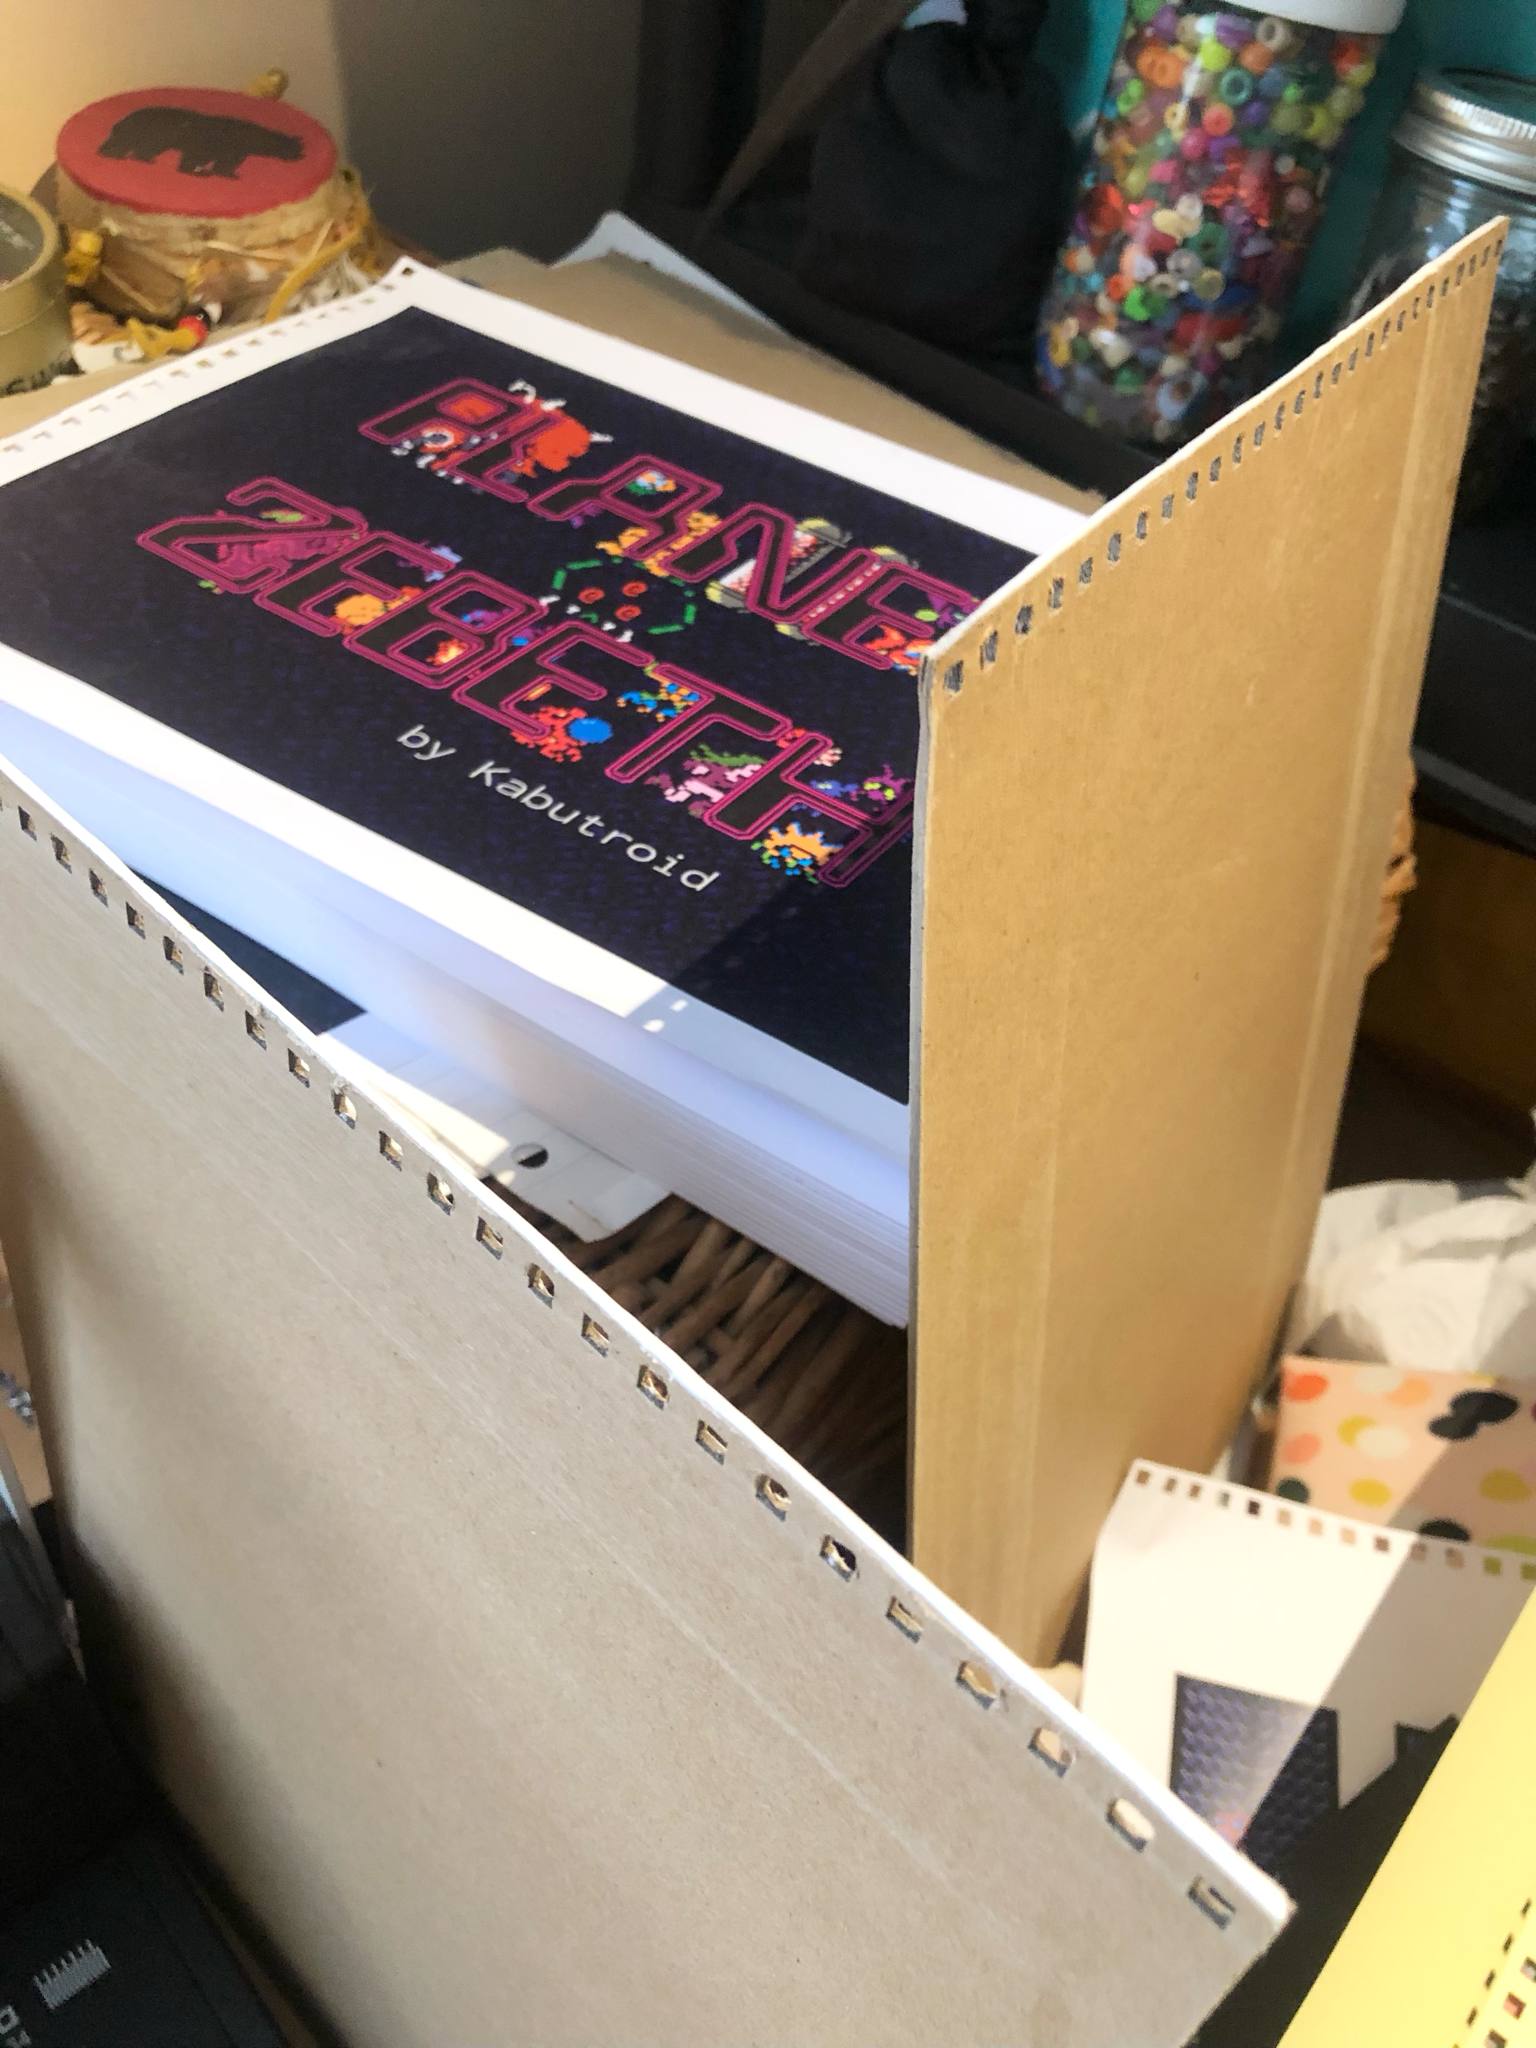
Ok, back to preparations, while waiting for a whole pile of 4.5cm book rings to arrive in the mail. I want one to be hardcover, the internet does not make it easy to buy hardcover book thick hardboard stuff, however... ring binders ARE easy to buy and readily available, c'mere you! Added bonus, the binder sides are larger than a4 paper, which lets me have some overhang overtop of the book pages. It won't be "naturally round" around all sides after trimming (or around any side it would turn out), but I need to cover up the brown colour anyway, so I can manually round the edges of the hardboard. Also as you can plainly seen some interesting construction has taken place around the binding holes. This is because evidently this hardboard is like... 1/2mm too thick to fit into my hole punch, so we had to sand the edge of these down a little bit to get them to fit into there. Strangely, once I got the hardboard to (barely) fit... the punch went straight through like it was nothing... strange. Ah well, no great issue, that adhesive paper will both cover up the sanded portion (which will be covered a second time once I put the cover on the... cover), and then sanded the edge of the adhesive paper to smooth the transition between it and the hardboard. We're going to have that on the inside anyway, but still, keeps the sanded portion stable.
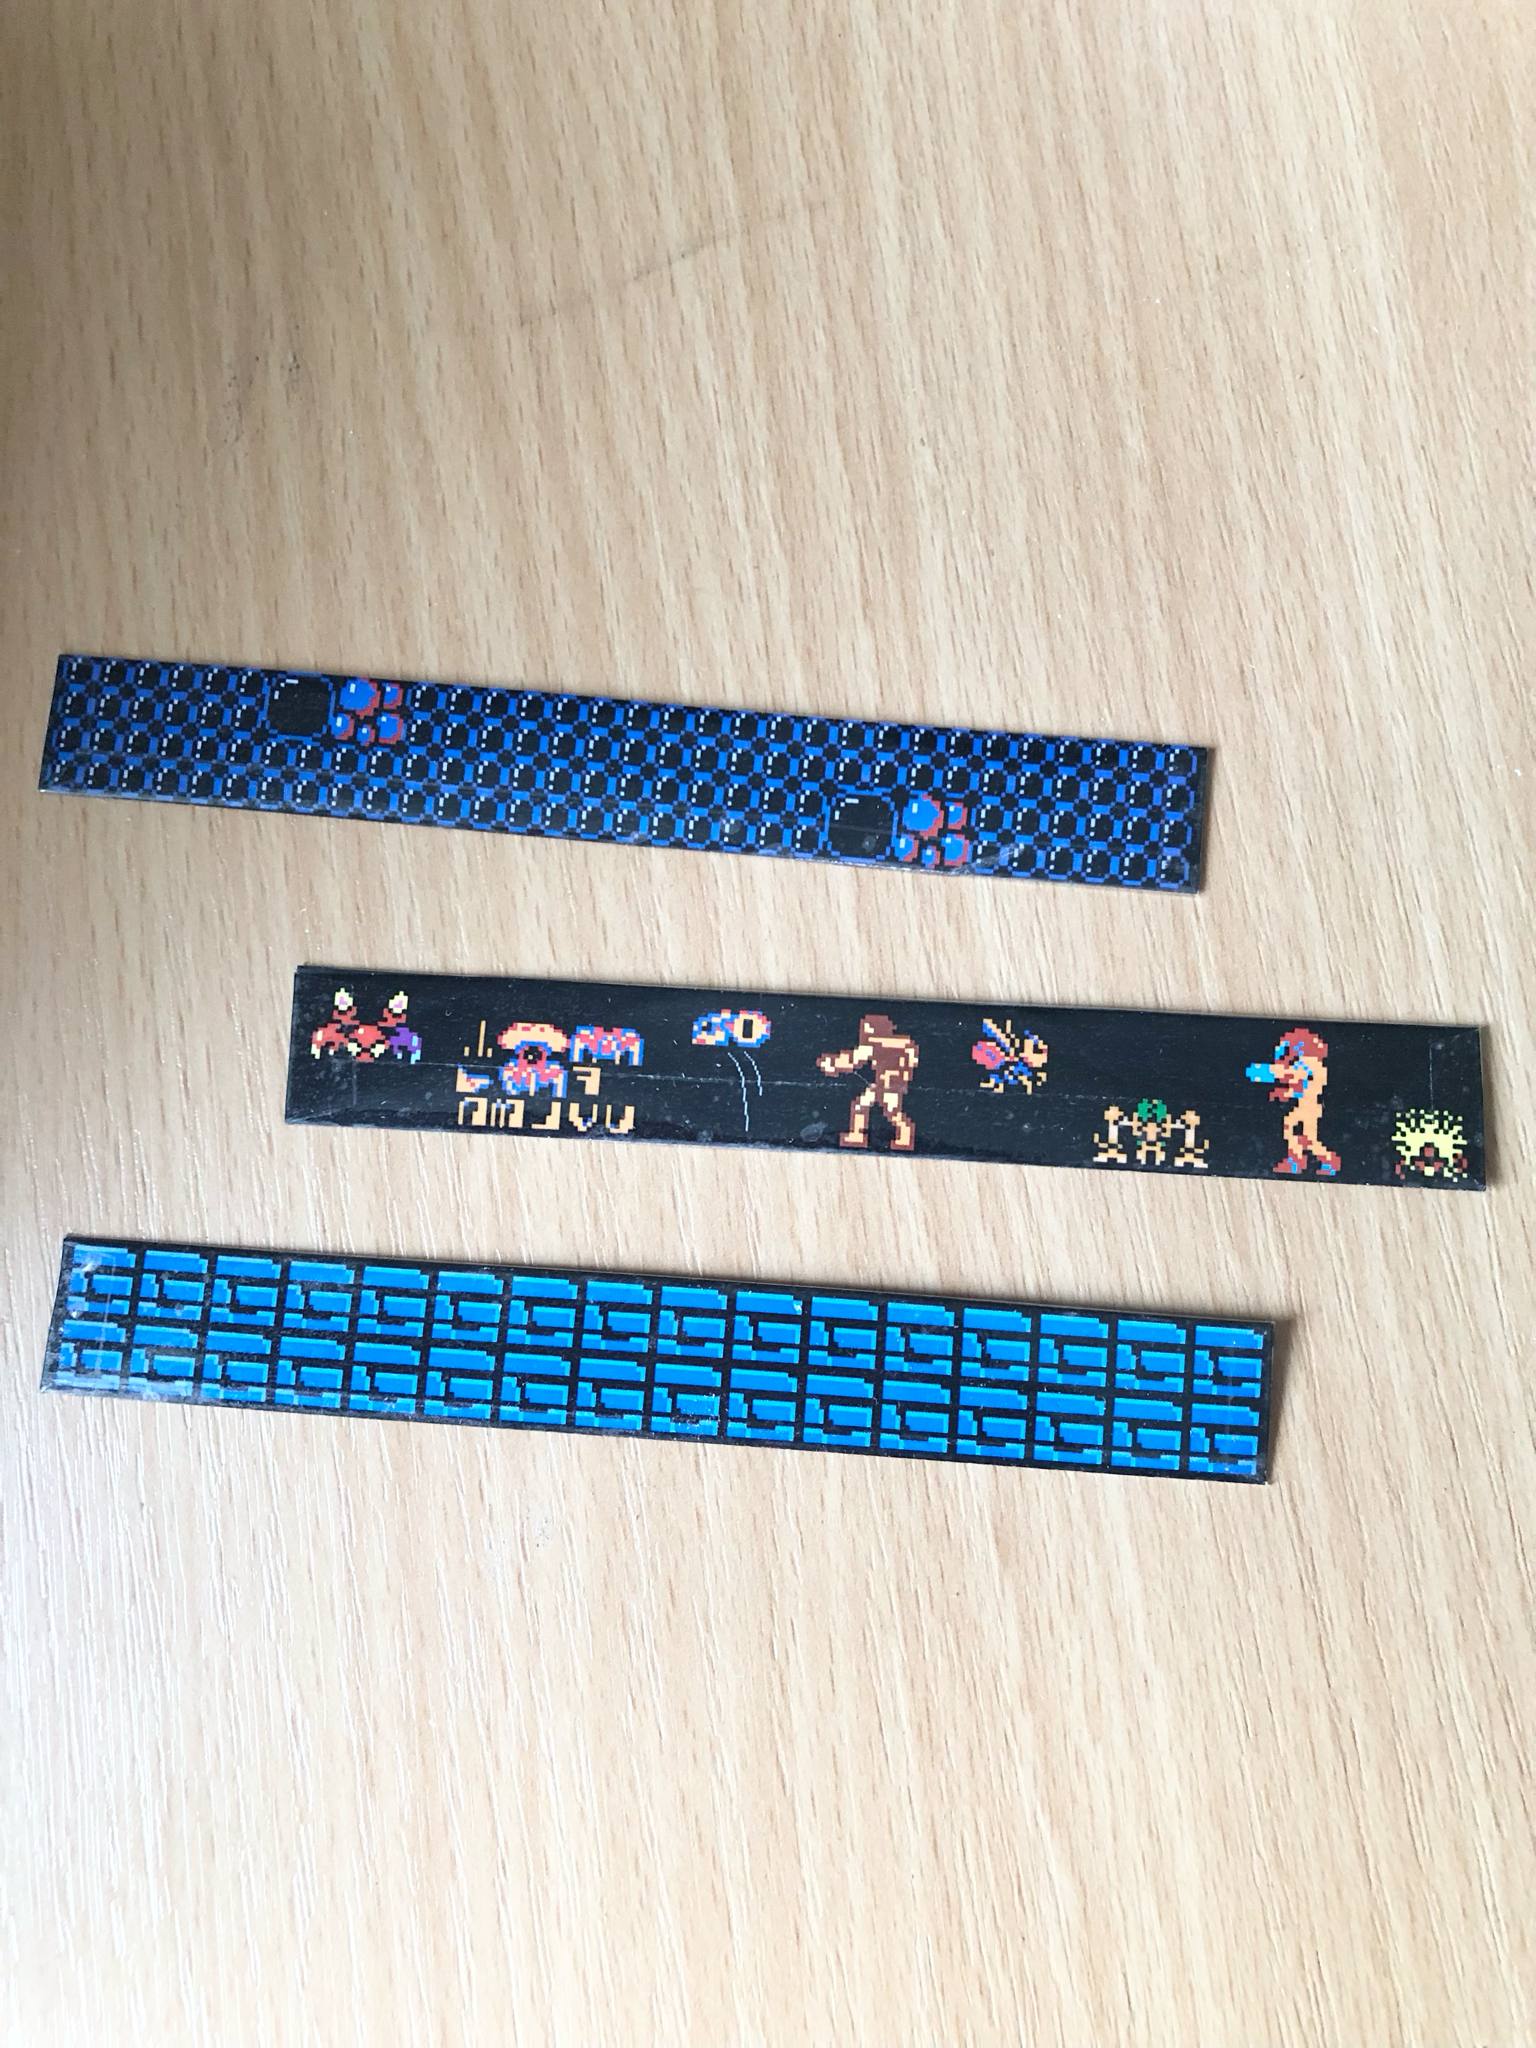
Also, I prepared the bookmarks that come with the files, while waiting for the binding rings, so those look awesome :D
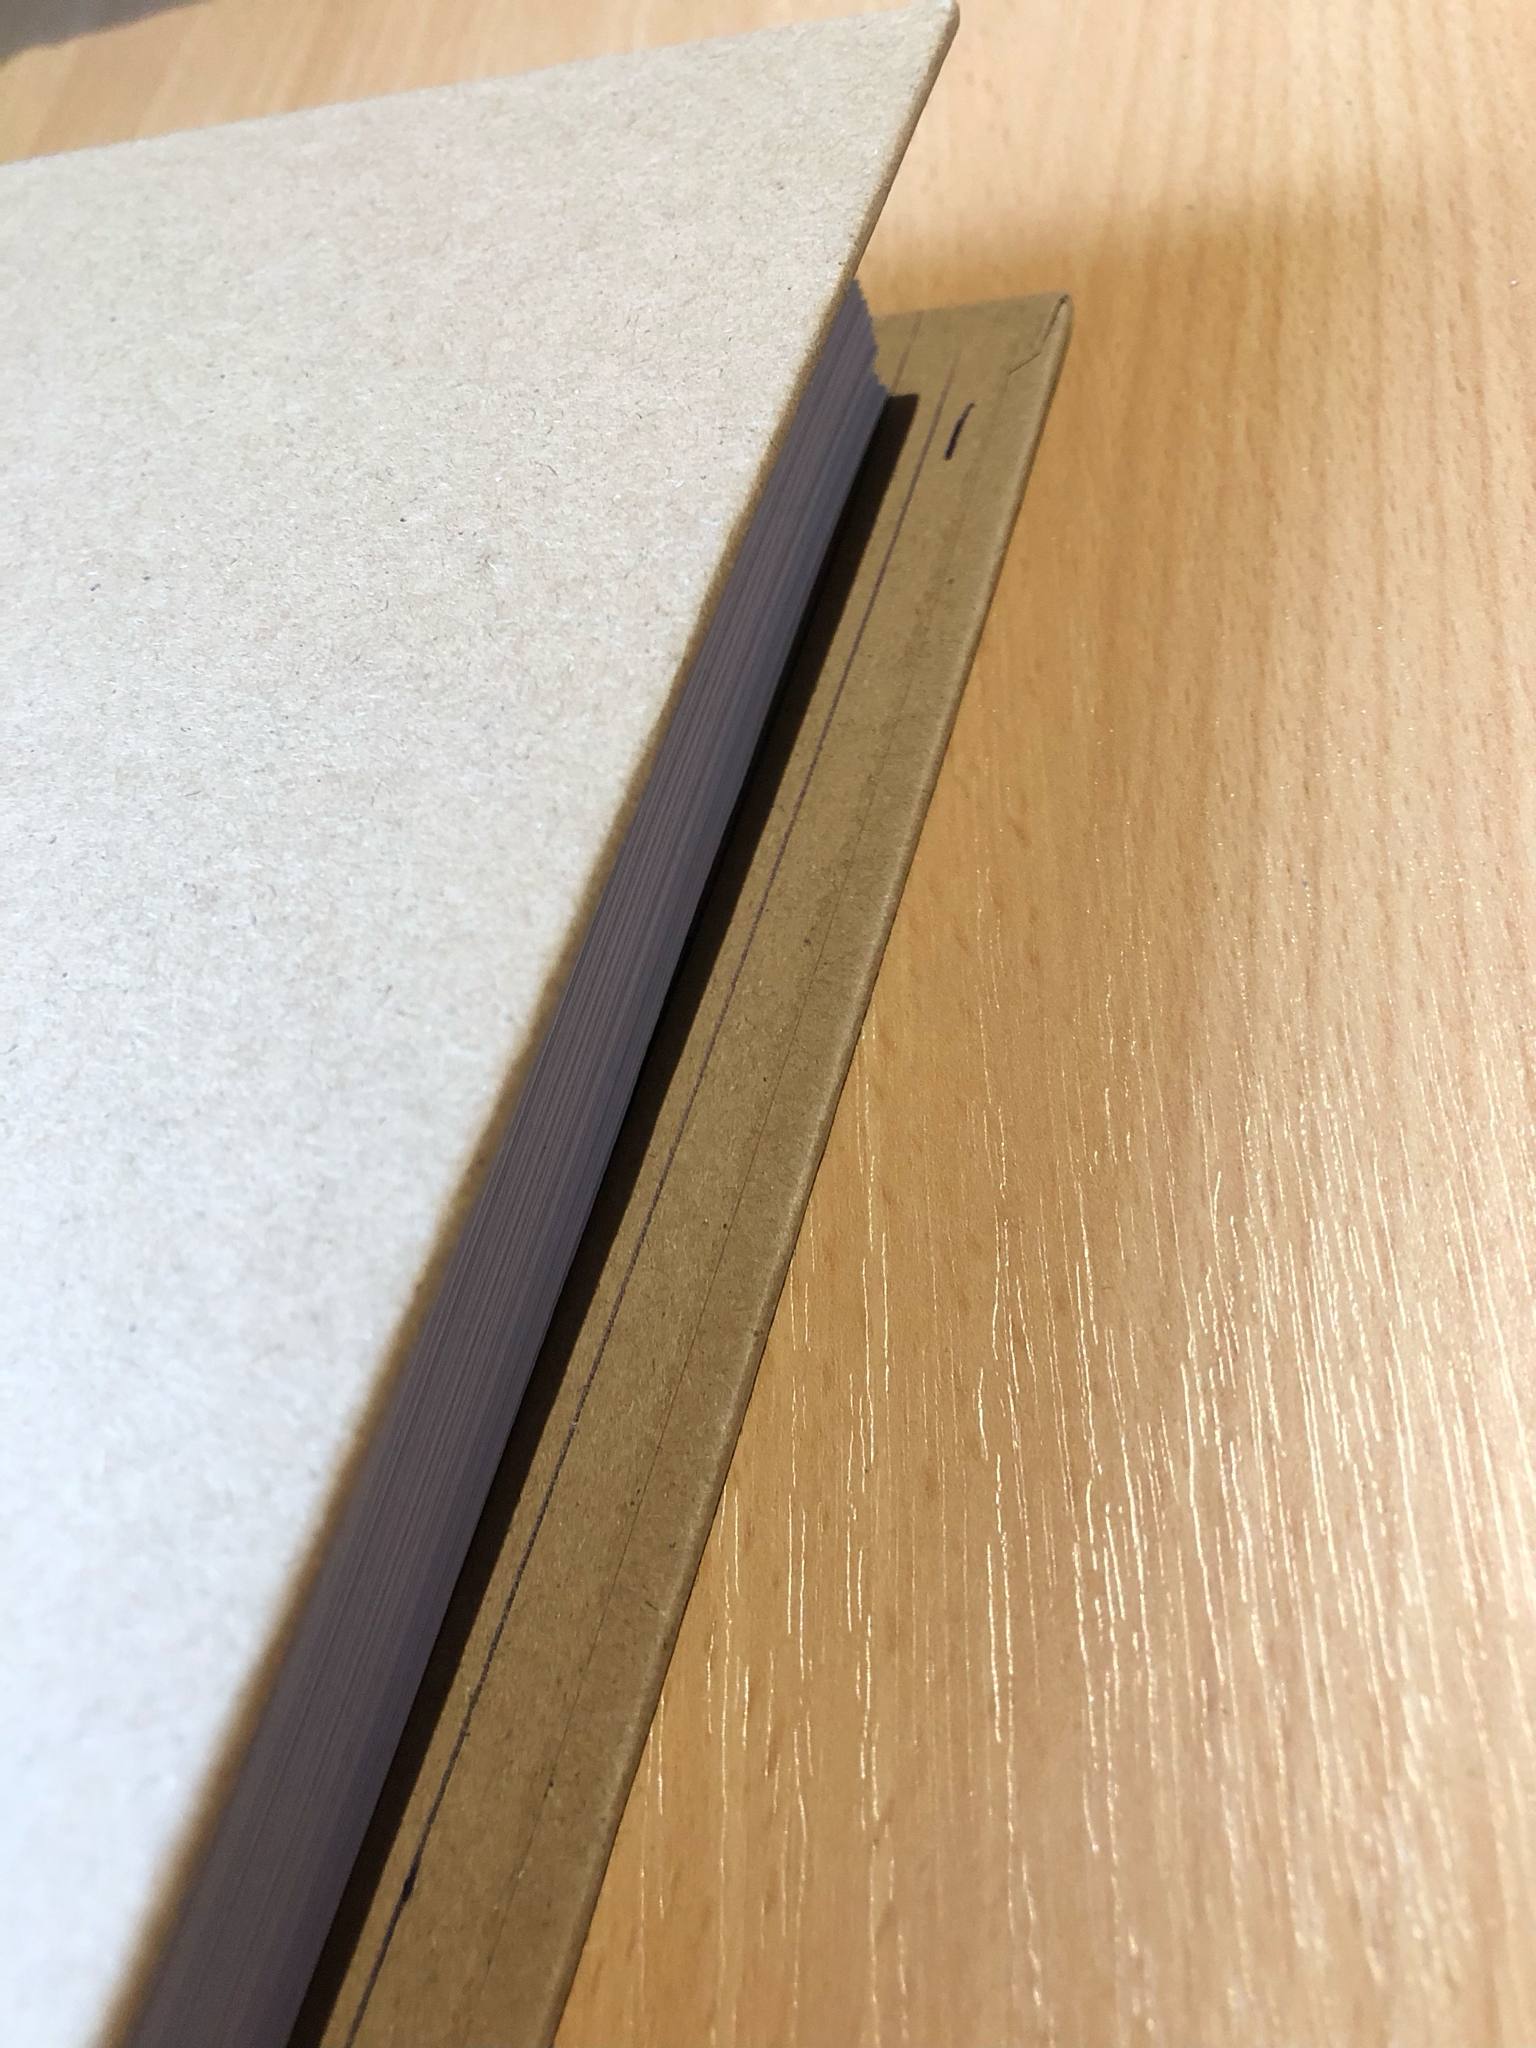
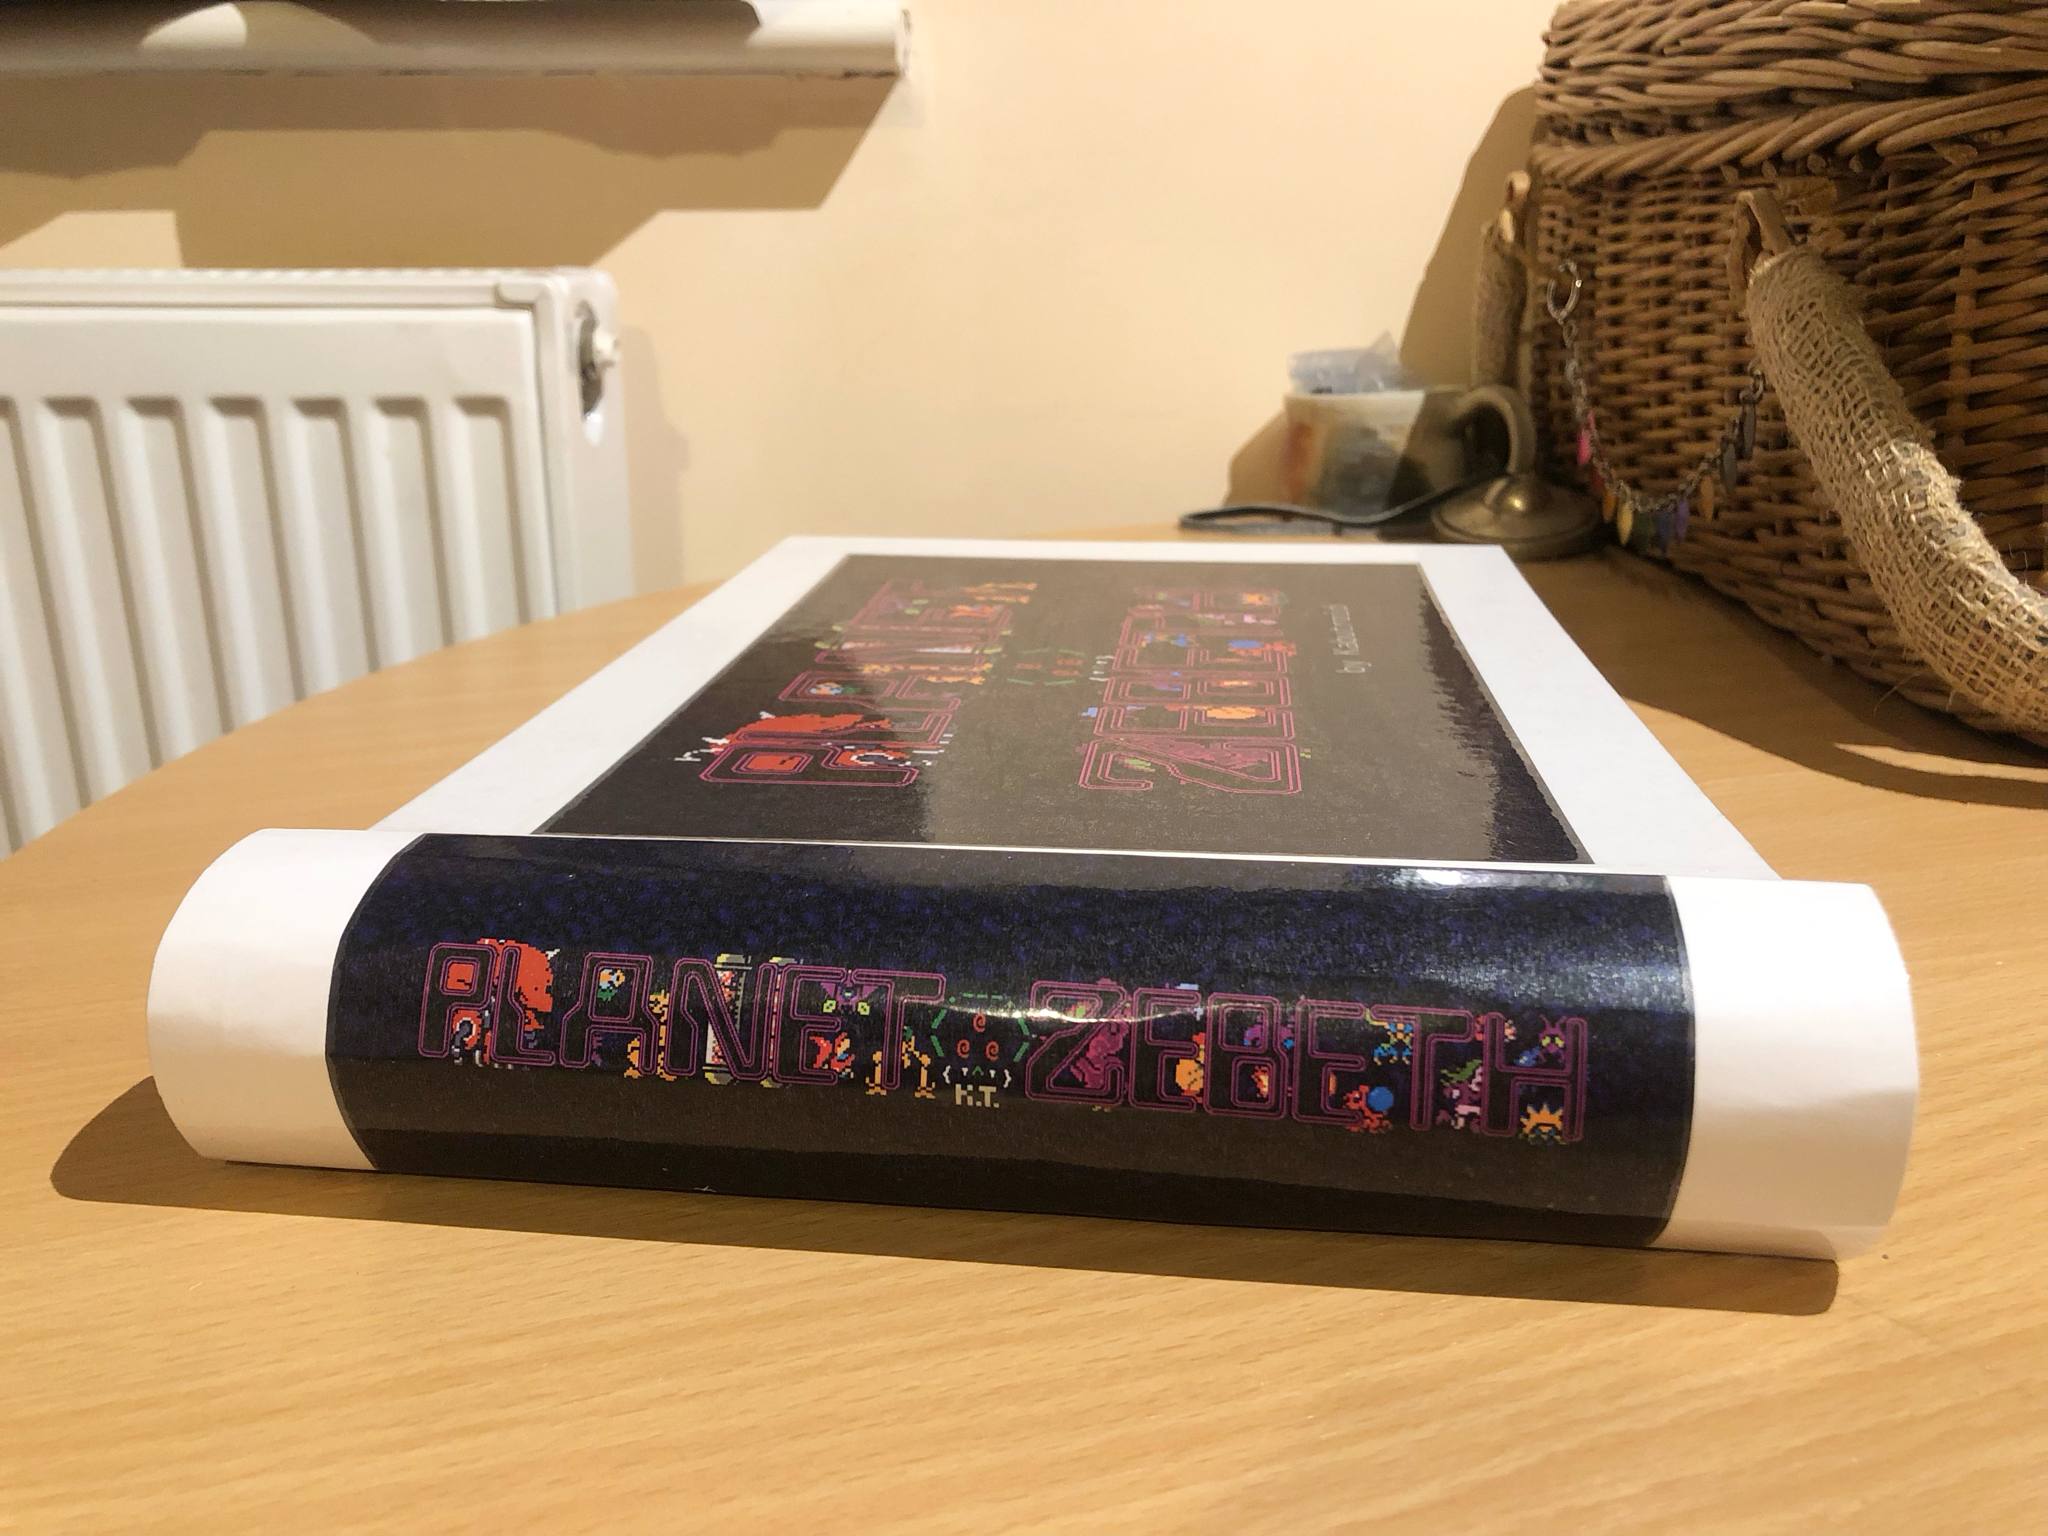
I put a pile of rings into the book with the covers to see how much 'sway' the pages will have, generally speaking, and gave it what would turn out to be 9mm of overhang over the pages (a few millimeters past the 'sway line'), and also aesthetically works well with the overhang at the front of the book (which was kept to natural length). We trimmed those to size, and then looked into wrapping a white adhesive sheet over the binding holes to cover up the cardboard colour. We determined that we needed like... half a millimeter more length on the back of the binding for a folded-over adhesive sheet, hole-punched, to wrap perfectly around the binding over both sides and have the holes line up, so we added a seam of glue to the backs of the hardboard, which will also serve to strengthen it a bit, and keep it from fraying in any way, so added bonus that.
In the meantime, we got the softcover book version set up, and just need to ponder how best to add the binding cover.
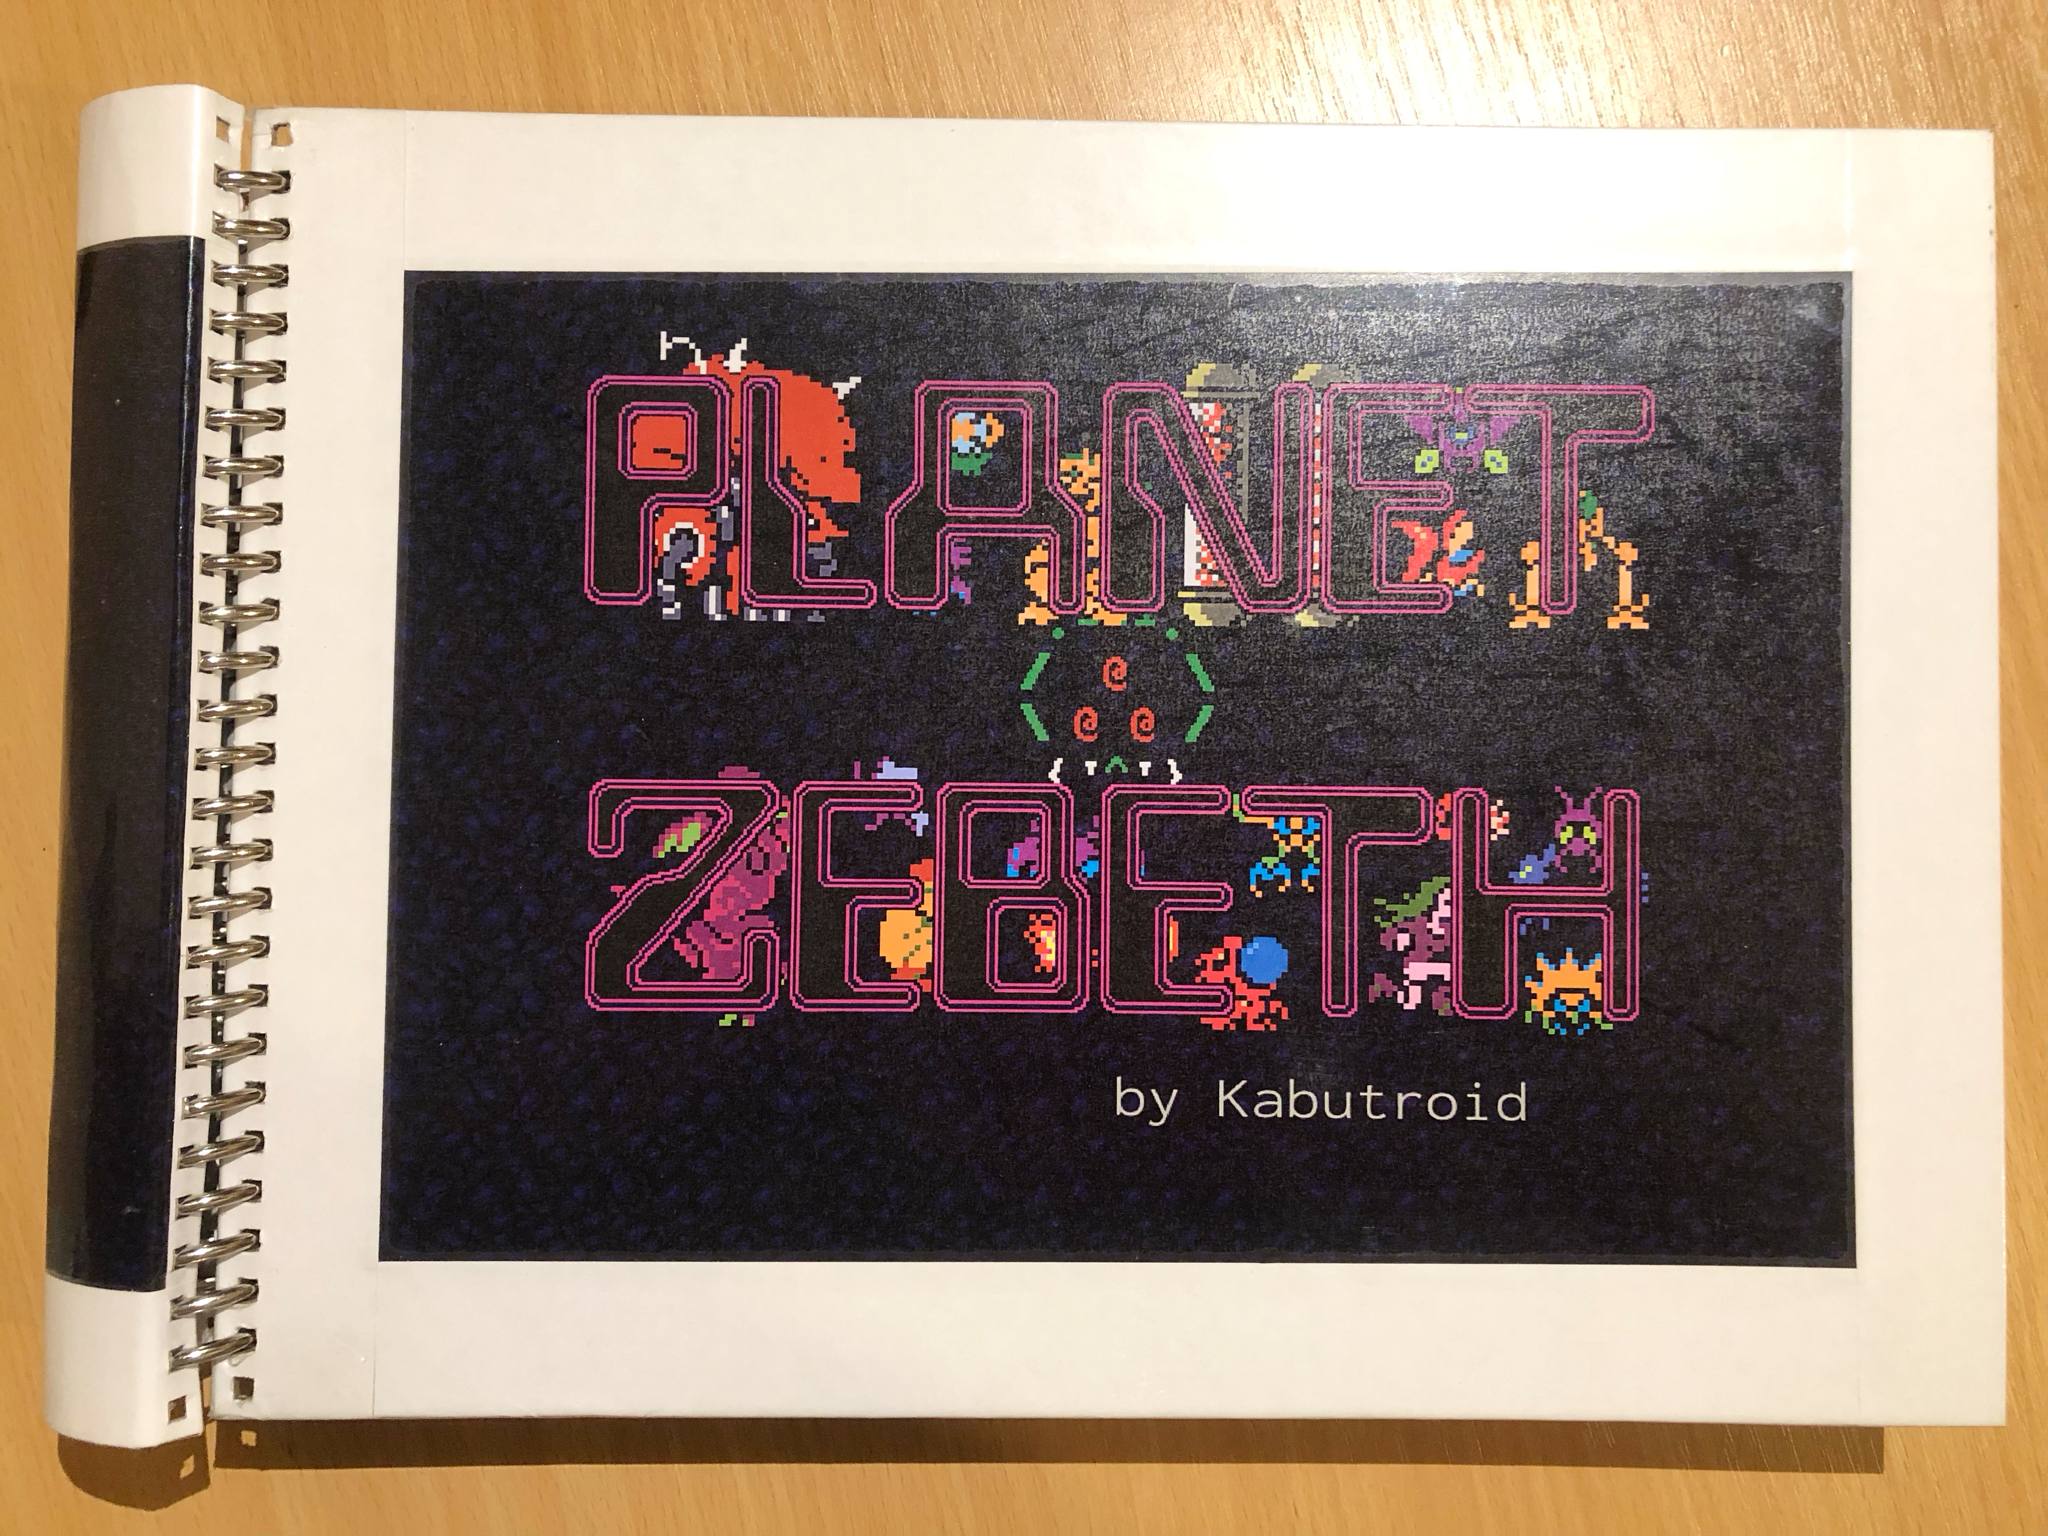
And with the glue dried, we wrapped the hole-punched adhesive sheet overtop of the holes, and added more white sheets around the cover image in the center. After that, we also gave it a laminate coating (no pics of this part sry, was just in work mode). The edges of the laminate on the inside of the cover are kept from peeling up by yet another adhesive sheet placed right in the middle, overtop of all of the laminate that wrapped around.
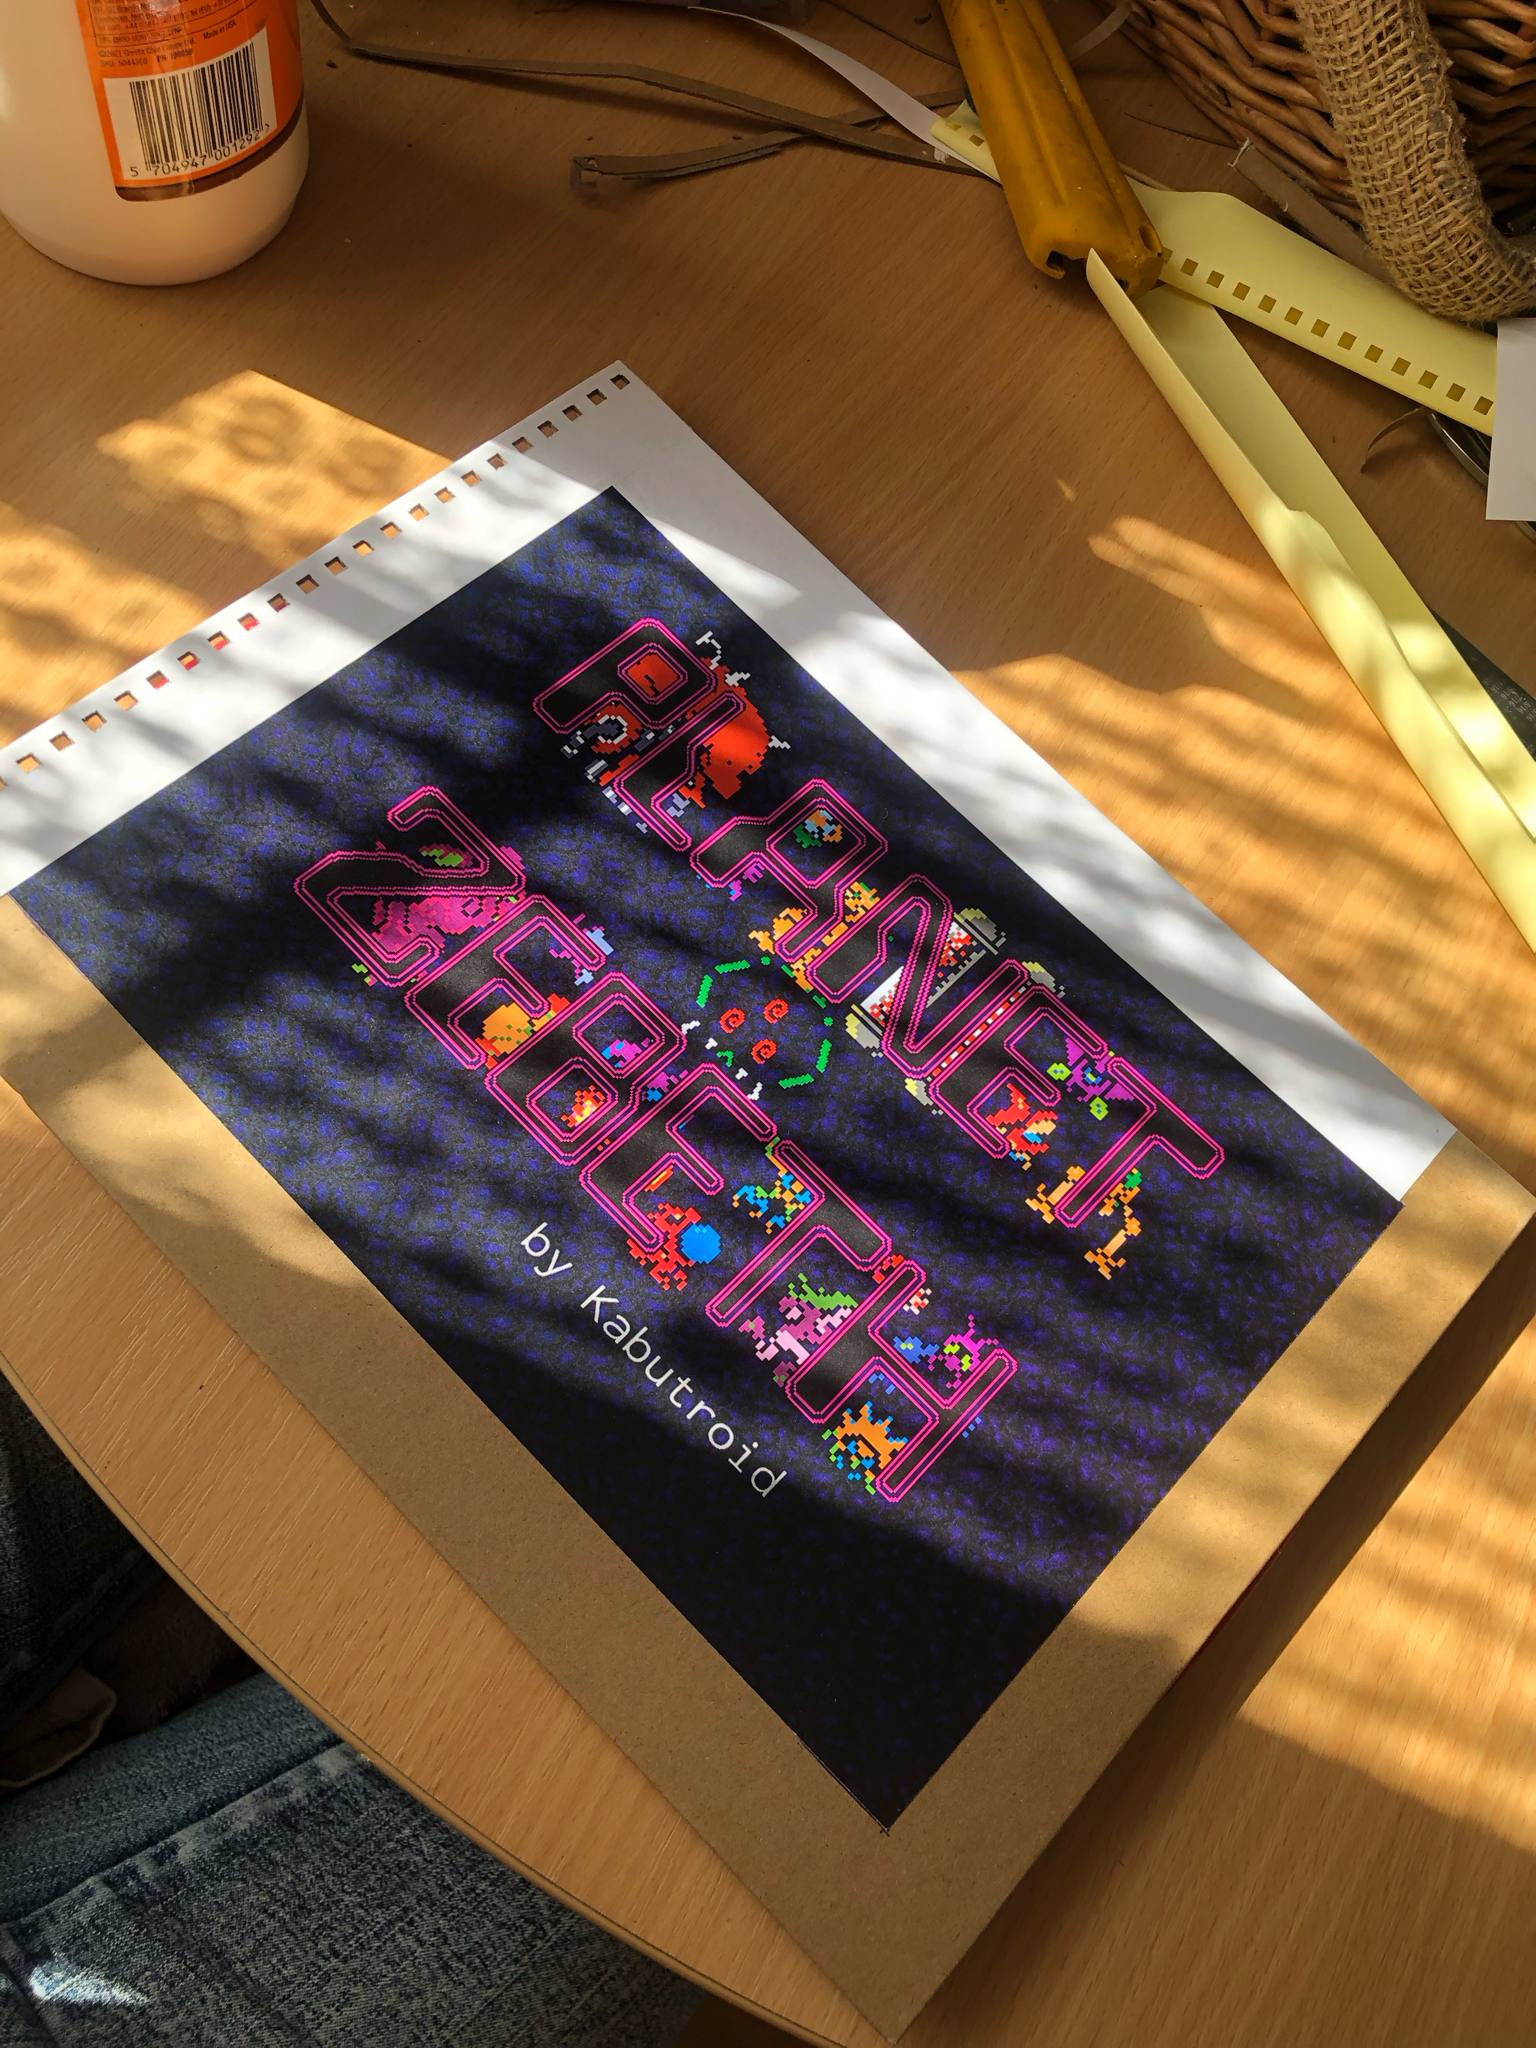
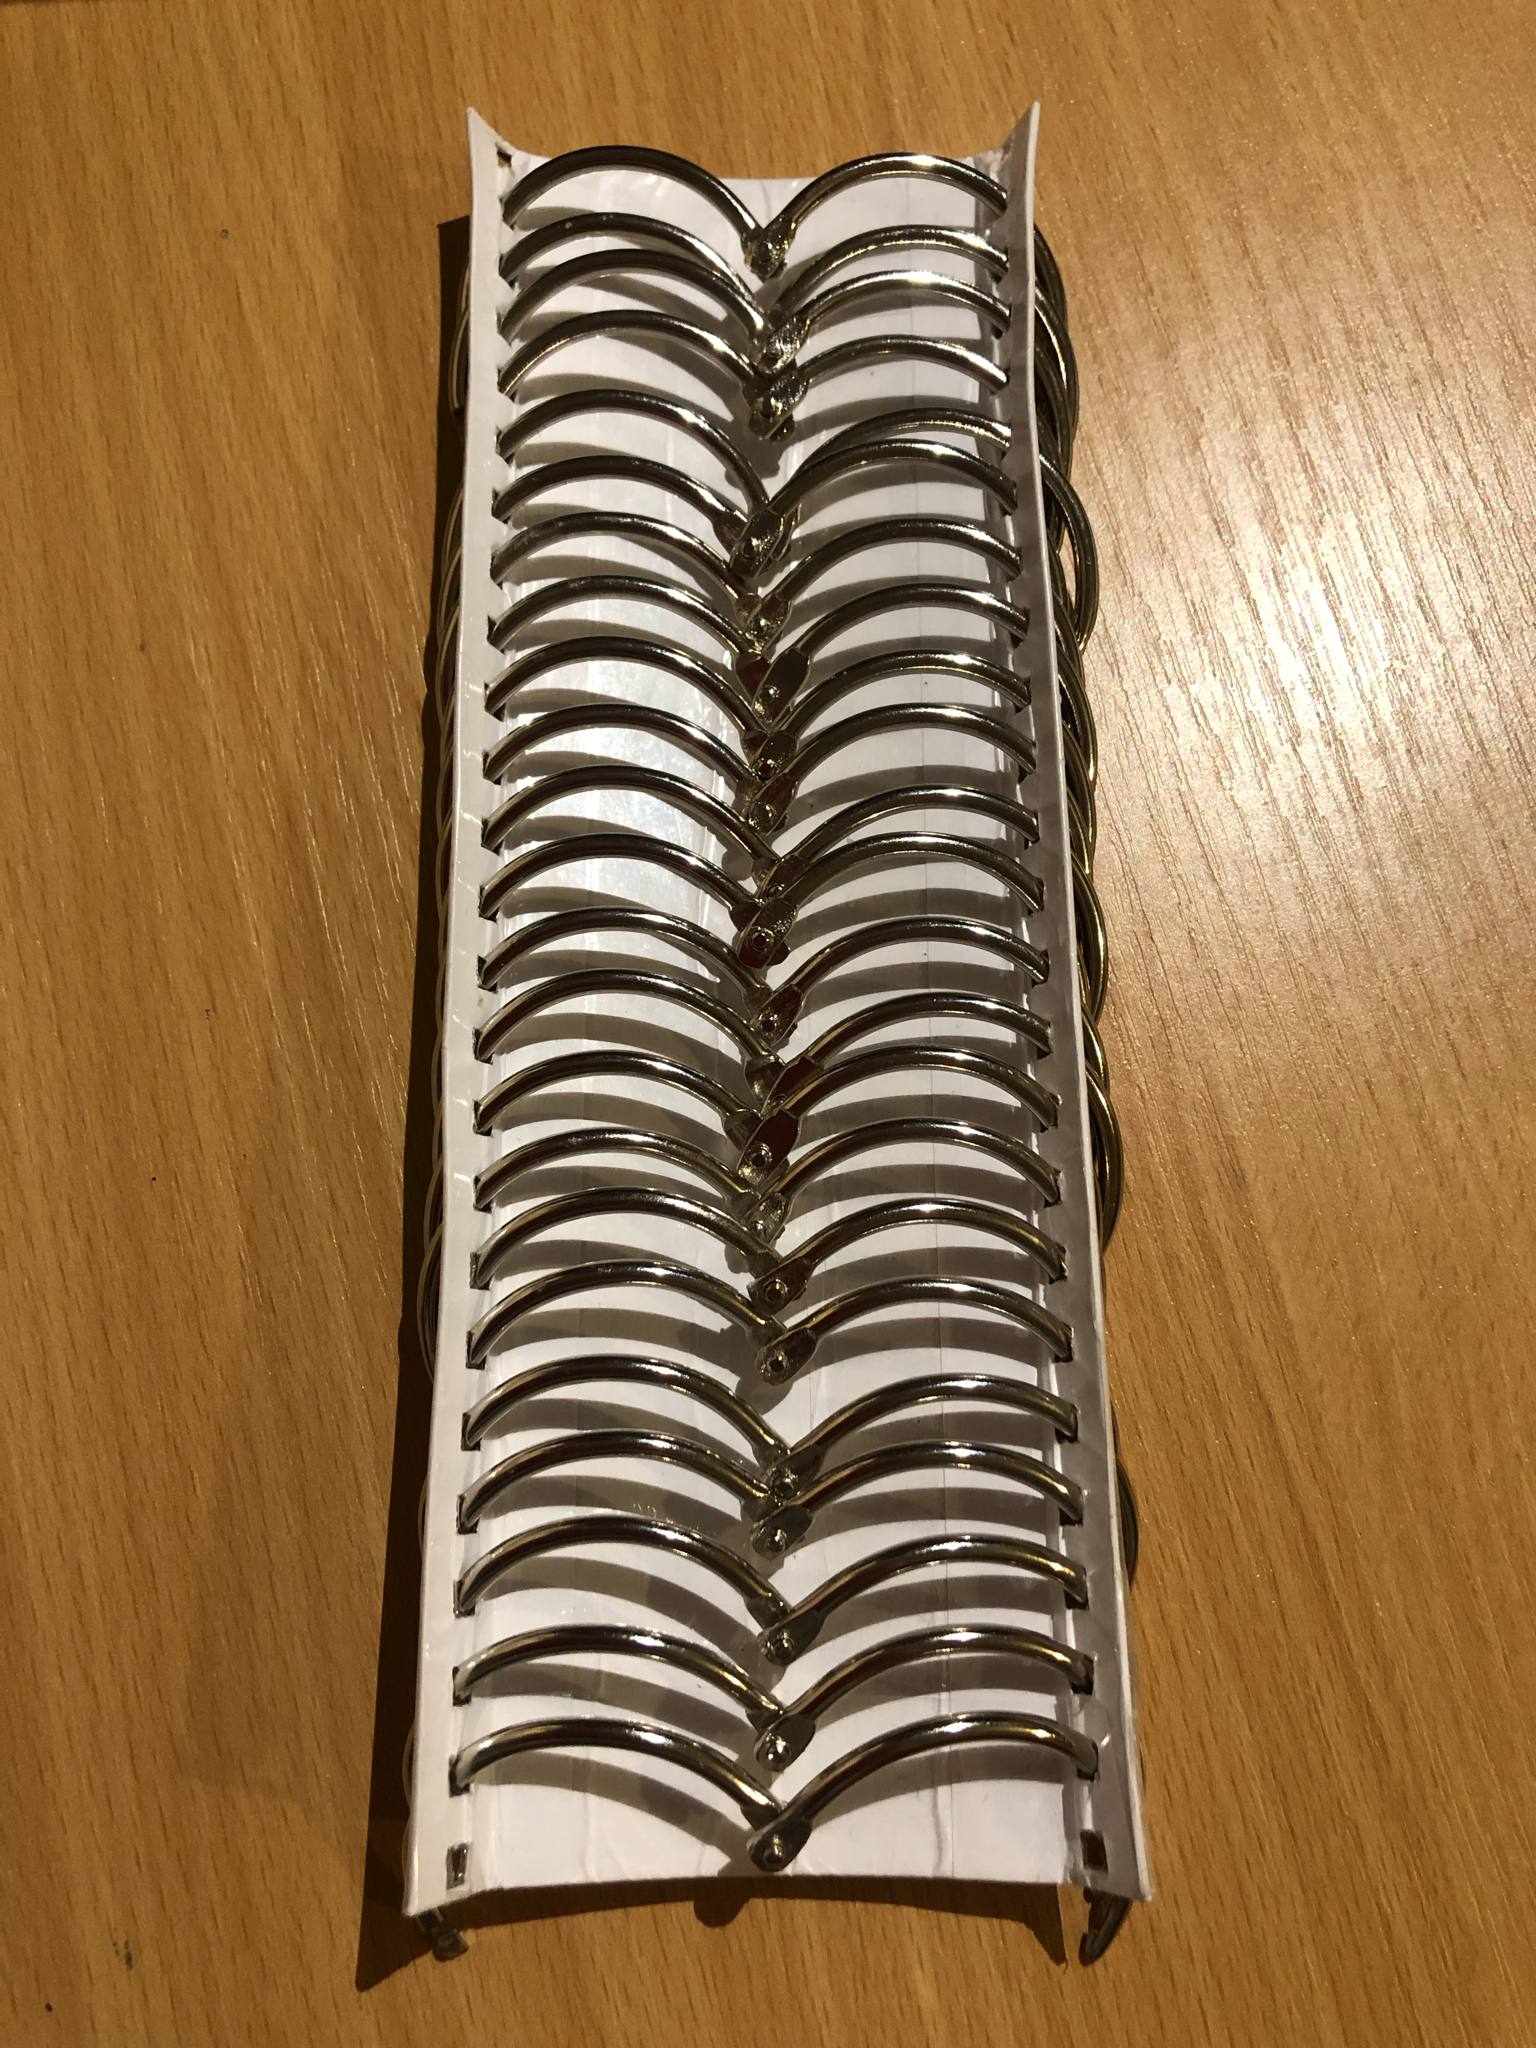
Next up, the binding. I eventually decided to punch holes on either side of that binding image, and have the binder rings beneath the image, which worked extremely well! Needed to do it twice actually, since the first time (and for the pictures here, but they were amusing images so I kept them in here, and was too much in work mode to retake them) it's only a4 paper sized, forgetting that the hardboard cover is like a centimeter bigger on all sides. So we remade that to the correct size. I doublesided-adhesive-sheet taped it to some thinner paperboard (like from a shipping envelope), put white sheet on all sides and wrapping around, actually having two layers of white sheet around the ring holes for strength, and then covered it all with laminate coating once again before hole-punching it, since this actually fit into the hole punch, being thinner and curvable.
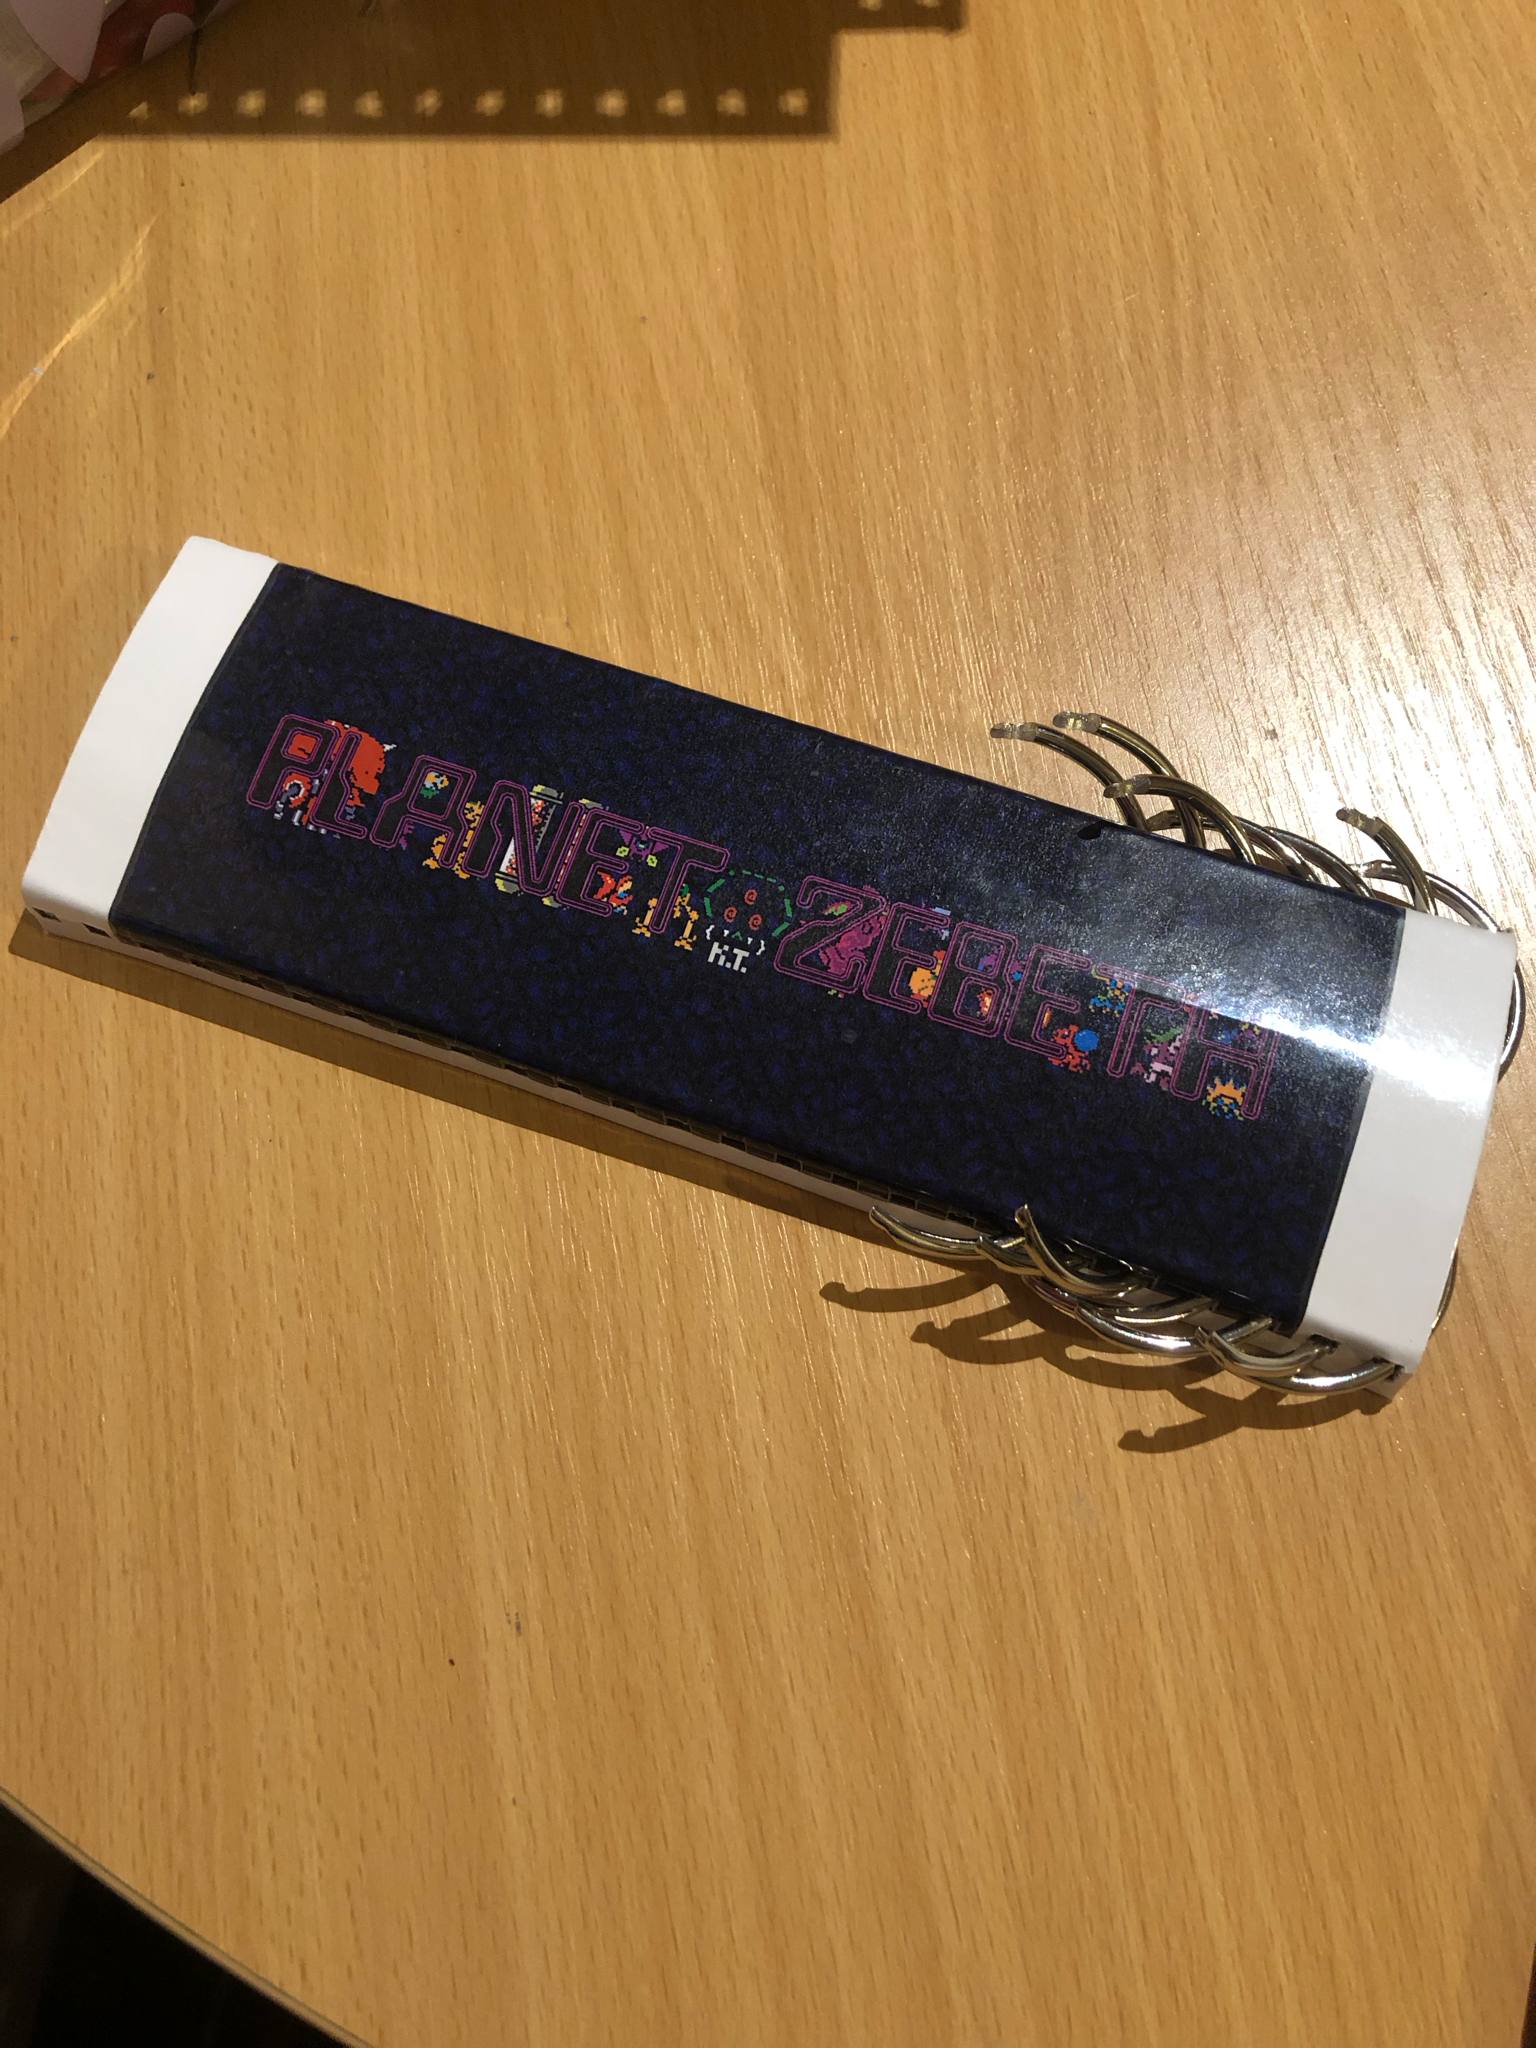
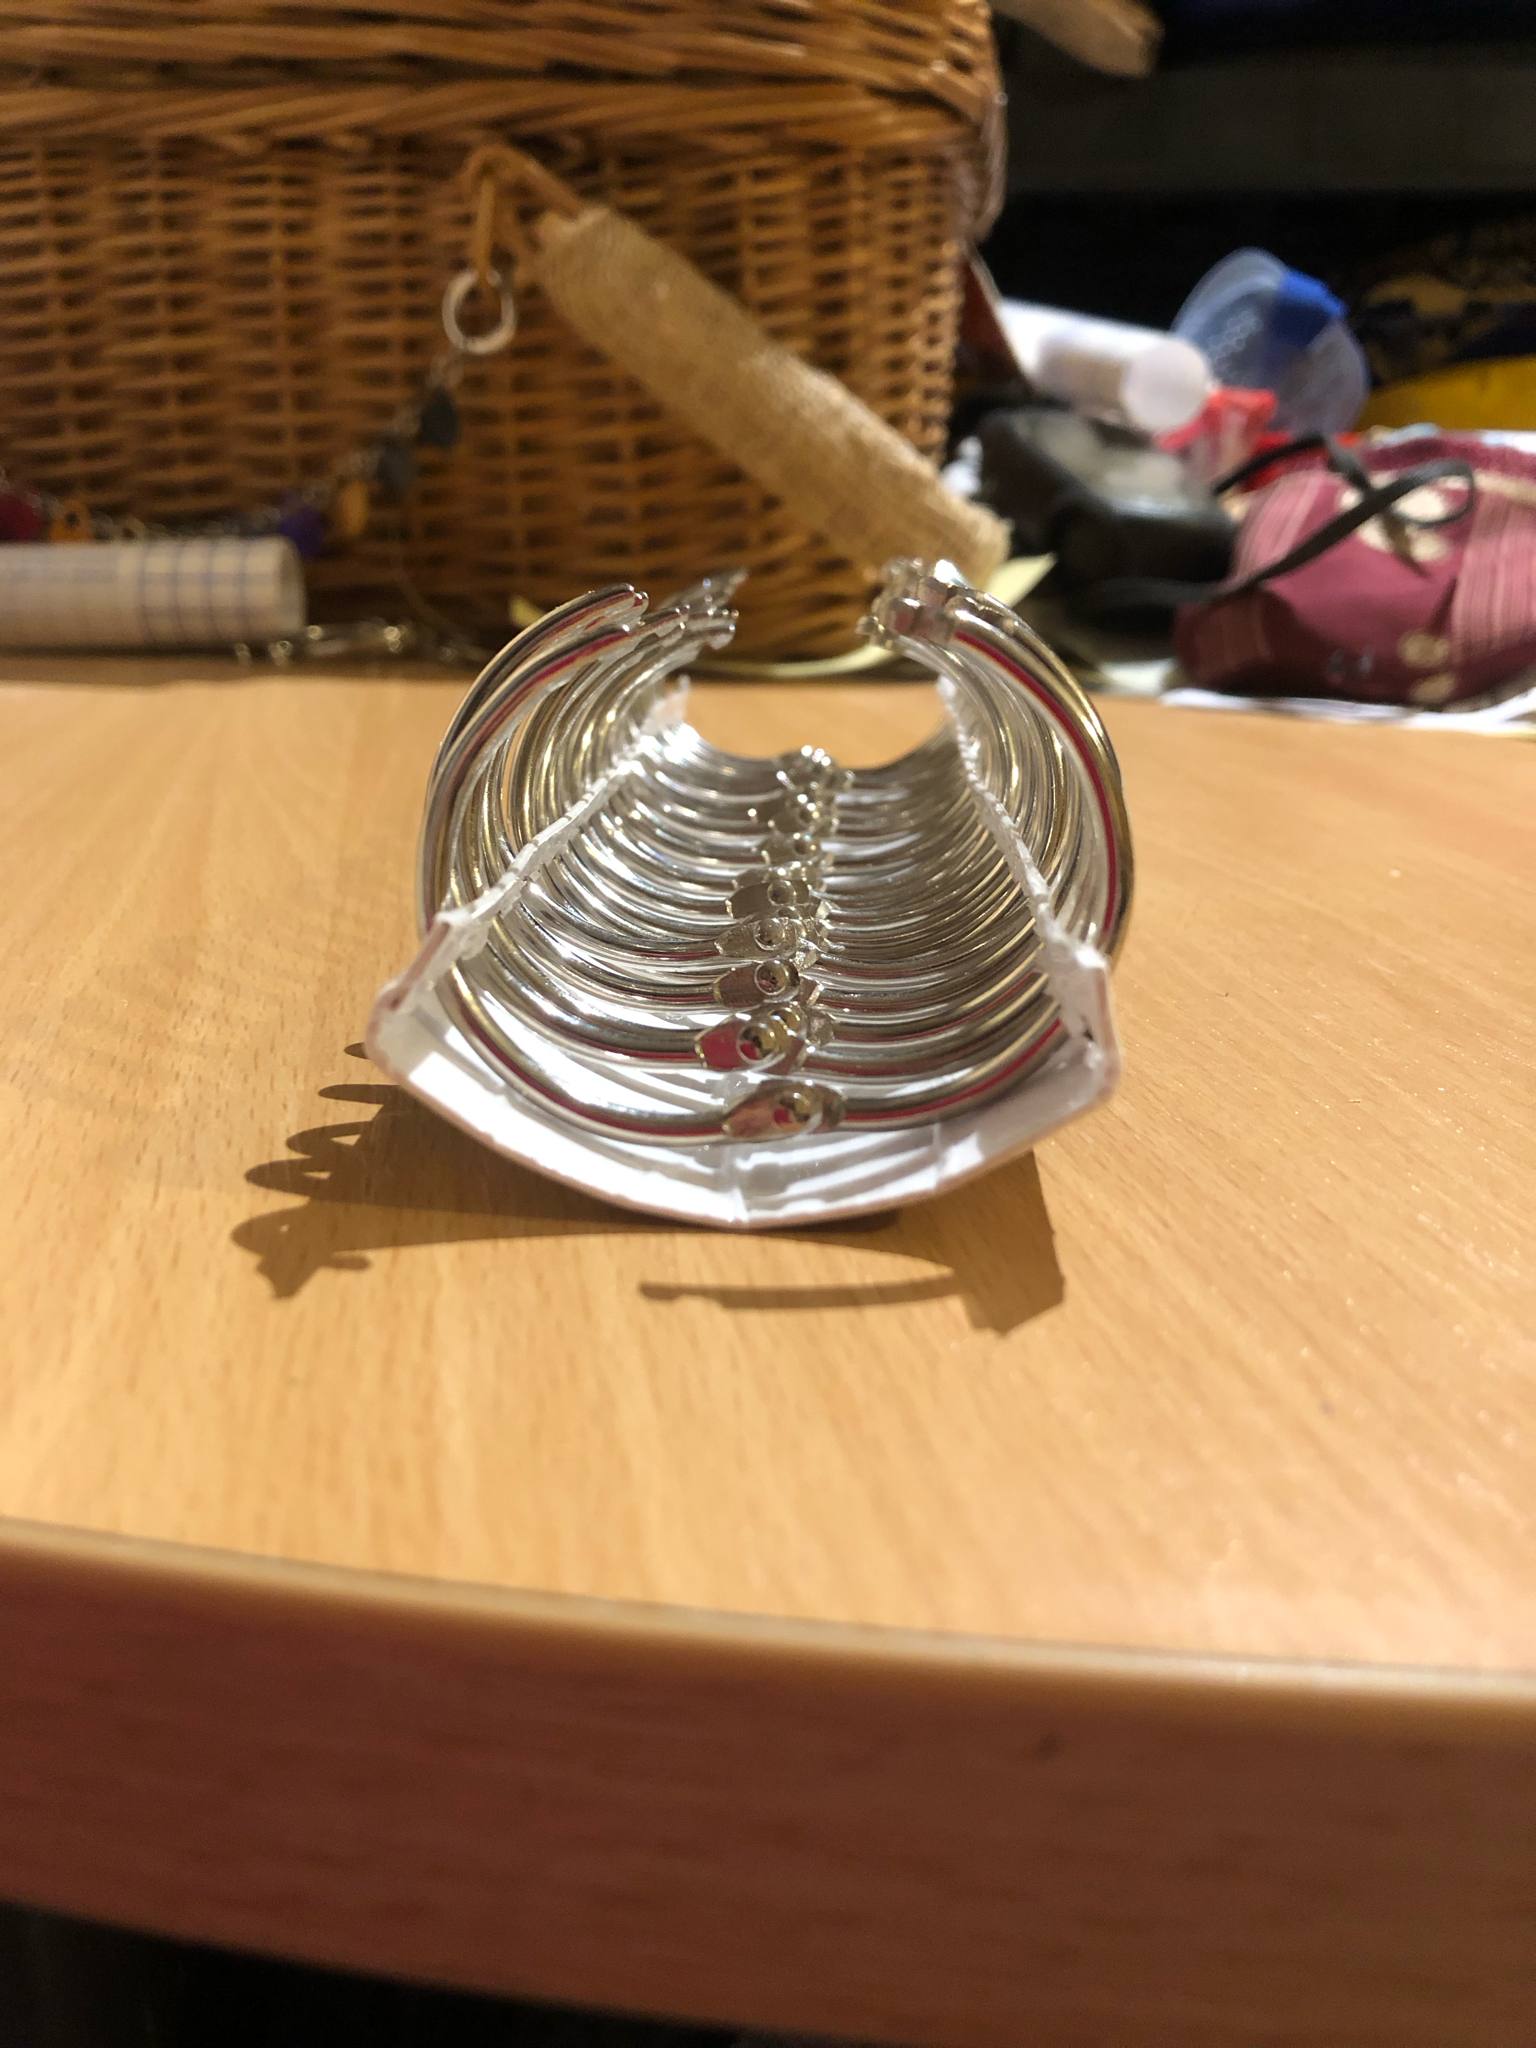
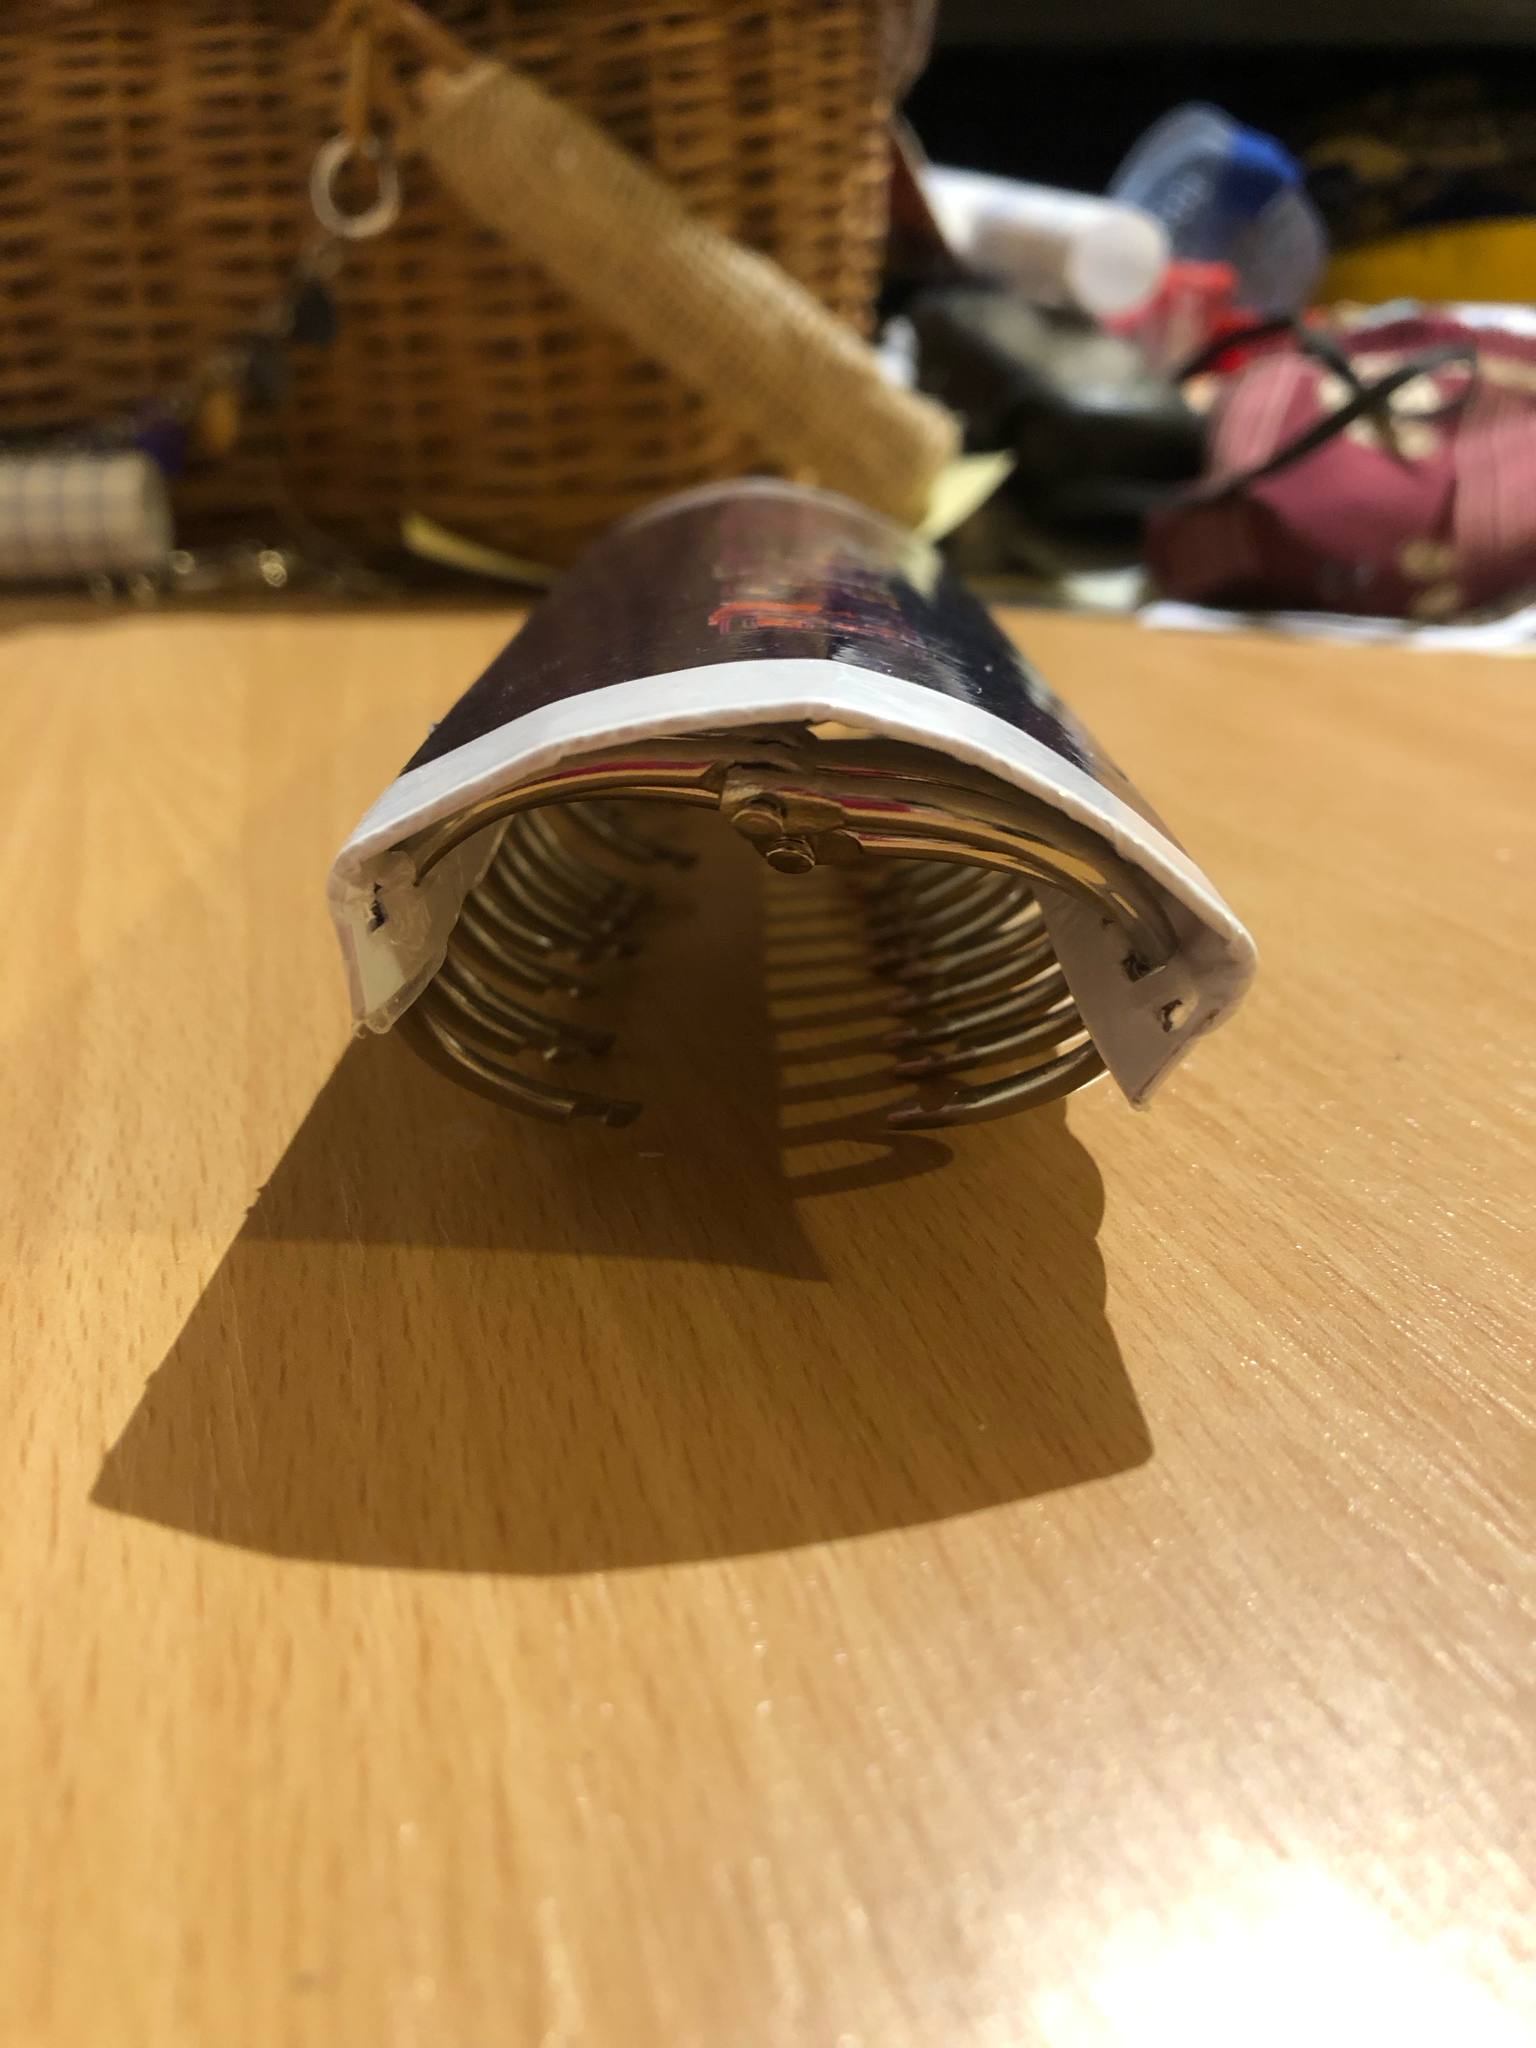
So we curved it around some ski-poles as a convenient thing nearby, and WOW, it was certainly a fight getting those first few rings into the binding until I found a good technique... at which point it was easy. Also since I had to make it twice, I had twice as much practice lol. And yah, I love that it looks like some giant centipede-like creature, that amused me to no end while doing this part. I took a few cool pics from the top (the second one it really looks like our weird centipede creature is looking at you lol), and then proceeded to give our centipede wings by attaching the covers XD
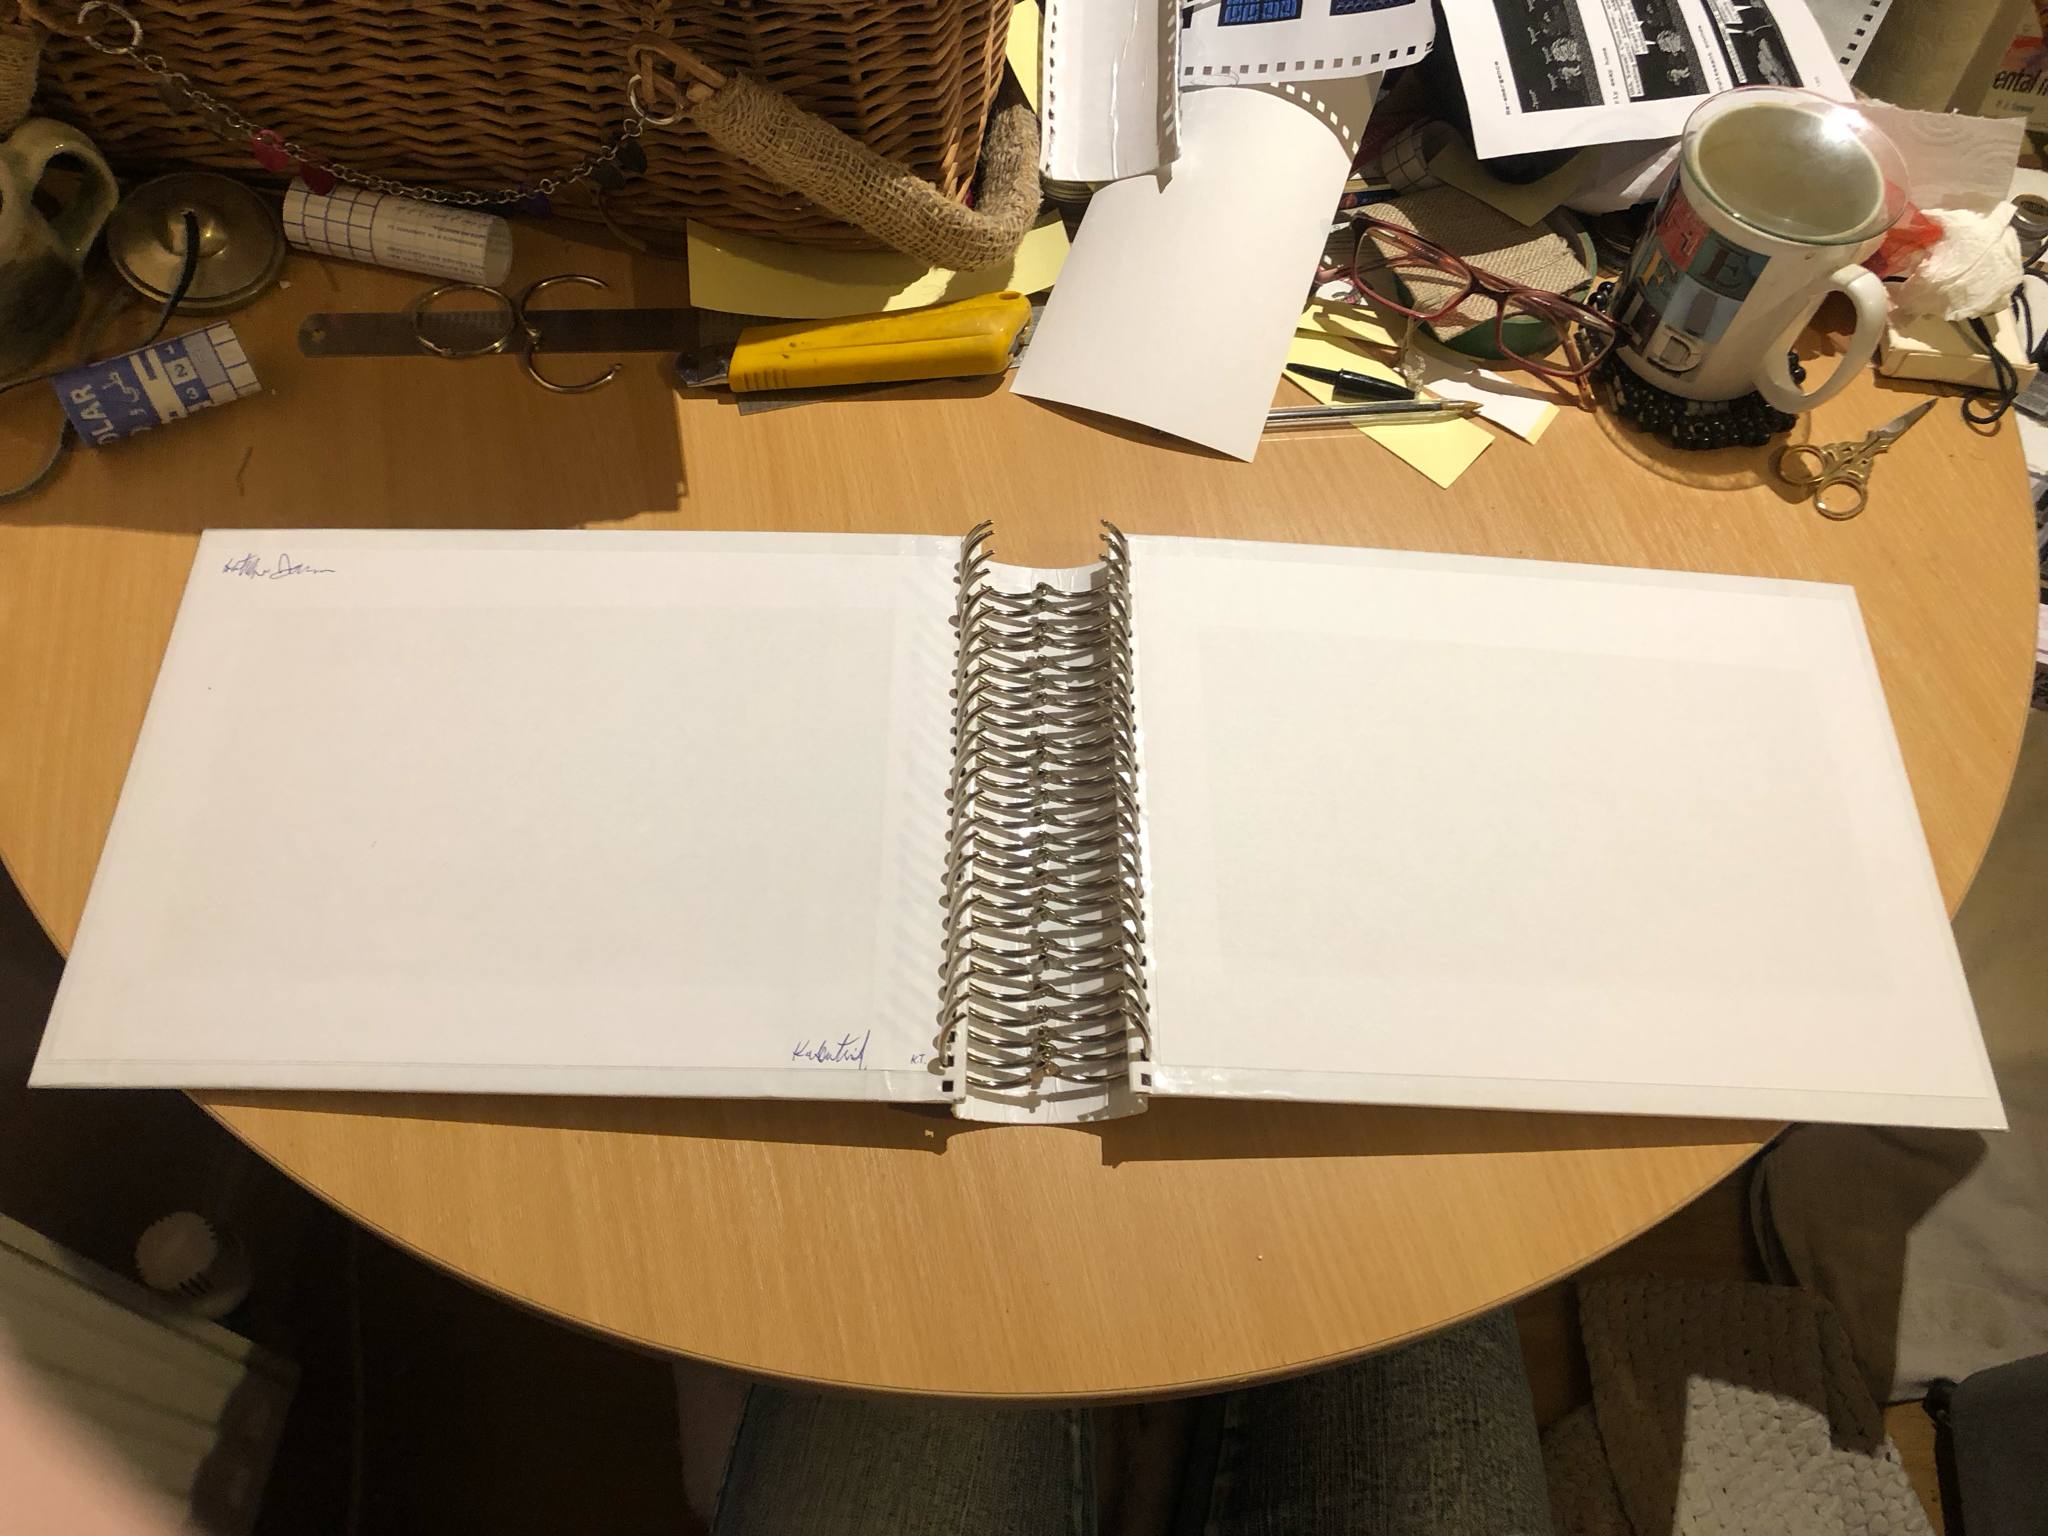
This was actually pretty difficult, since until the covers were added, the rings were in no way shape or form evenly spaced, and kinda flopping all over the place. Once the covers were added, and especially once the first few reams of paper were added (don't worry, I kept constantly checking the page numbers. I needed to finish in the middle for ease of completion), then they really stuck to the same distance apart from eachother, and adding more reams of paper just got easier, until the very last section in the middle, which popped right in. It shouldn't be too hard to add pages to the epilogue section as needed, since the binding is flexible and can be slid to the side to add near the end of the book. It did take two pairs of needlenose pliers to get all of the rings connected, since my fingers just wouldn't fit inbetween them well, but we got 'em all clipped in, and the book was complete! The softcover came a few days earlier, and kicks around readily available, and the hardcover stands proudly on my bookshelf, massive and incredible.
Kabutroid is happy :D
Finished May 4, 2025