
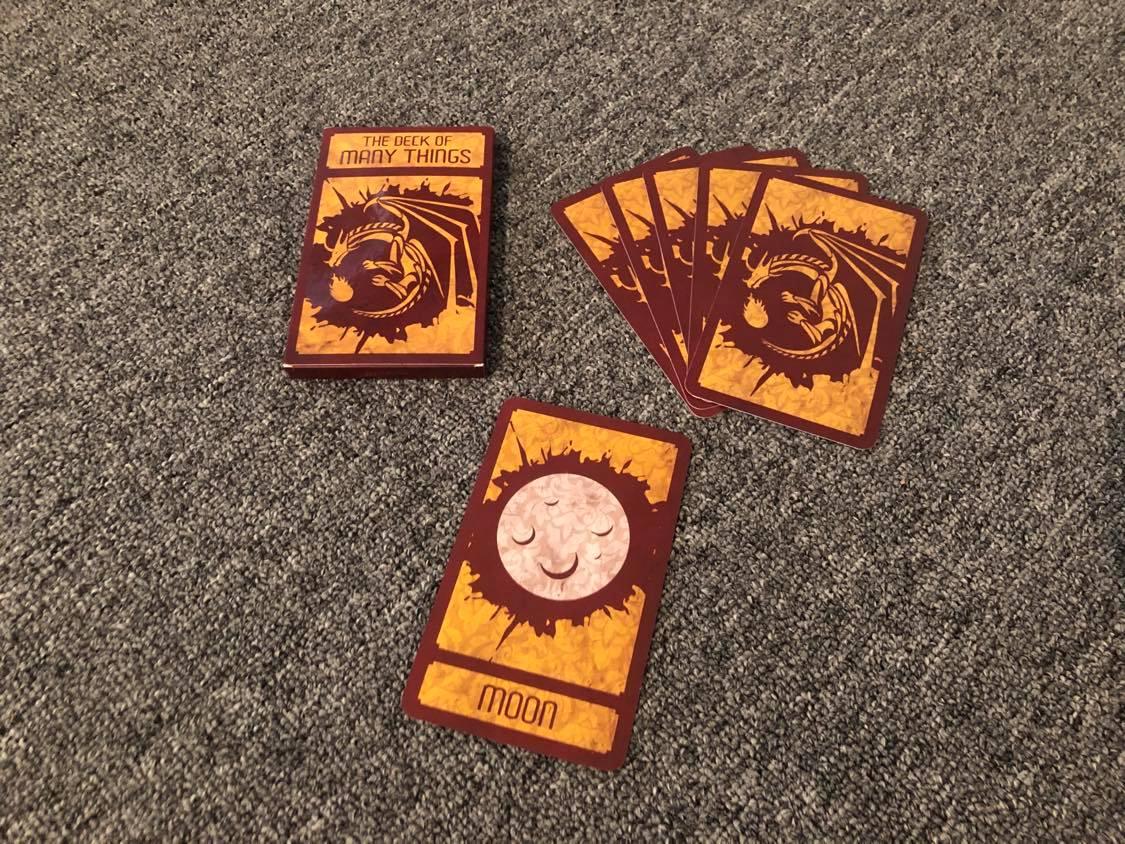
This project began, in a way, with the Harrow deck, and I needed to have the regular Deck of Many Things as well, and so I ordered it off Etsy. At this point, the thinking began.
For you see, most Decks of Many Things come with 13 cards, though some can carry as many as 22! I have decided to do both.
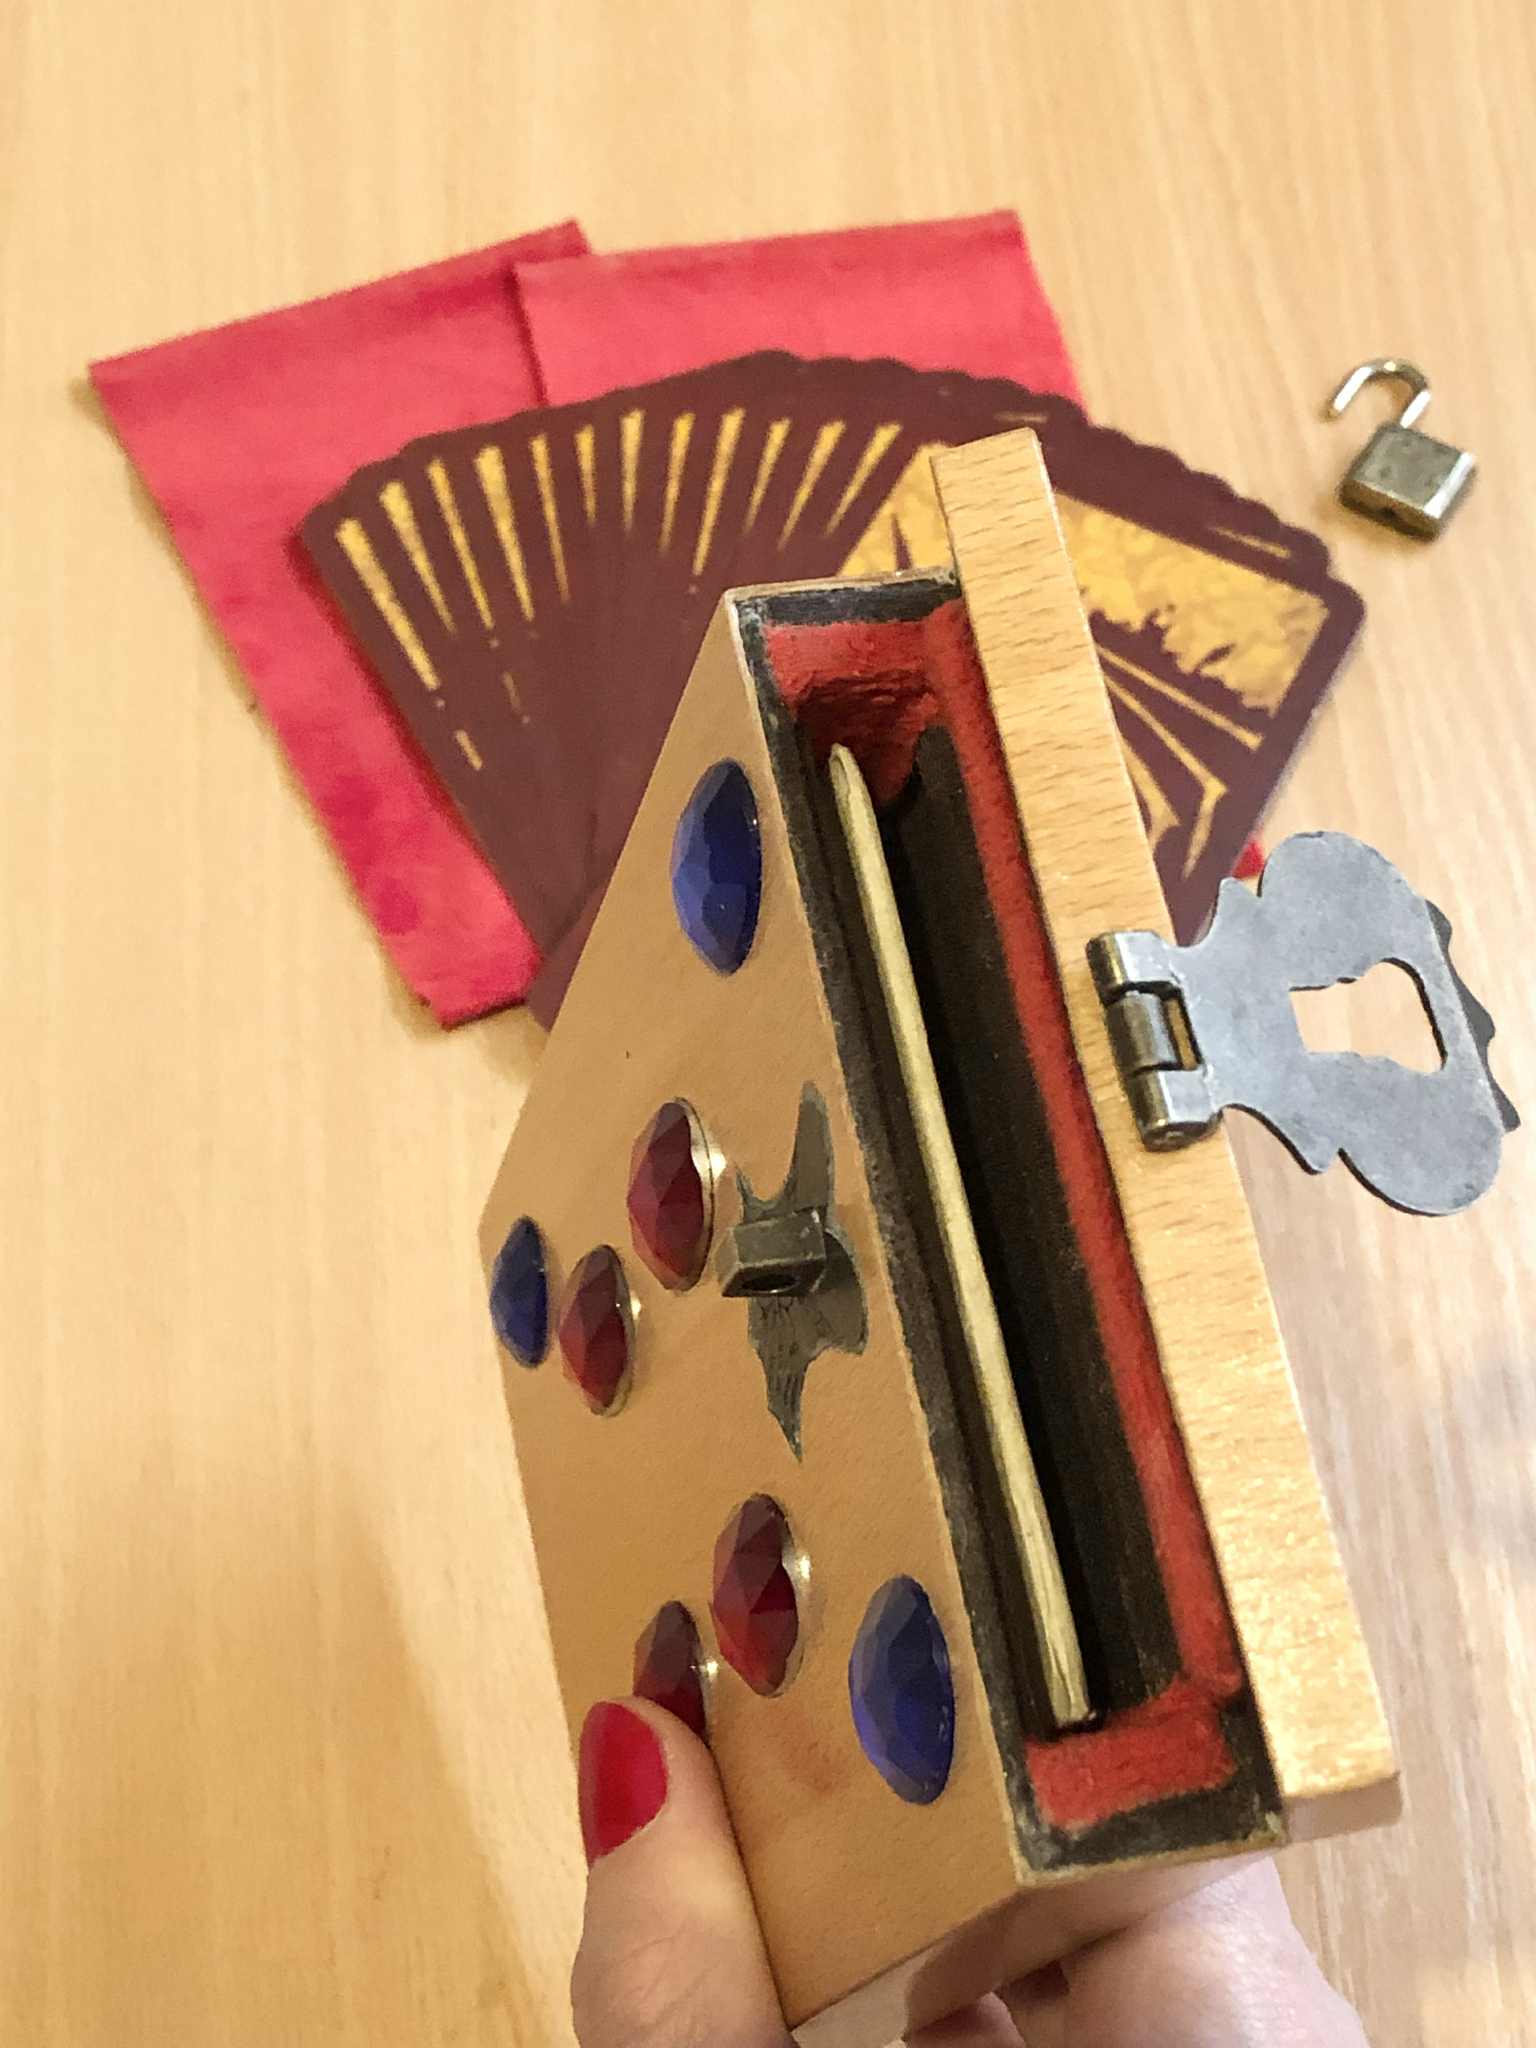
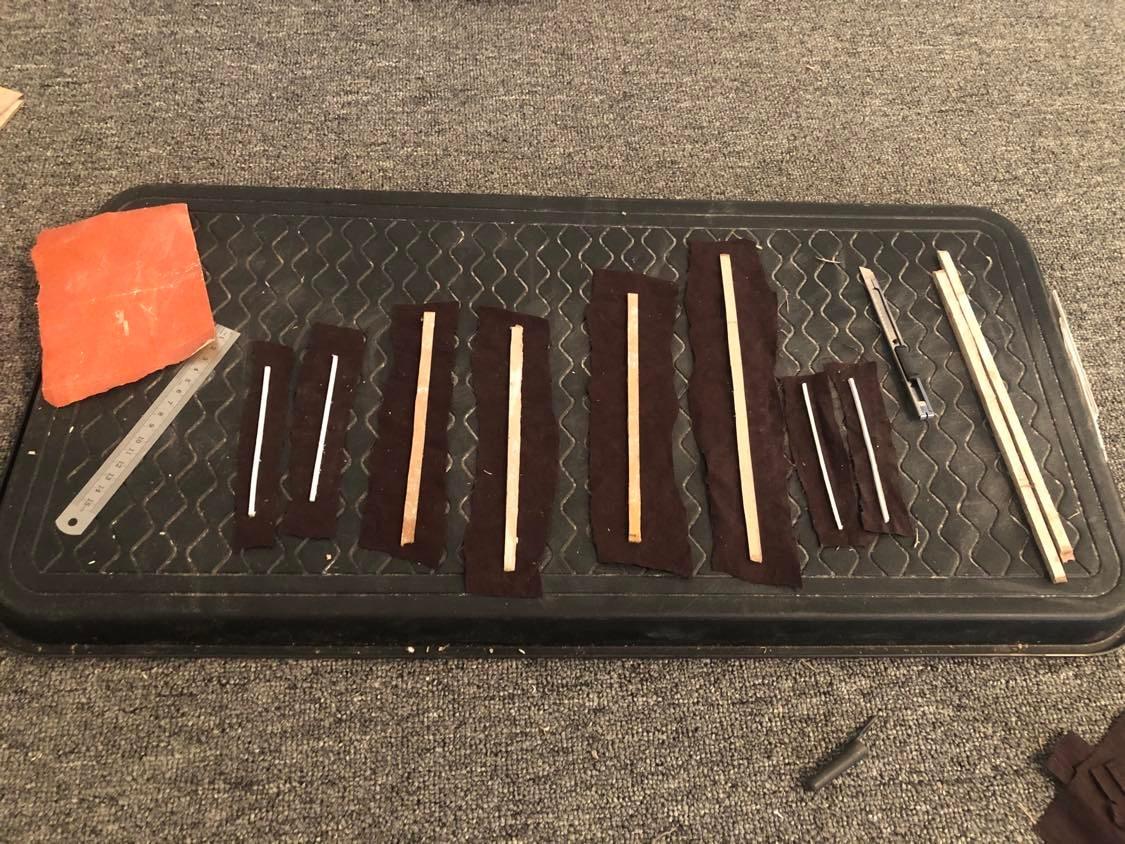
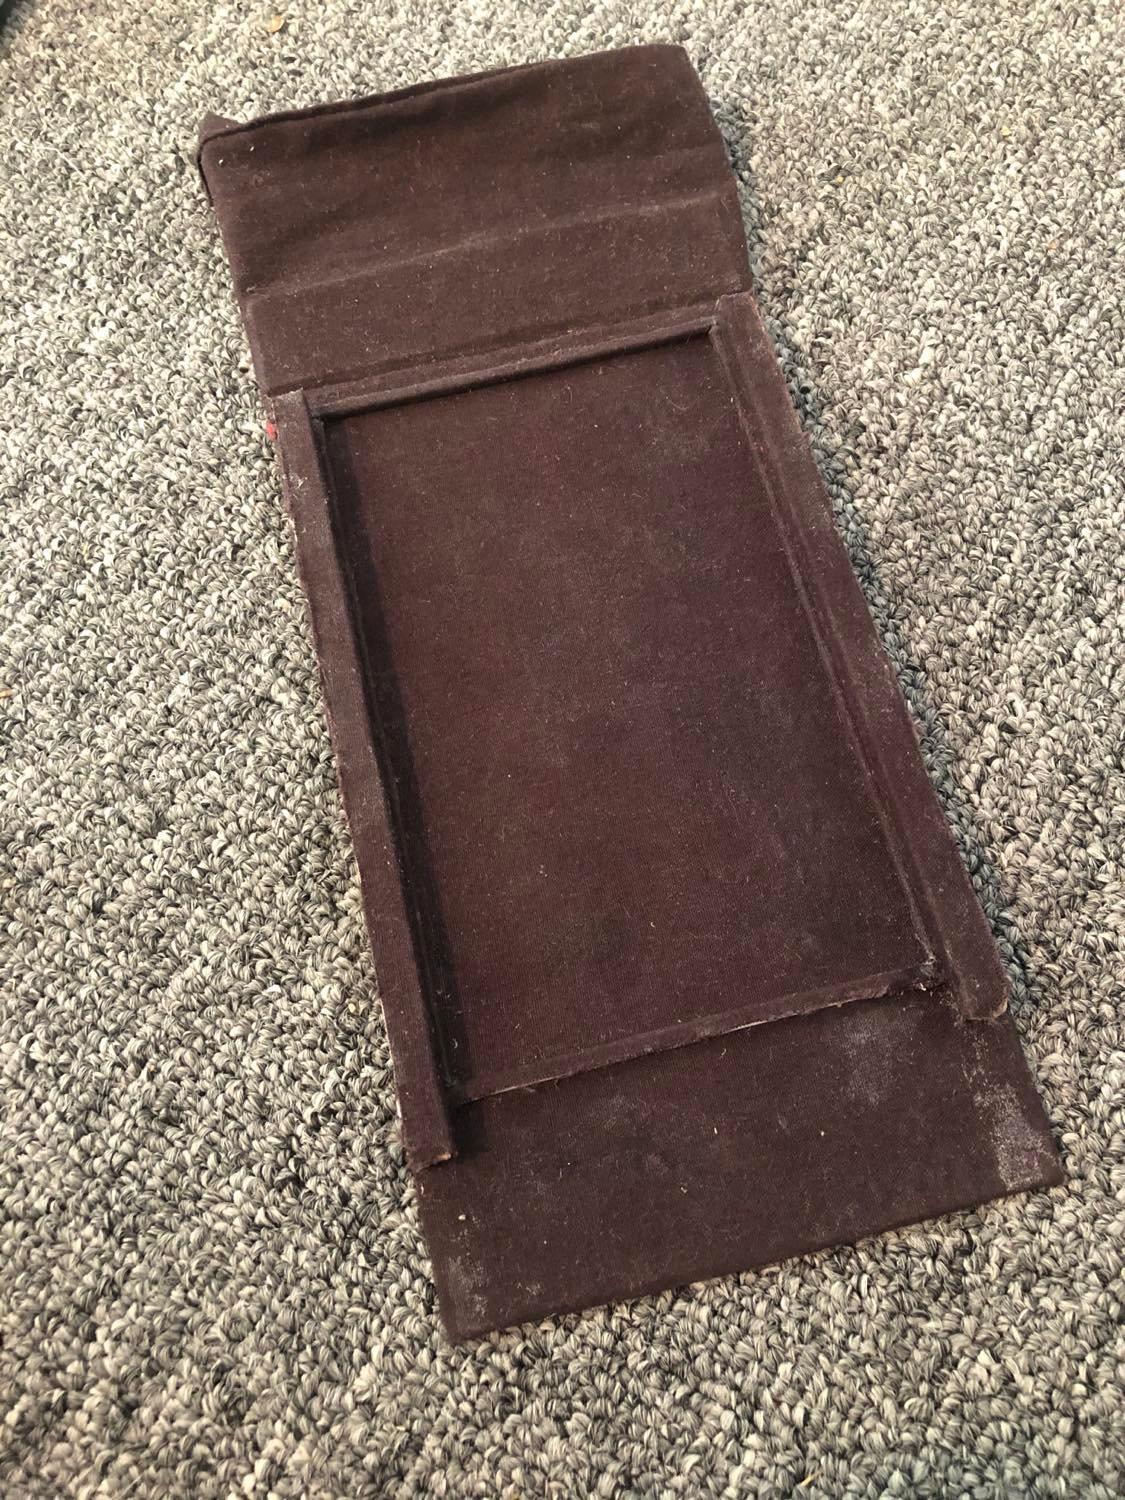
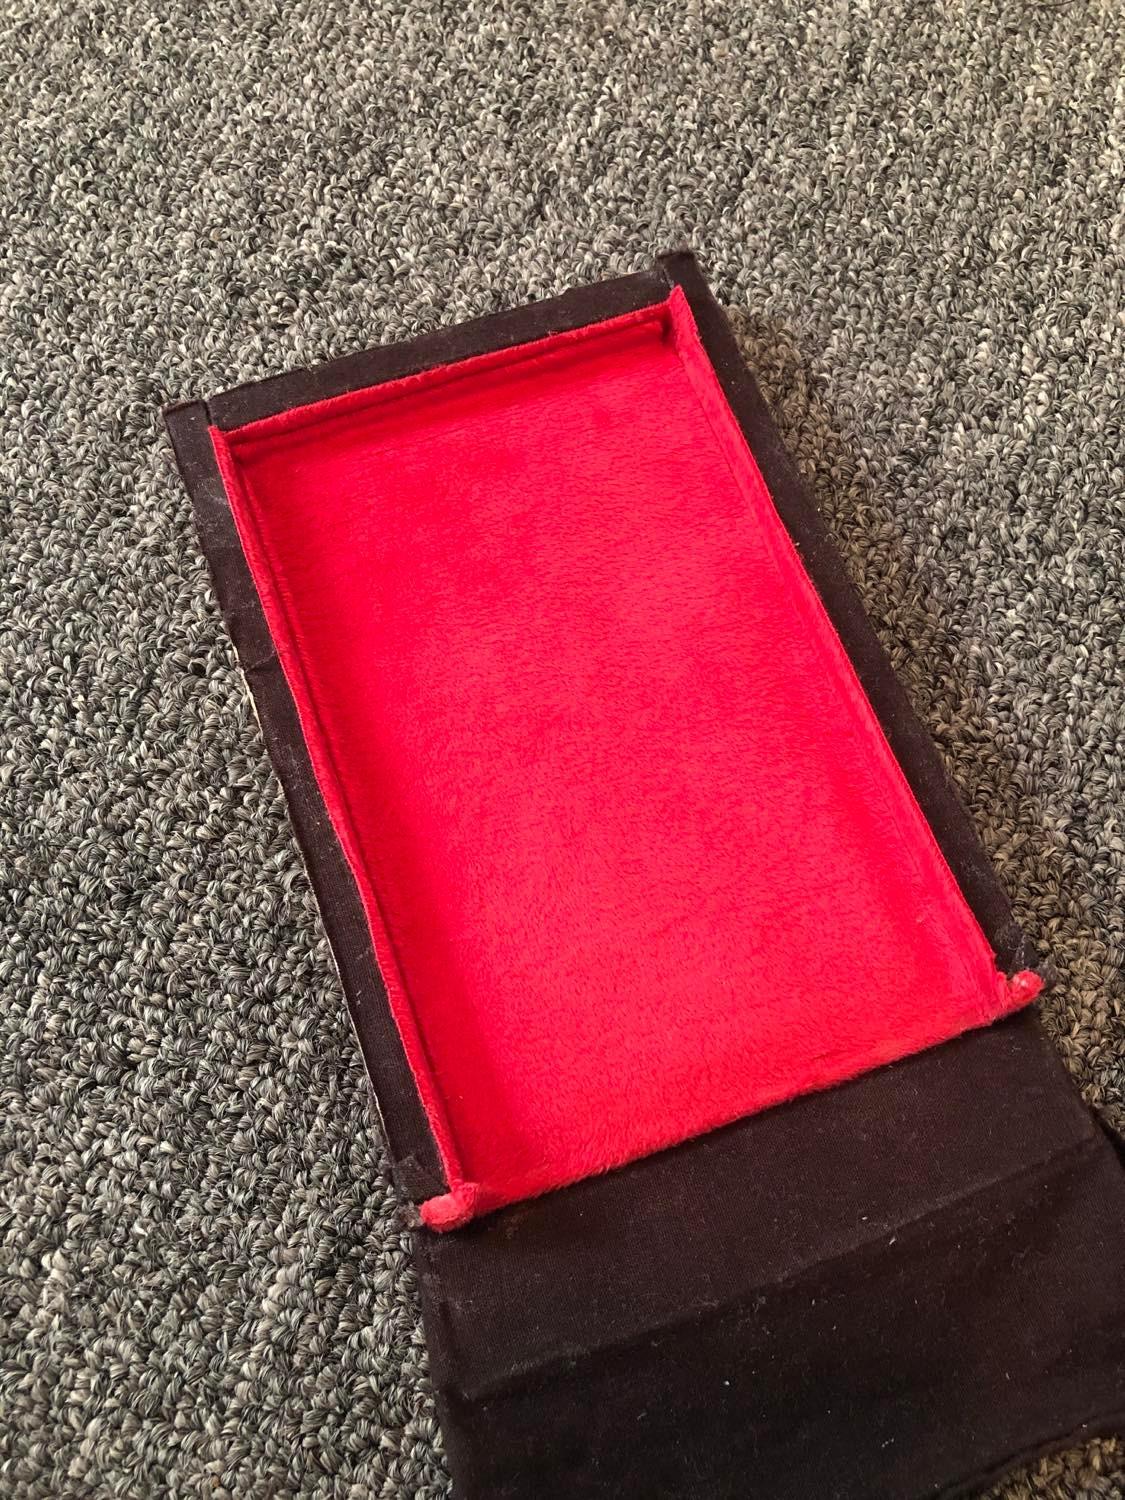
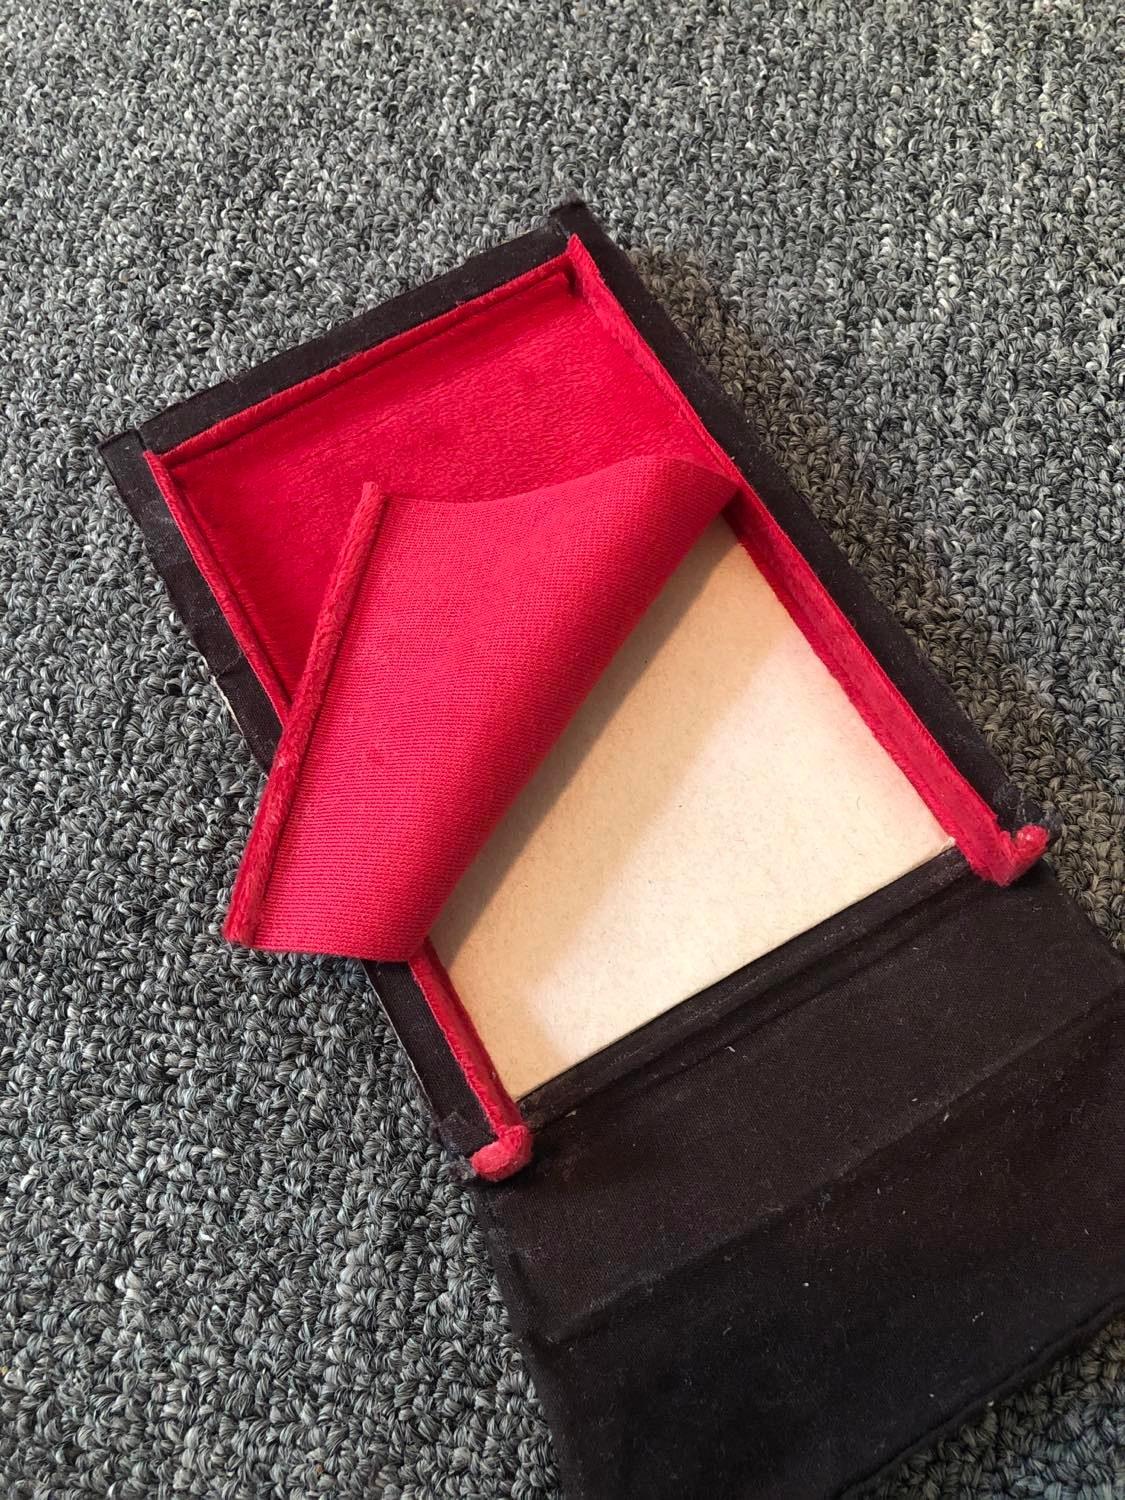
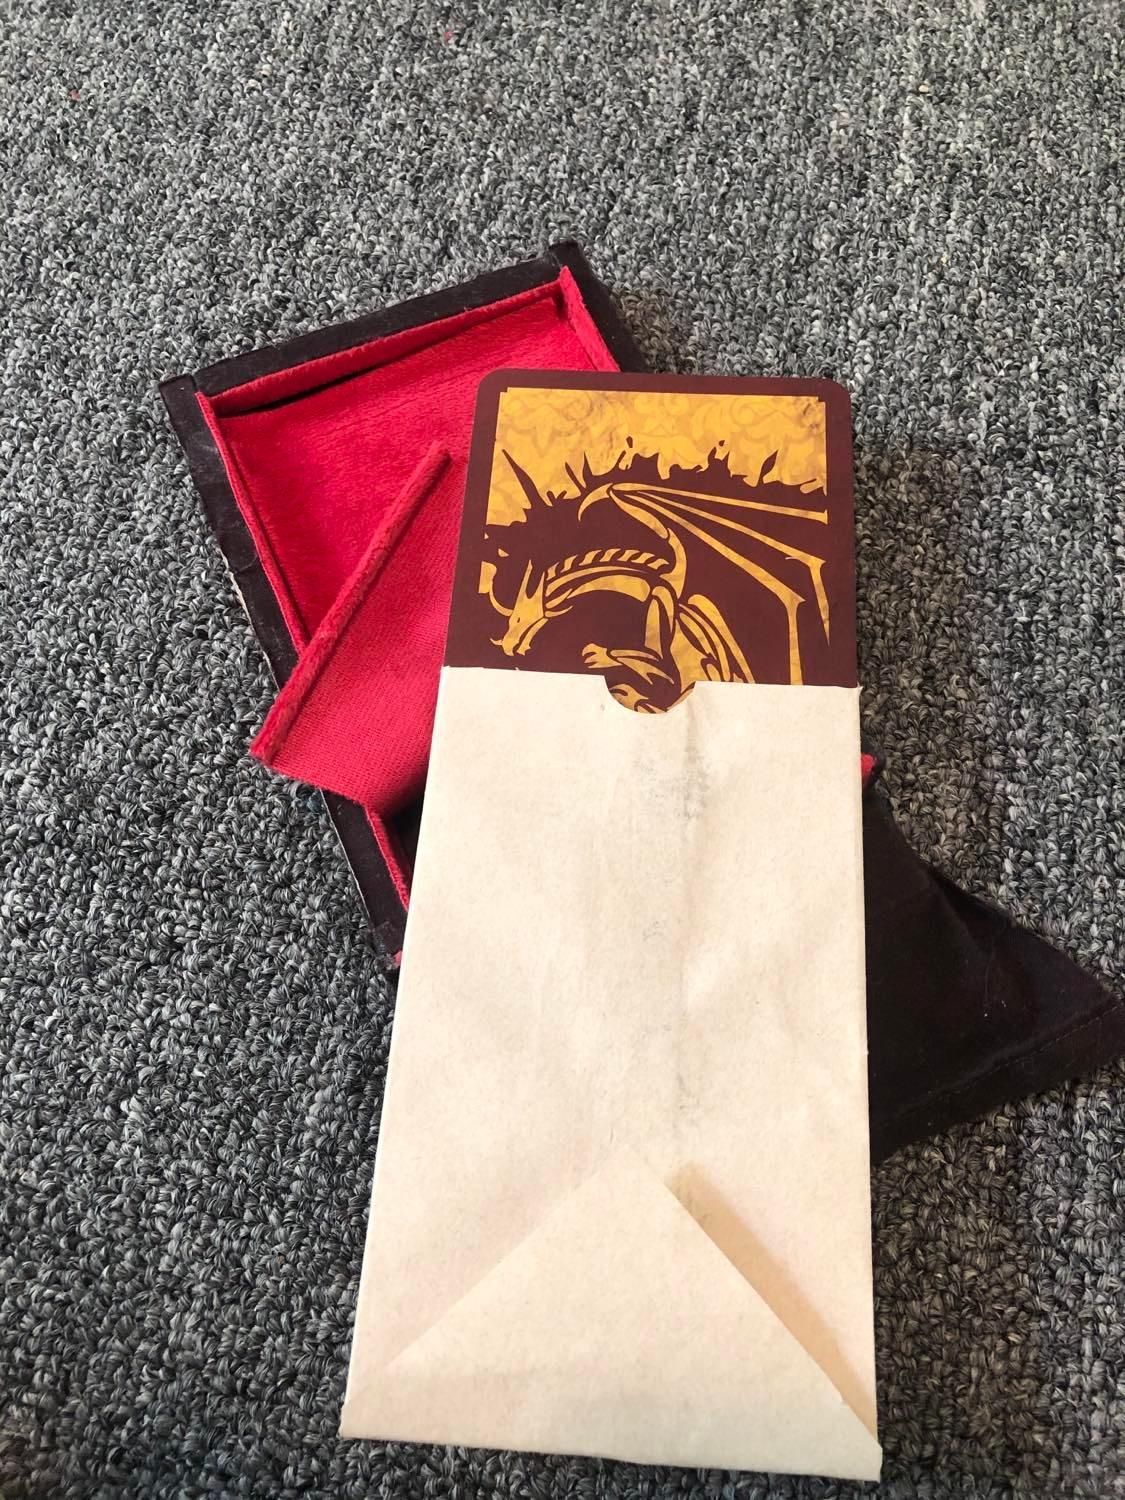
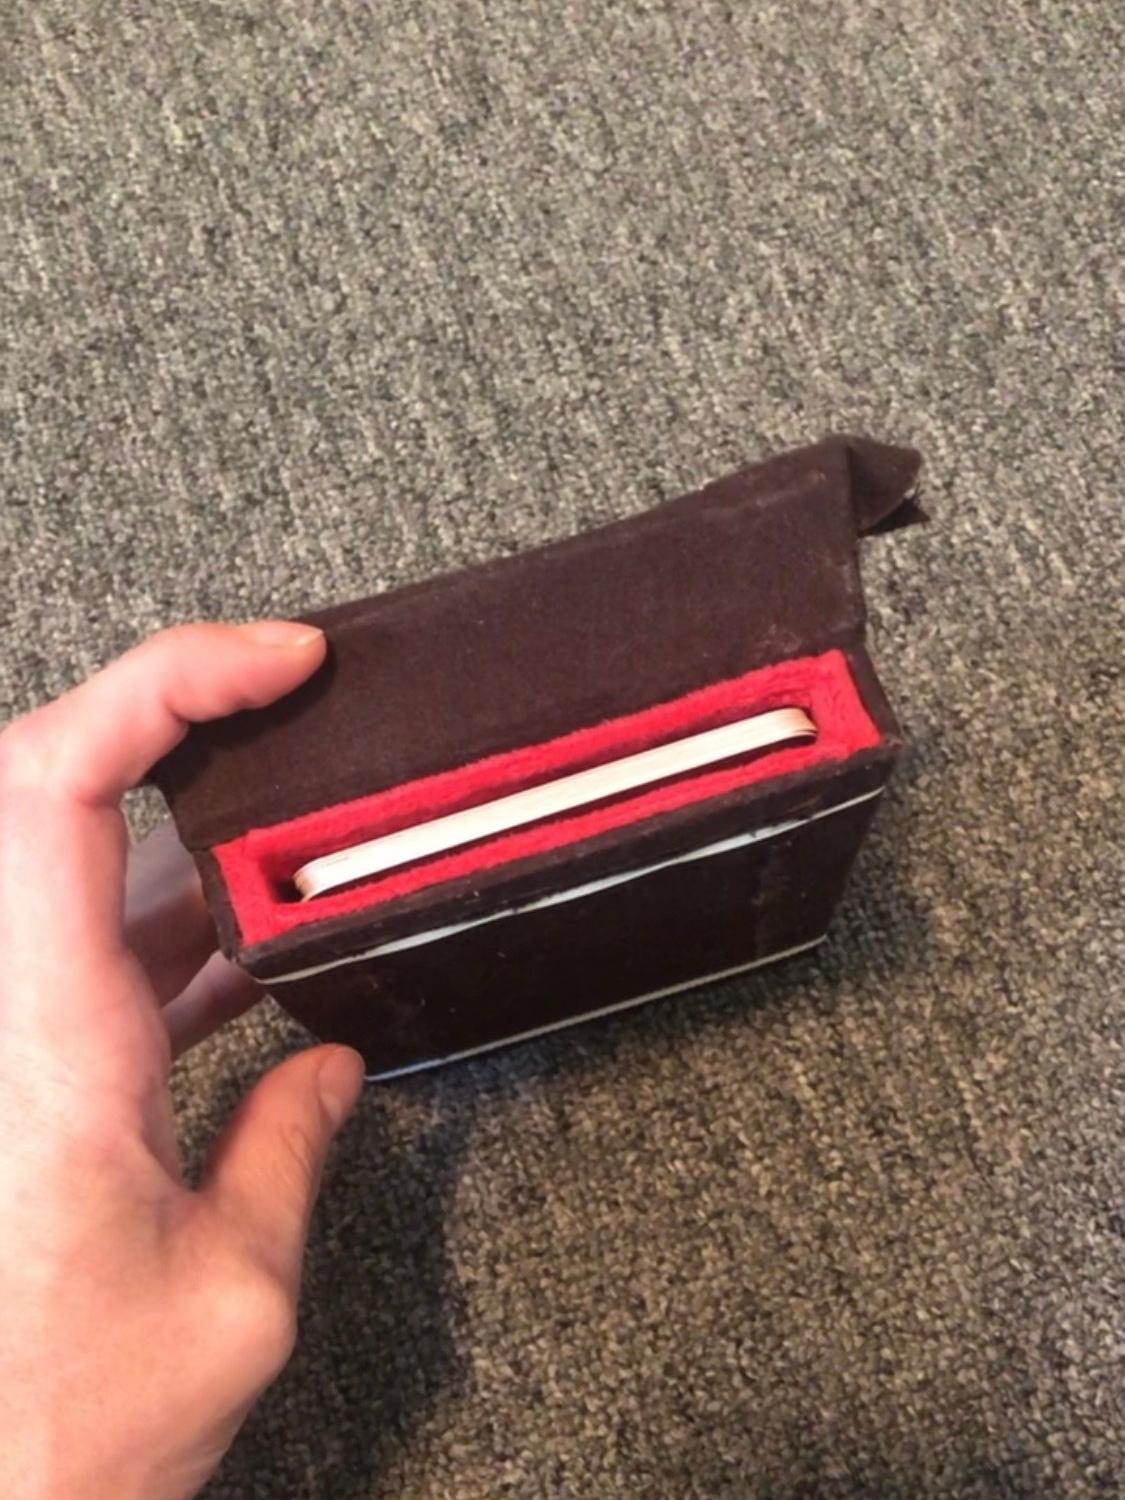
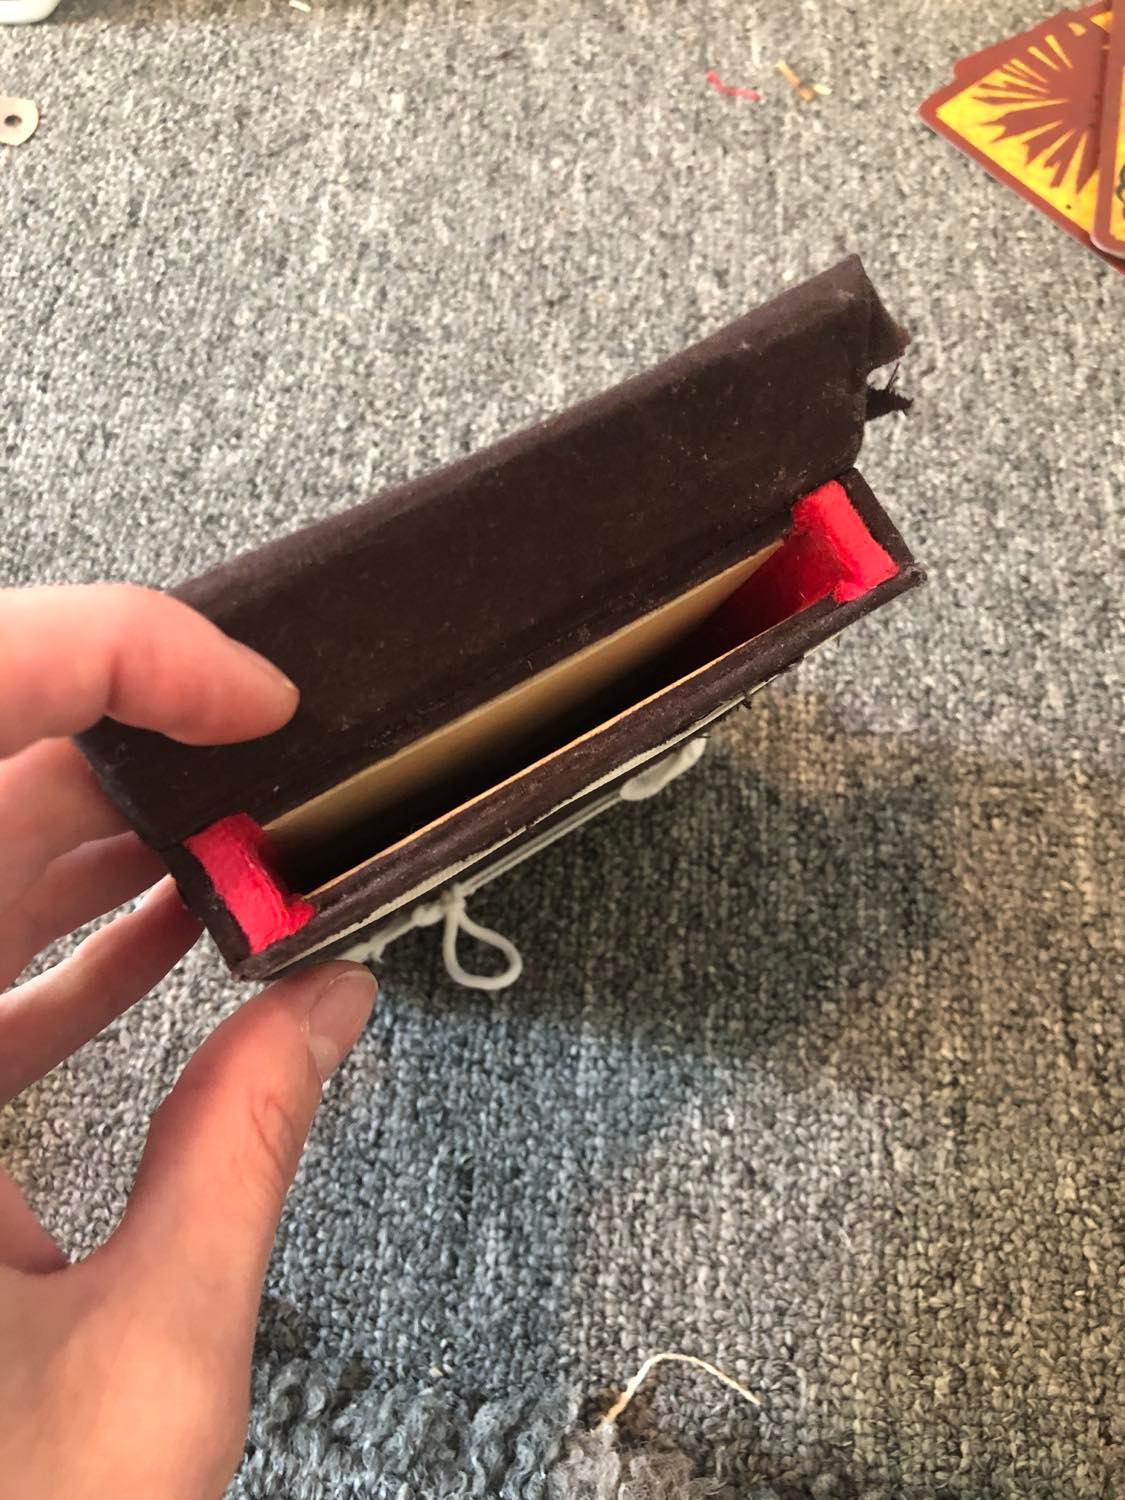
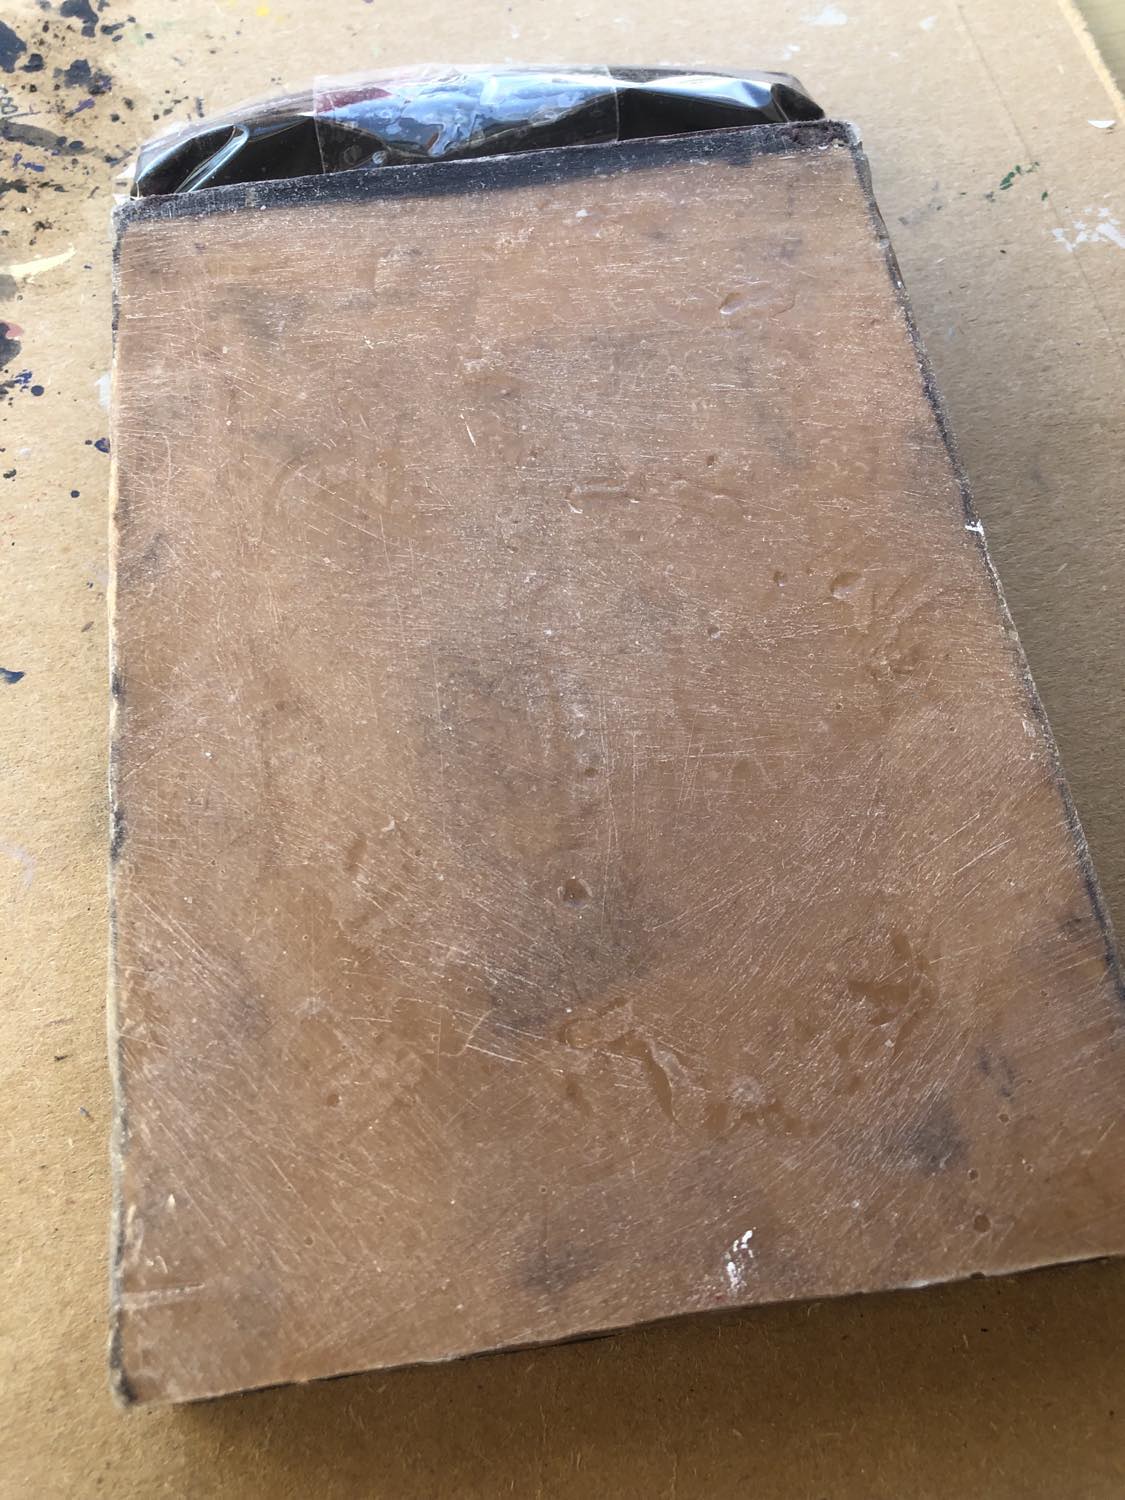
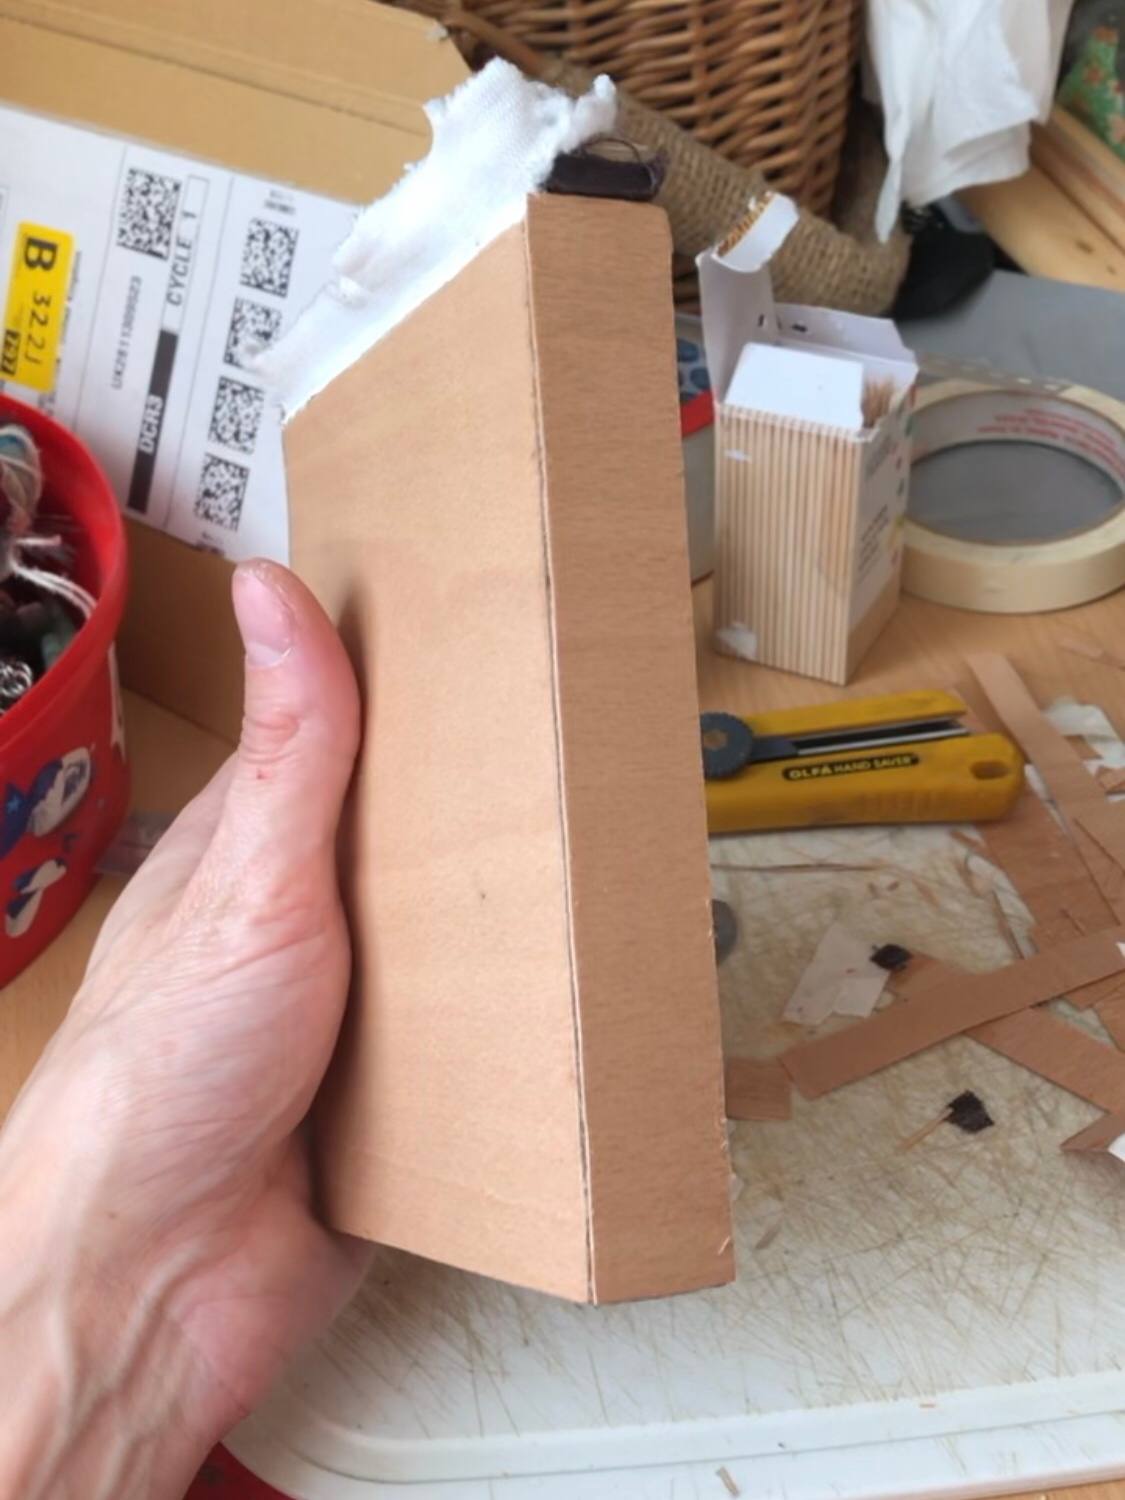
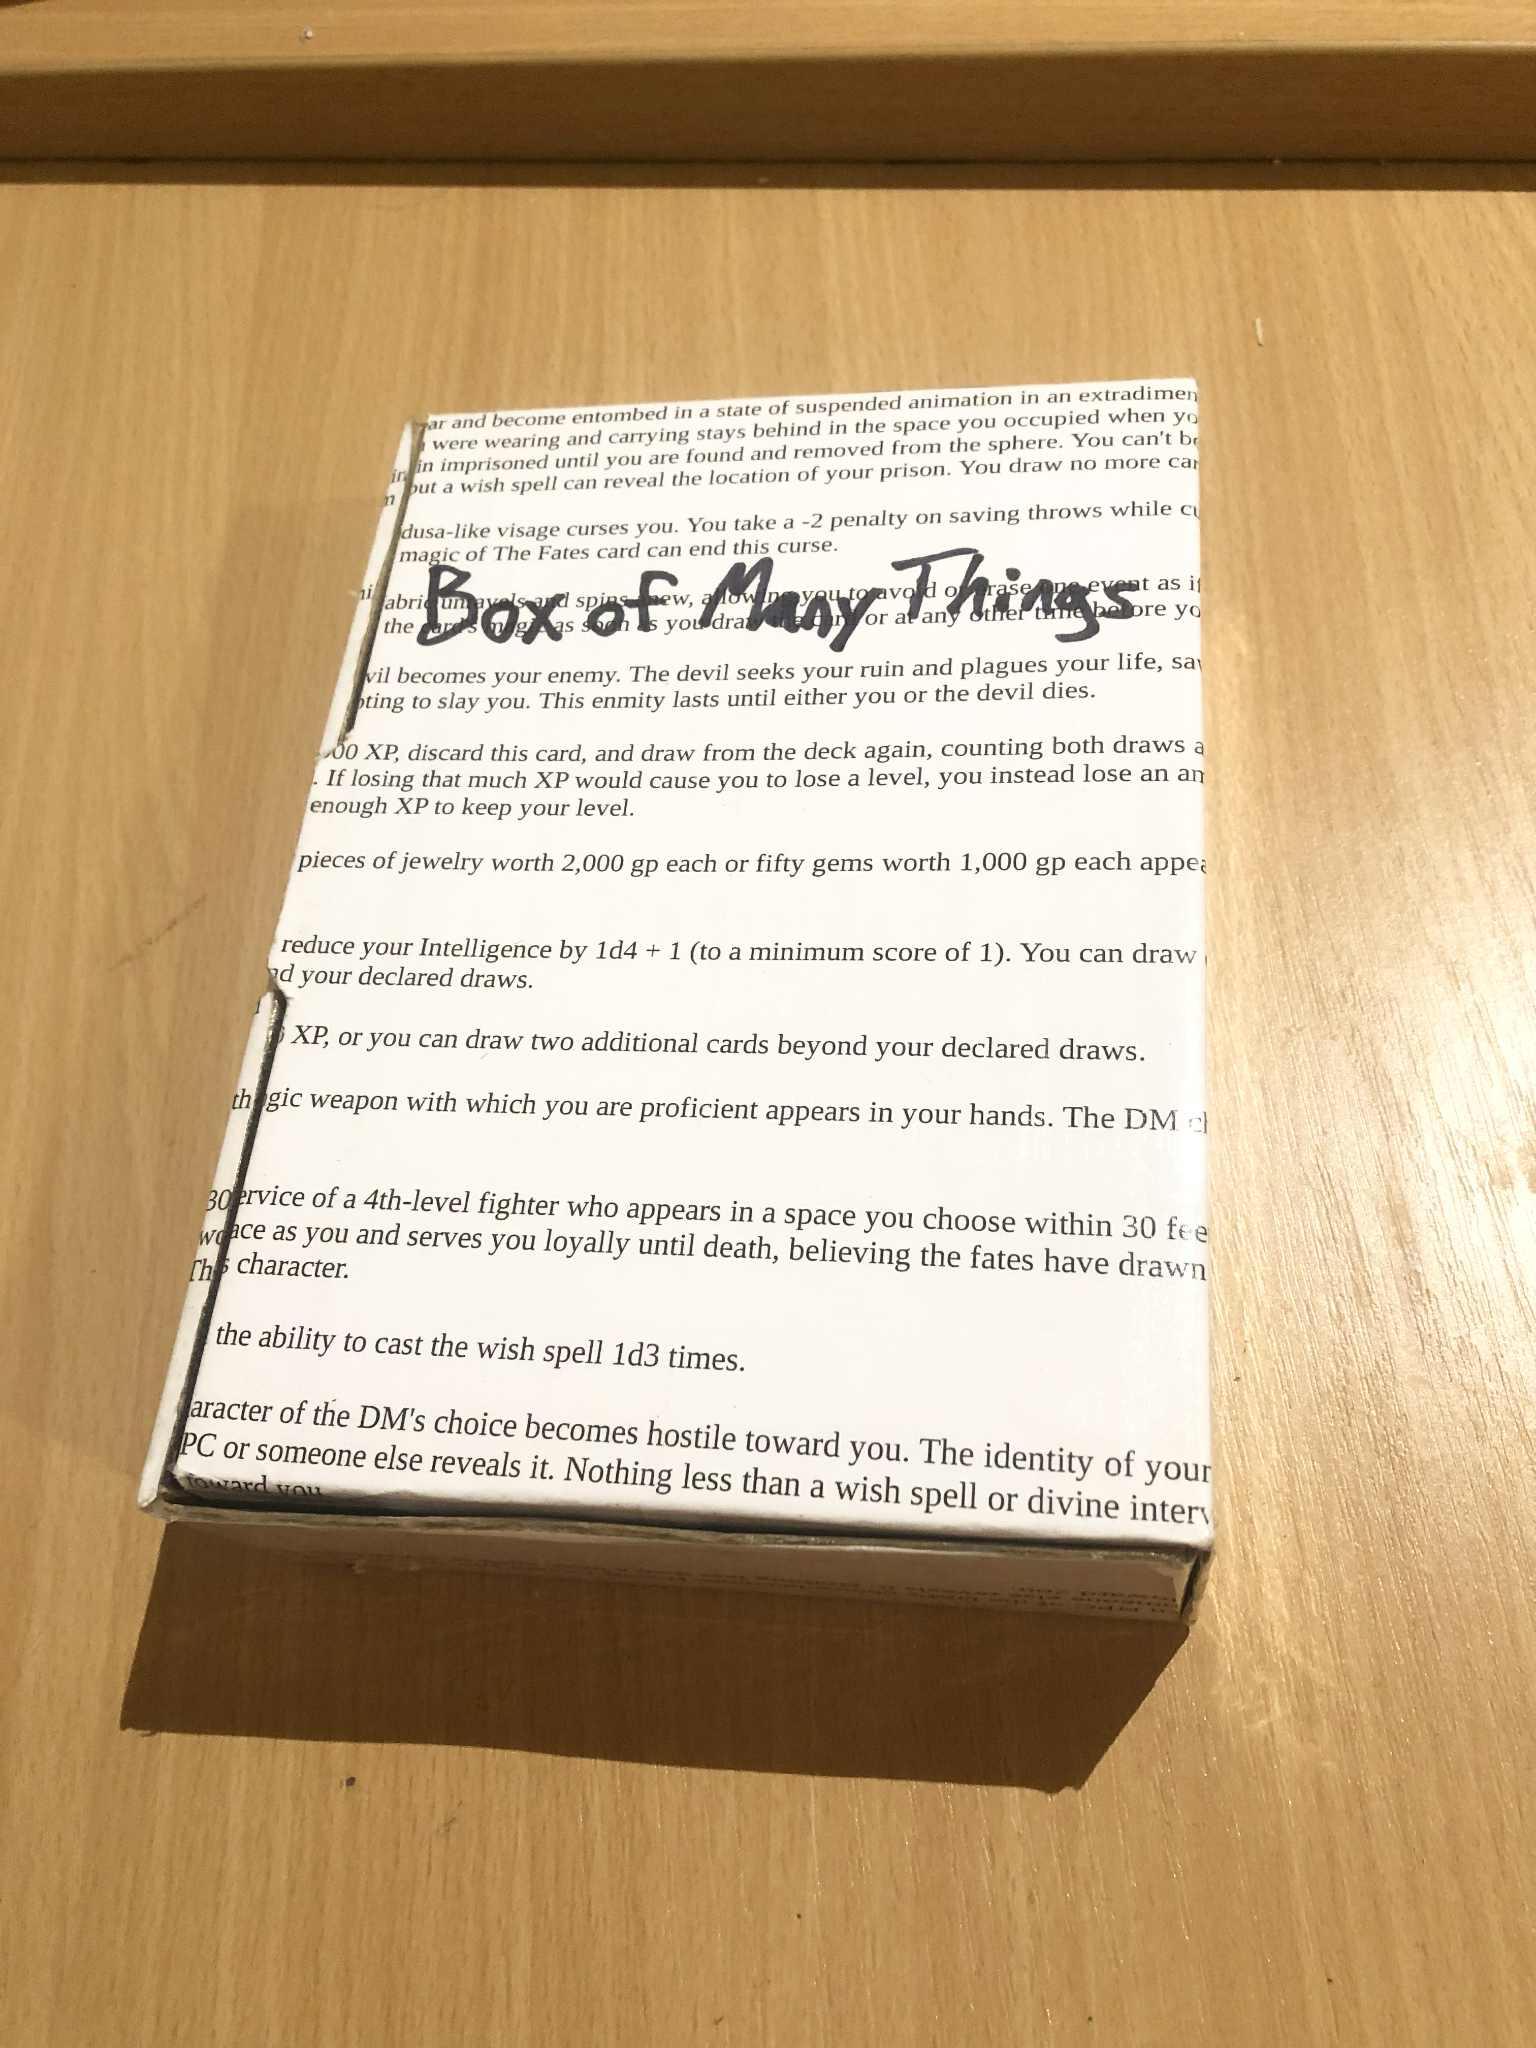
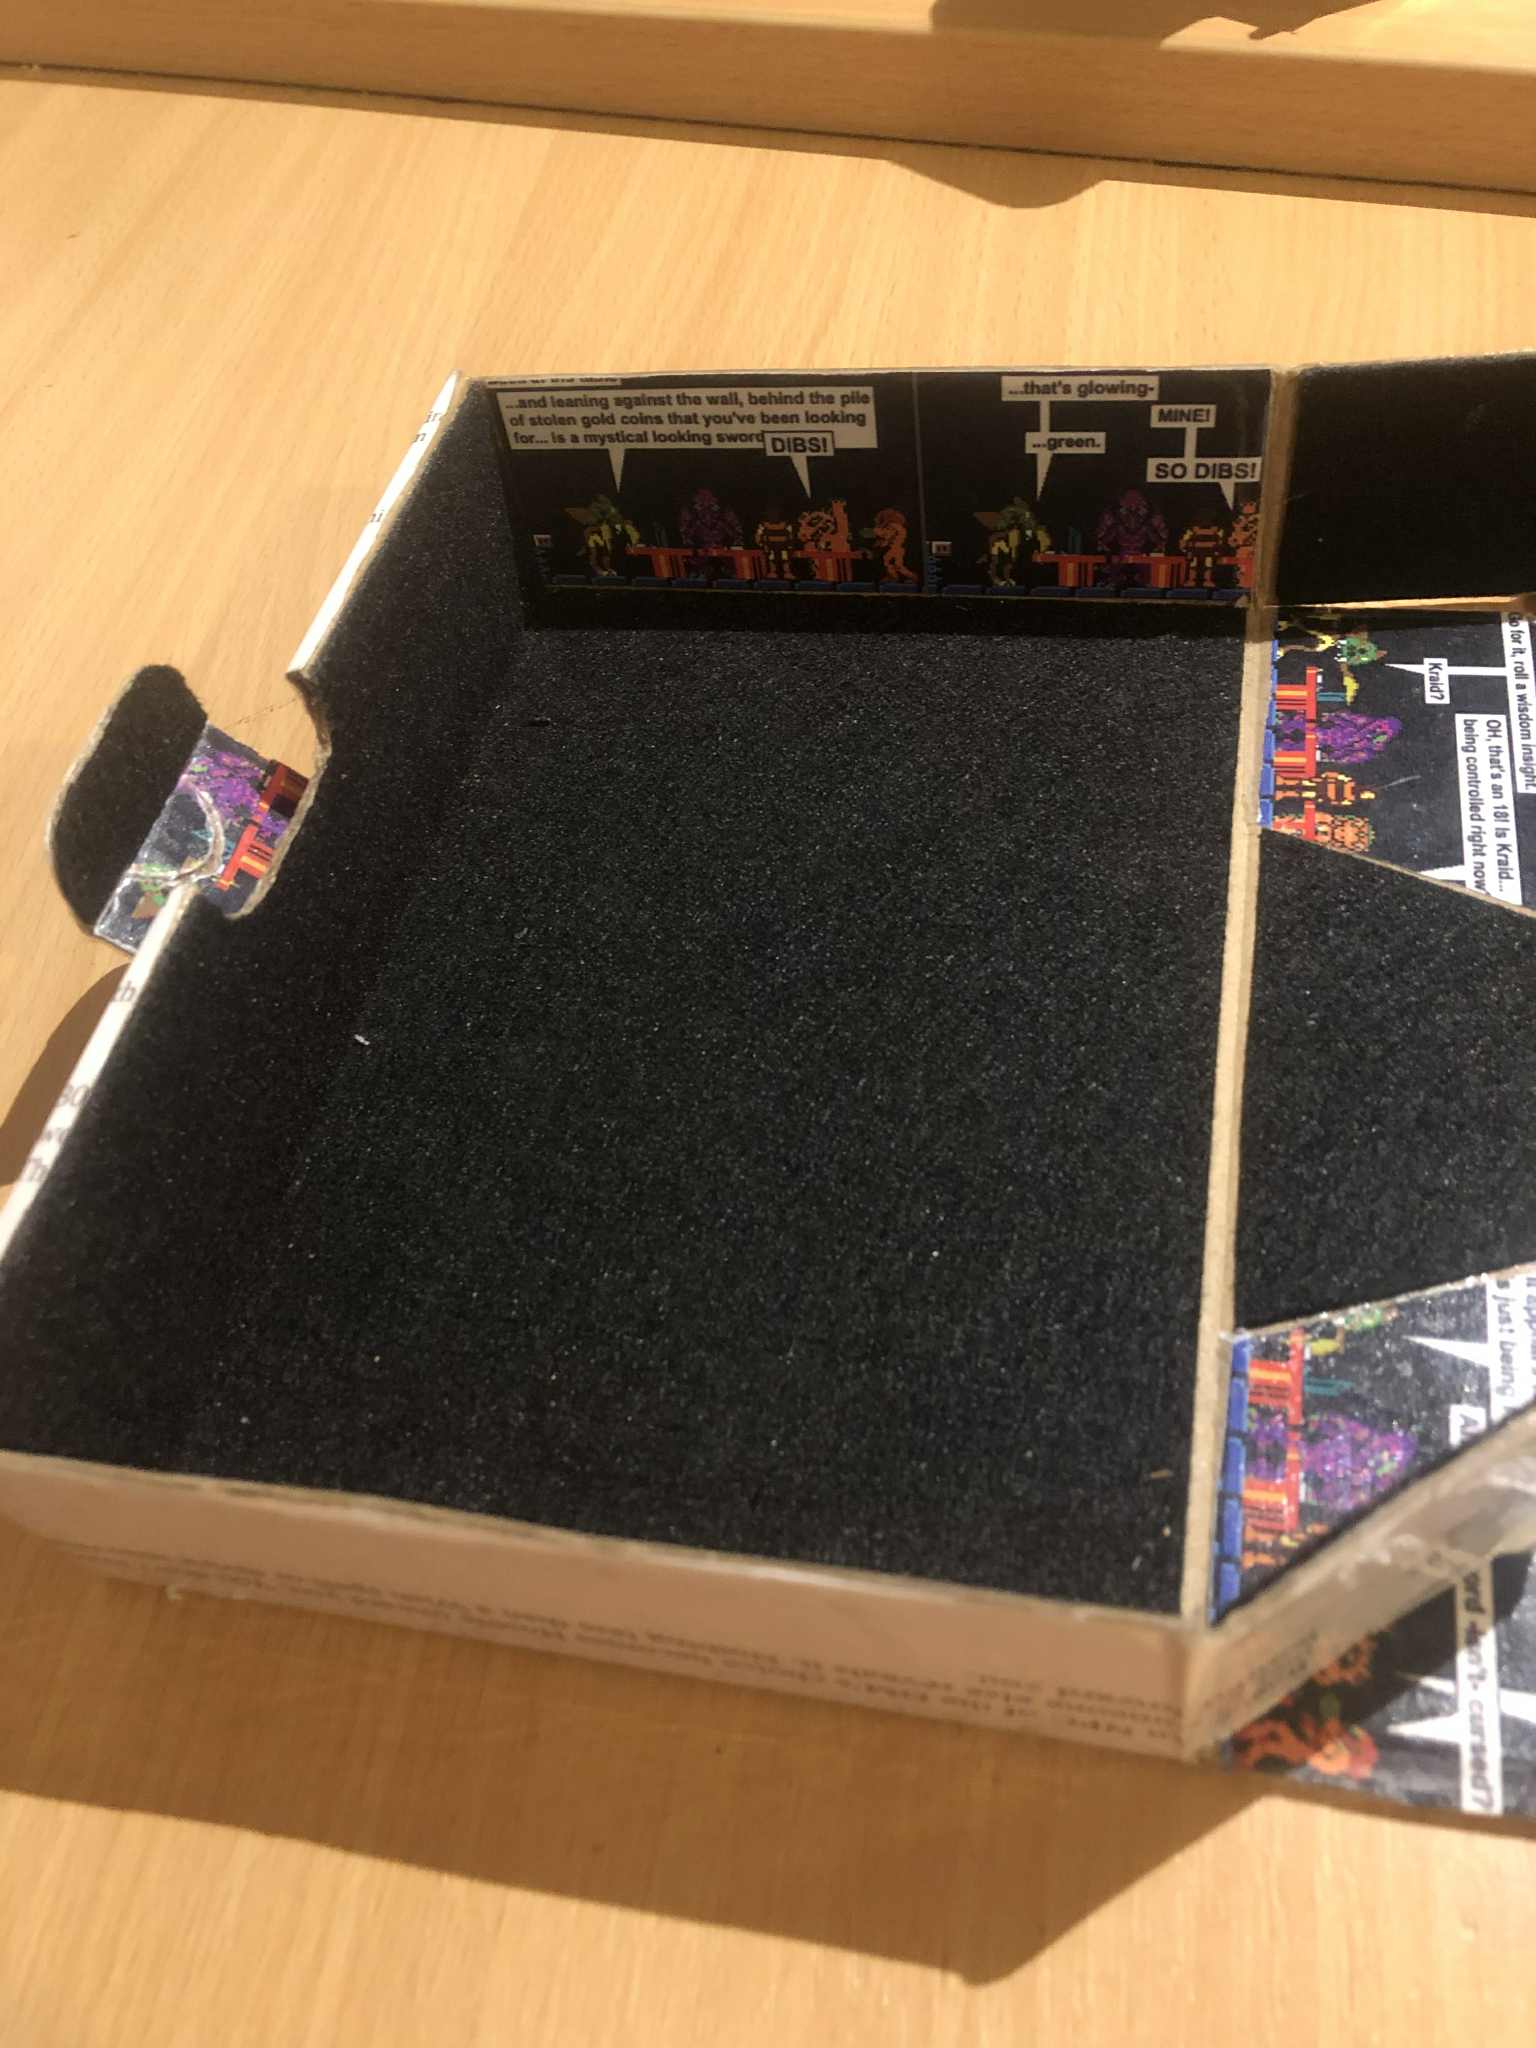
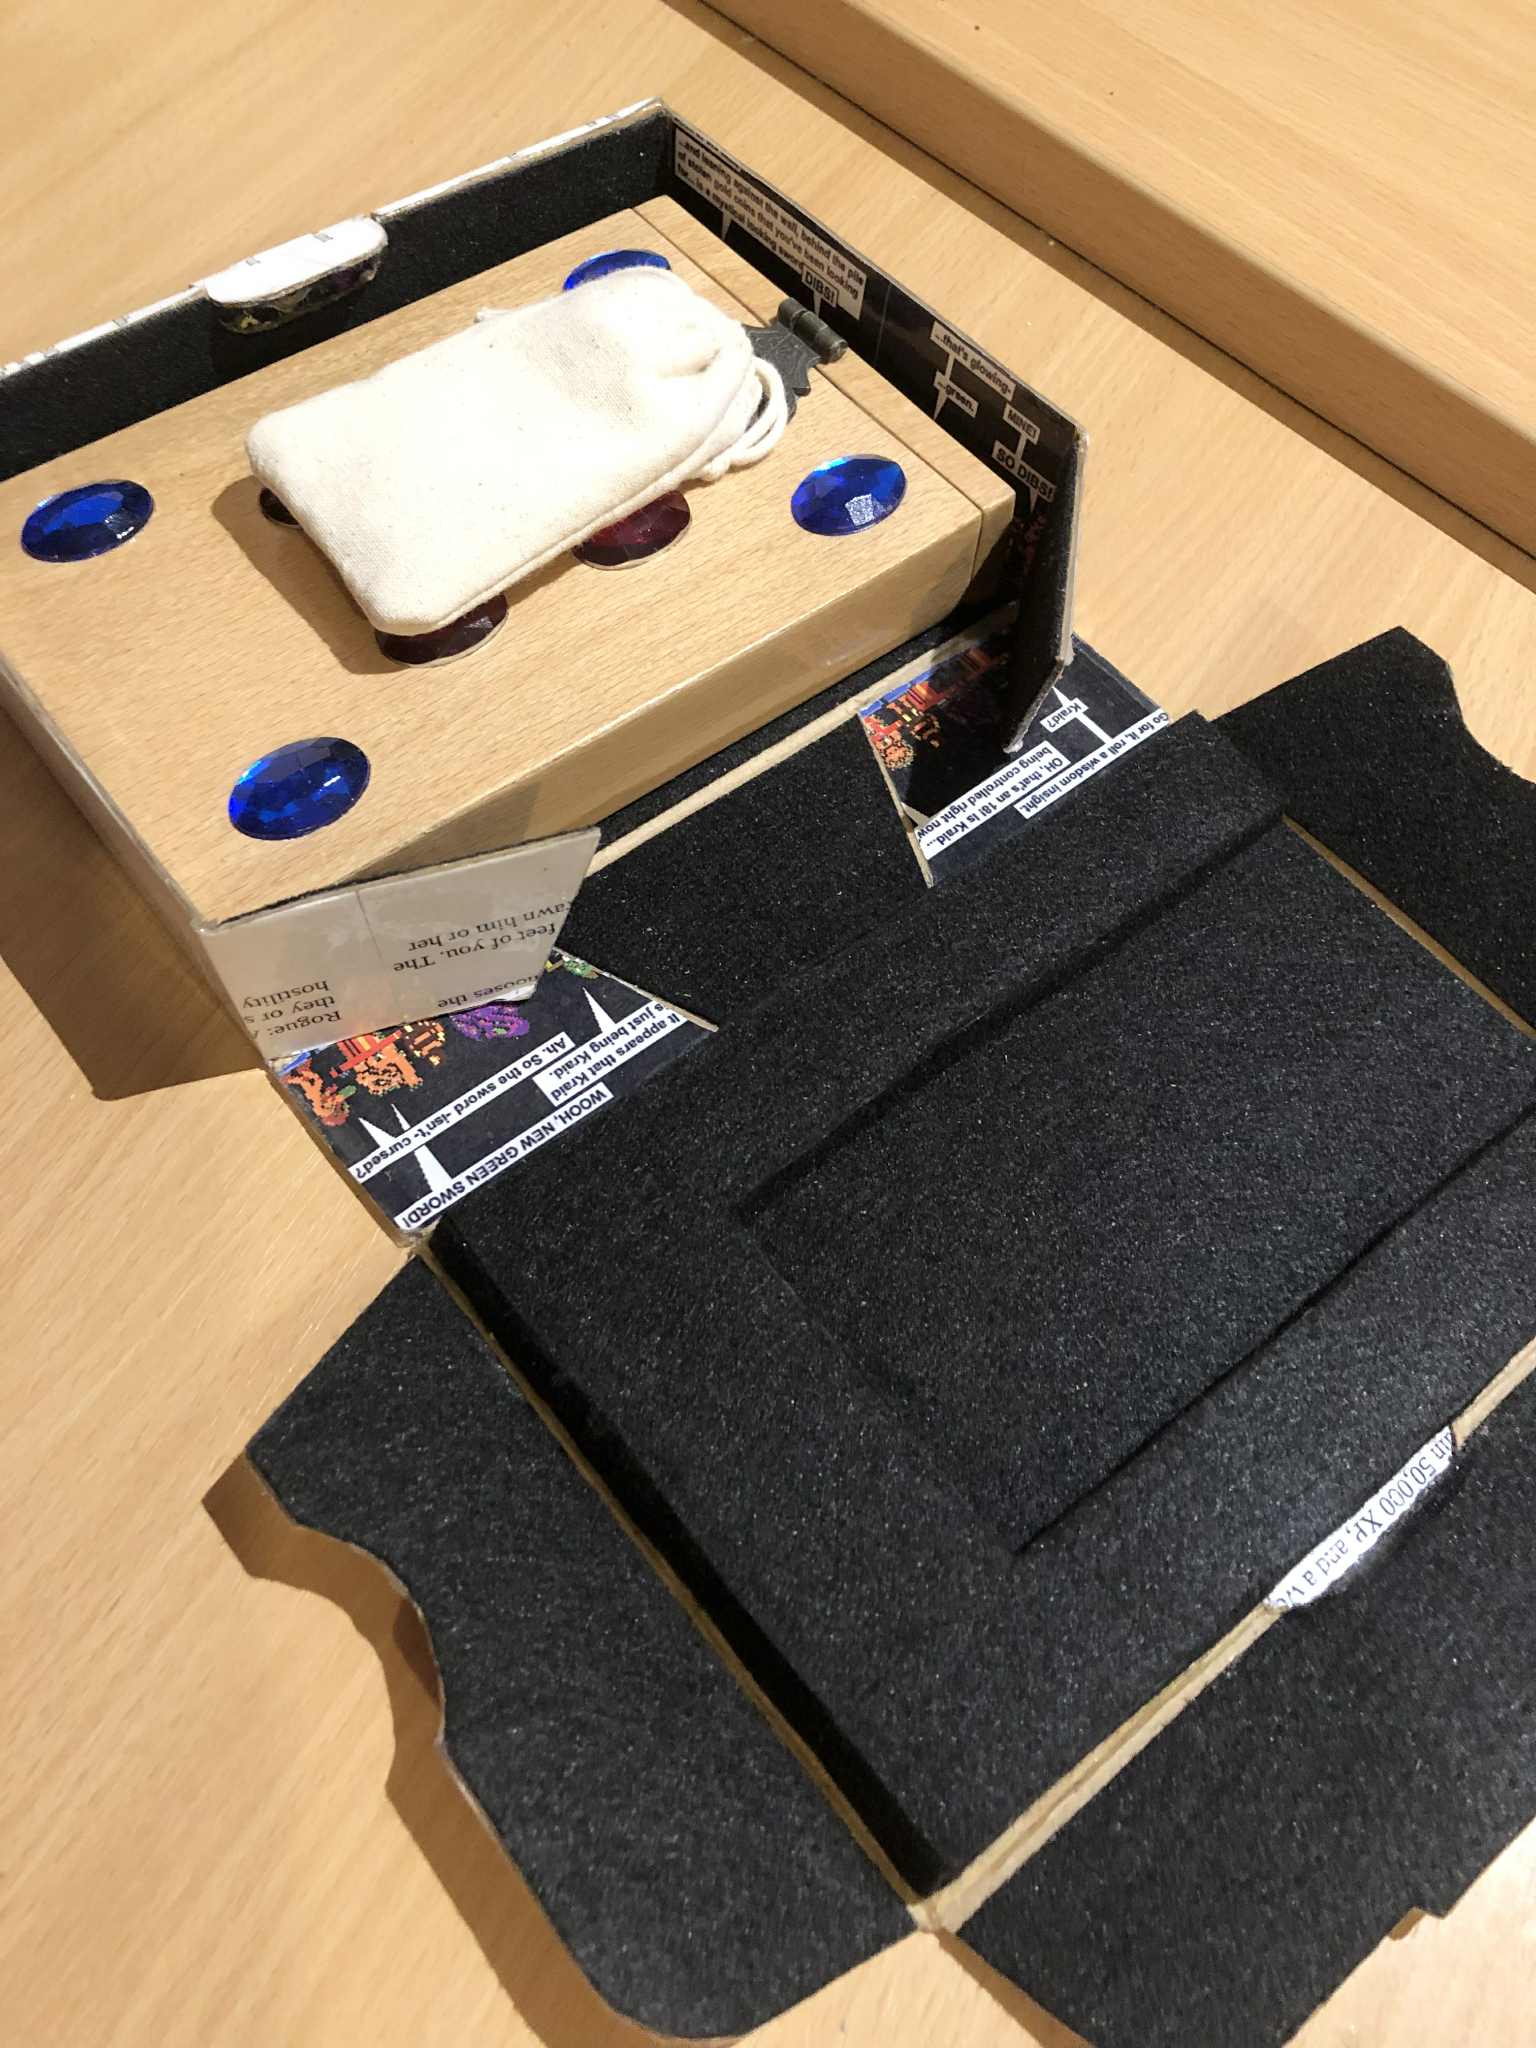
So for this deck, working with primarily cardboard scraps and extra cloth I had laying around, I set about making a box with two hidden compartments in it, thin little slots where an envelope containing cards might go. The main box holds the primary 13 cards, but with a successful investigation check (after picking the lock, something the players at the table will be able to mess with directly!), they can find that the inner lining can be removed, revealing the two hidden envelopes inside, containing the remaining cards. Inspired by Grog and his Deck of Many Things, of Critical Role ^_^
Also a note kinda in the middle of things here, with the random card drawer at the bottom, while editions 1, 2, 3, and 5 are all almost verbatim identical, 4 is actually quite a bit different, with two version in fact, Paragon and Heroic! However, due to 4th ed being unusual with its sharing, I can't post those. However, they both use only the 22 card versions. The Paragon deck is in Dungeon magasine issue 177, page 57, and the Heroic deck is in the module Madness at Gardmore Abbey, page 30. So you can use the 22 card randomizer at the bottom, and then look up those resources for the rules to those, at least until it's made shareable.
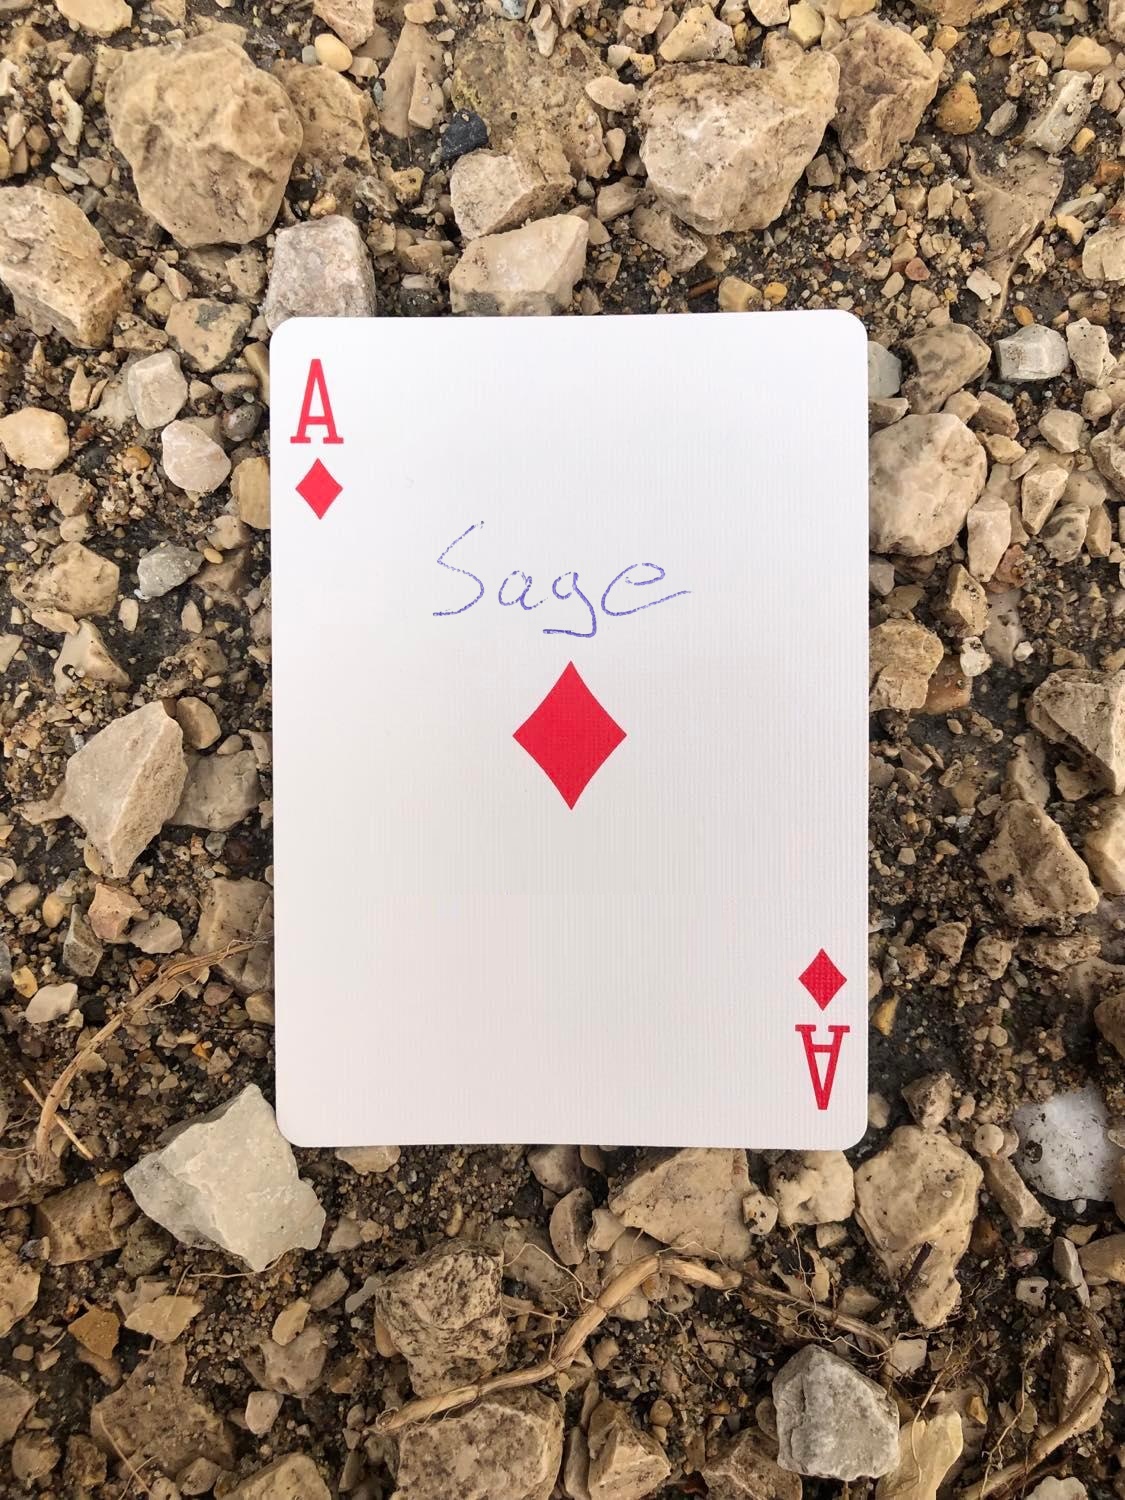
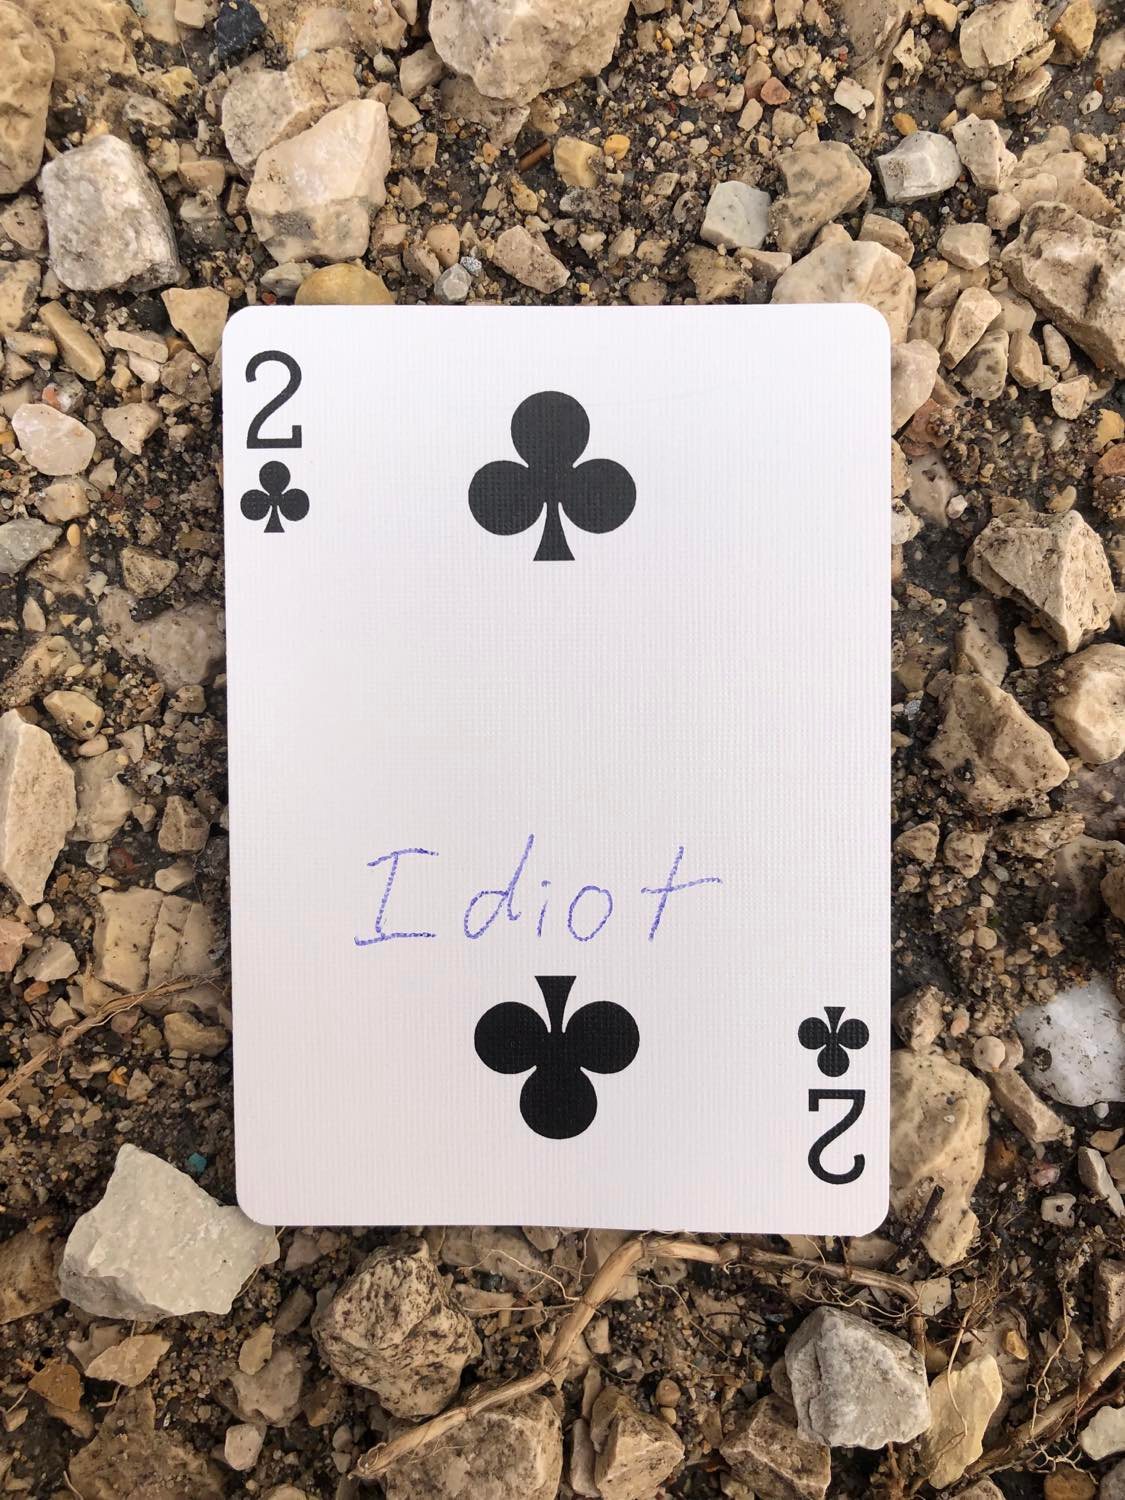
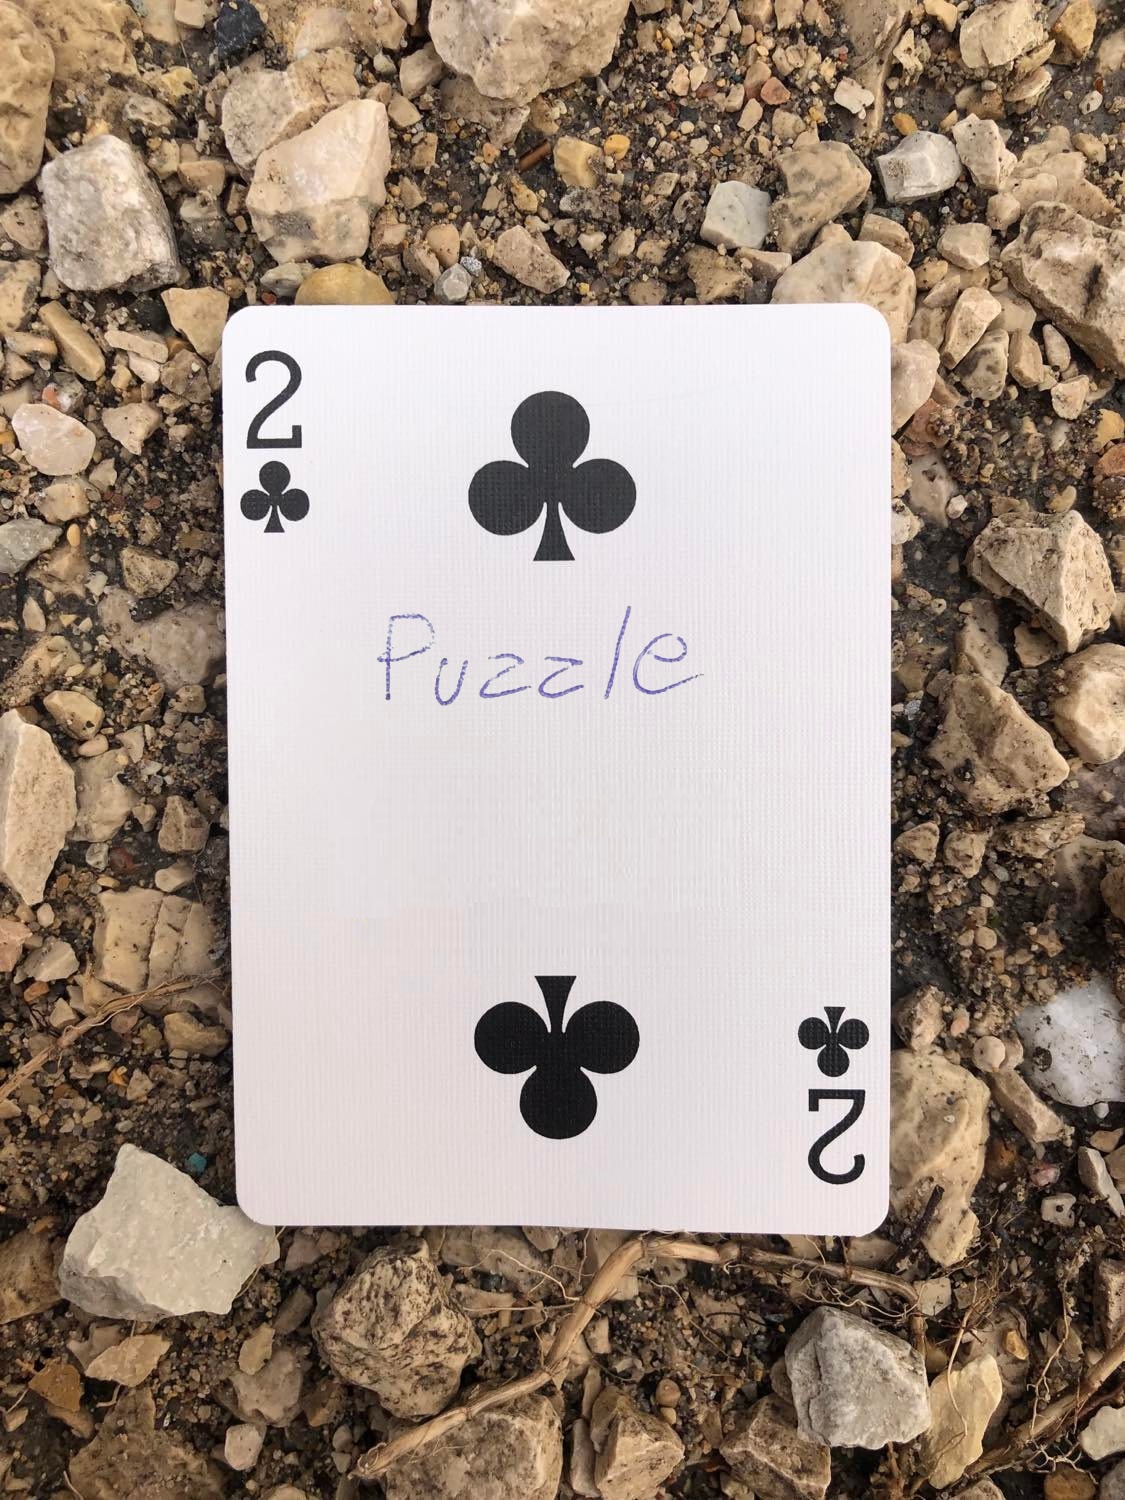
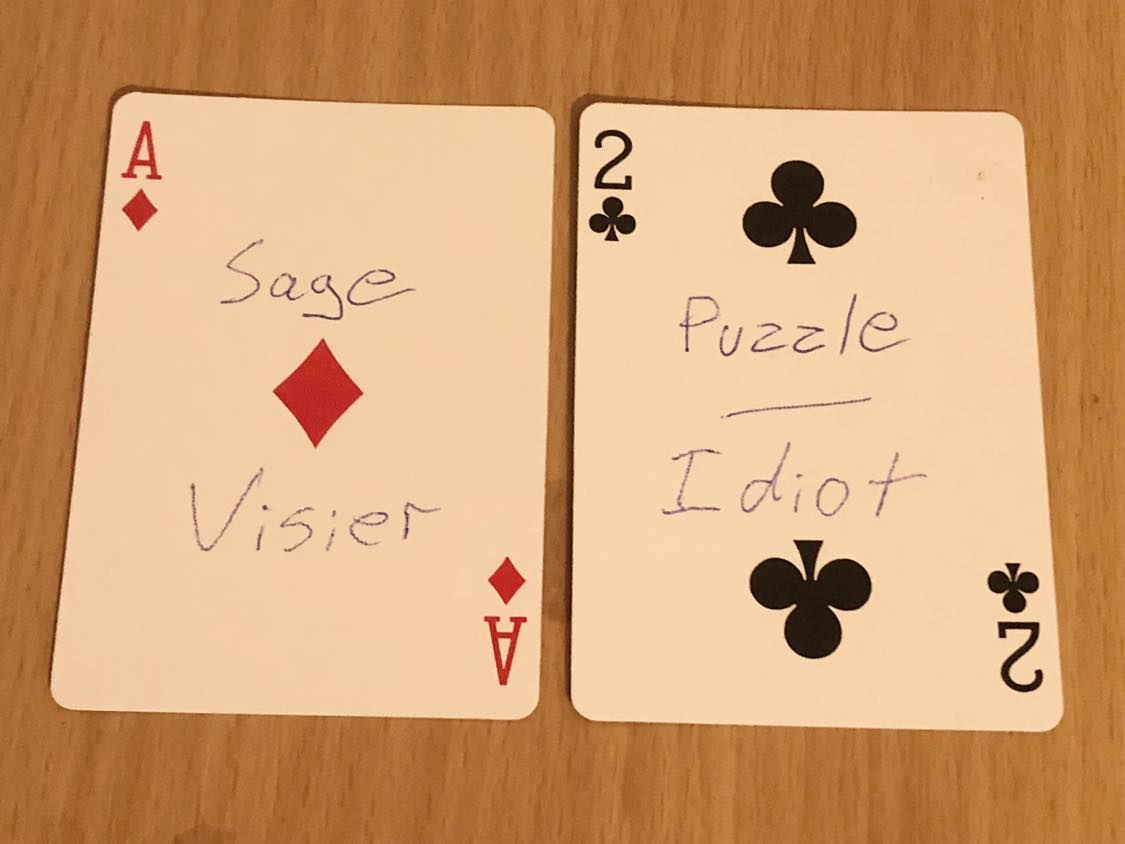
Also note, with the renaming of the Visier and Idiot cards to Sage and Puzzle in 2024, I've gone and photoshopped the two cards to have the 2024 name. The cards themselves in the physical deck have both words on on them along with a sheet for the 2014 and 2024 (and 4e's for my own deck) rules.
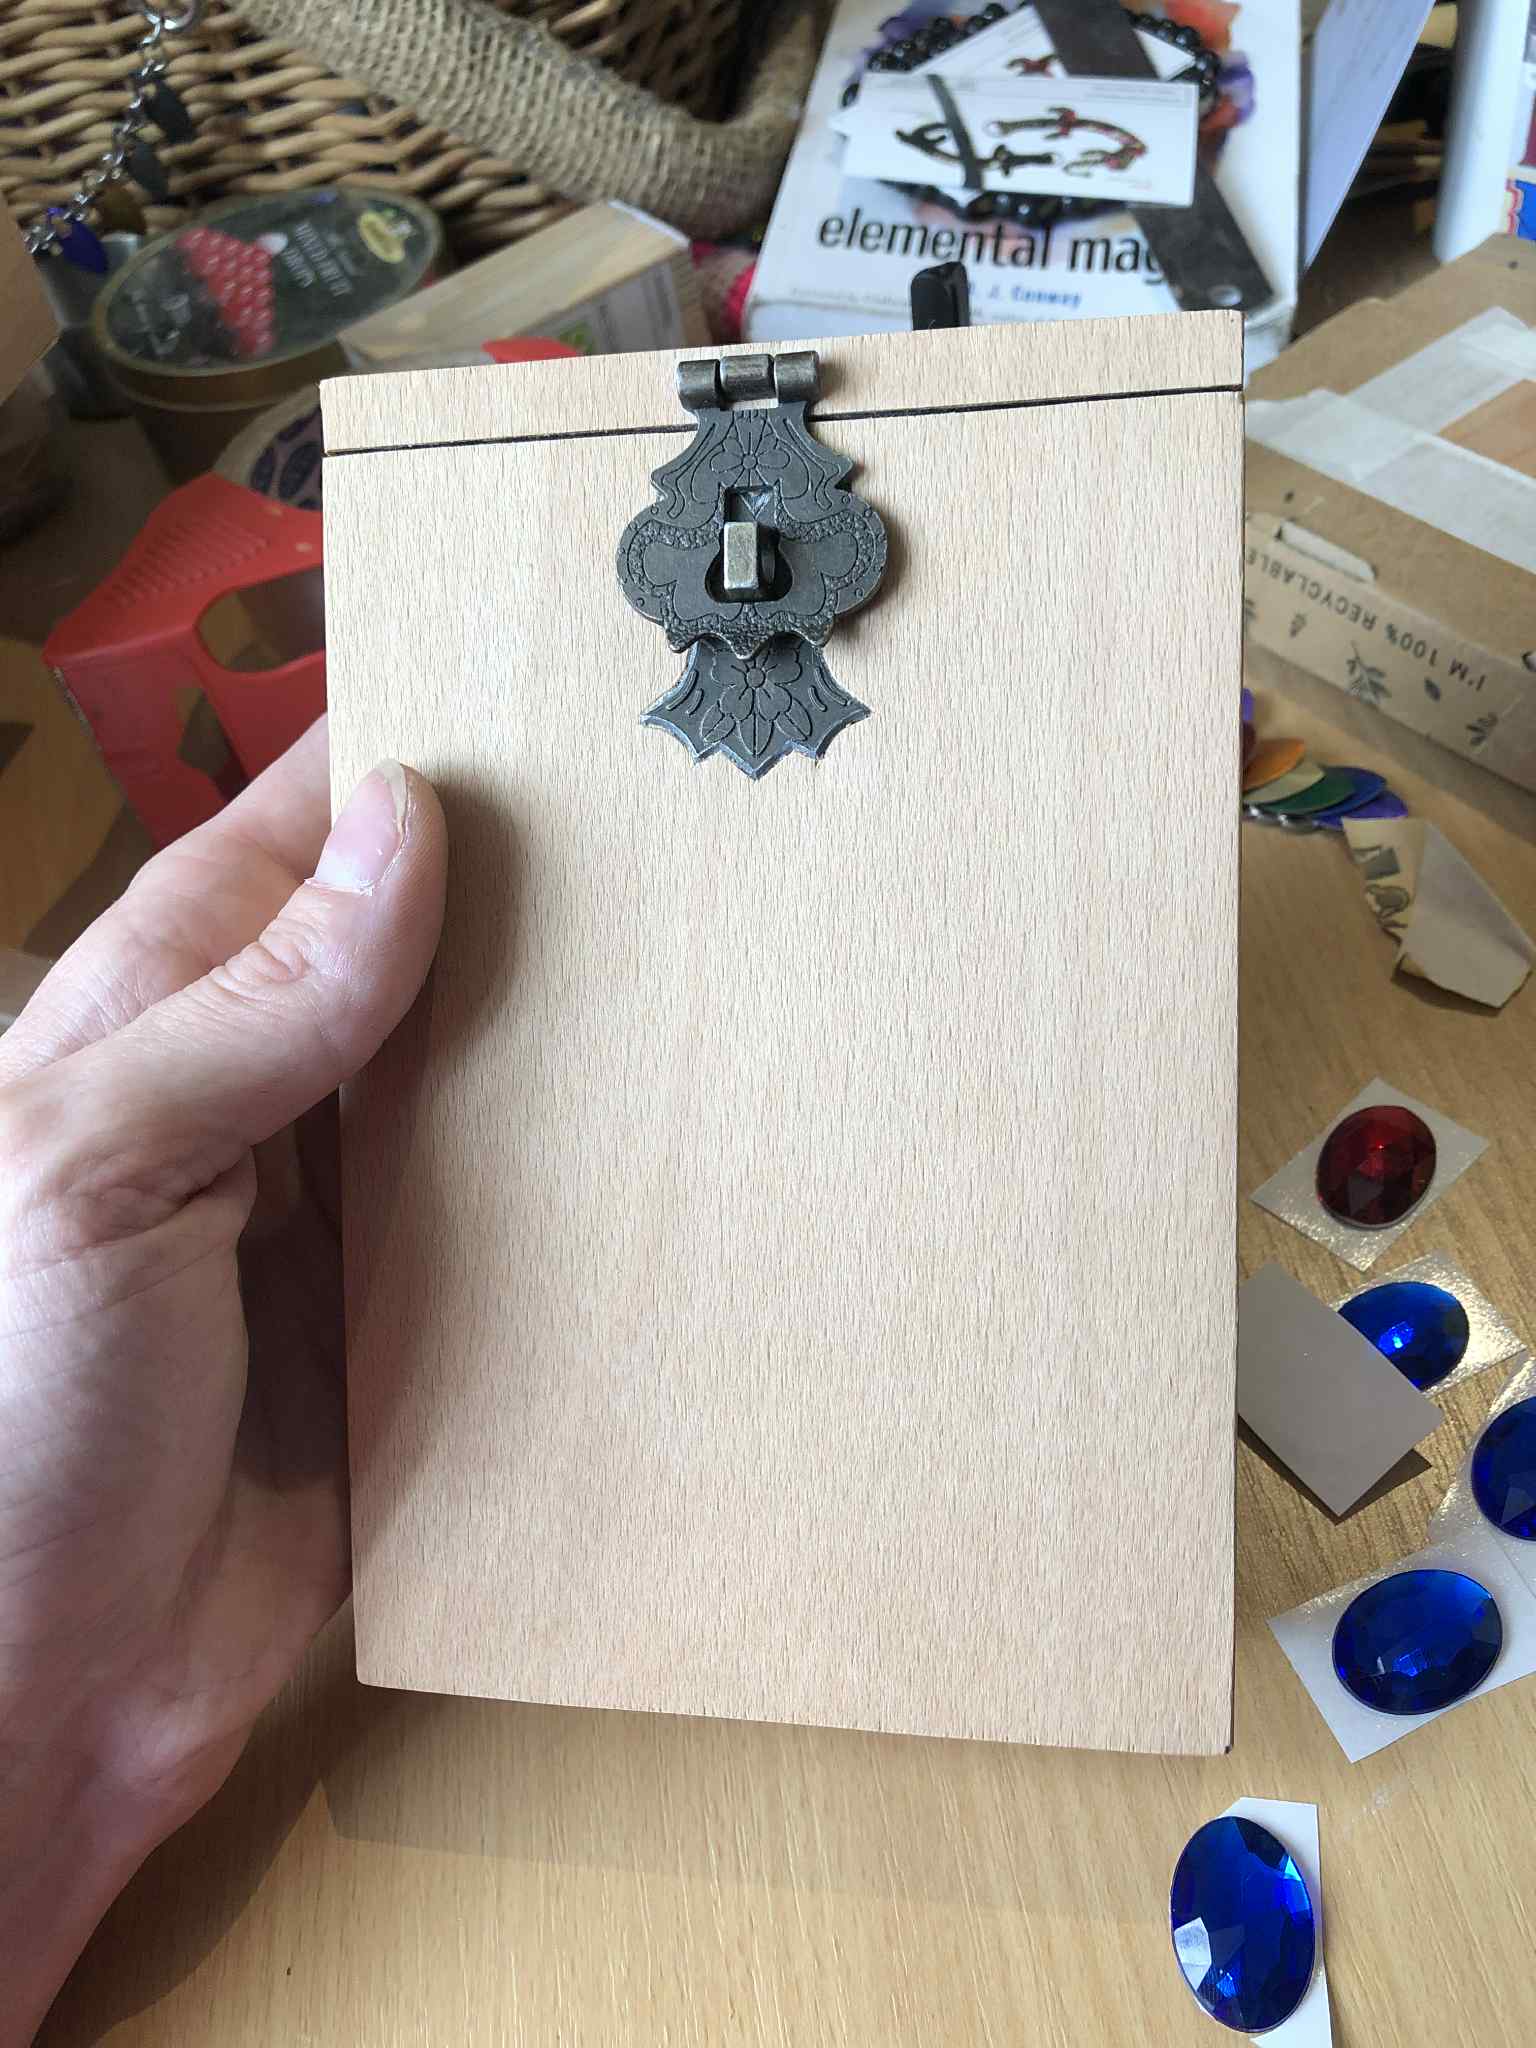
But that aside, it is time to muck with veneer!
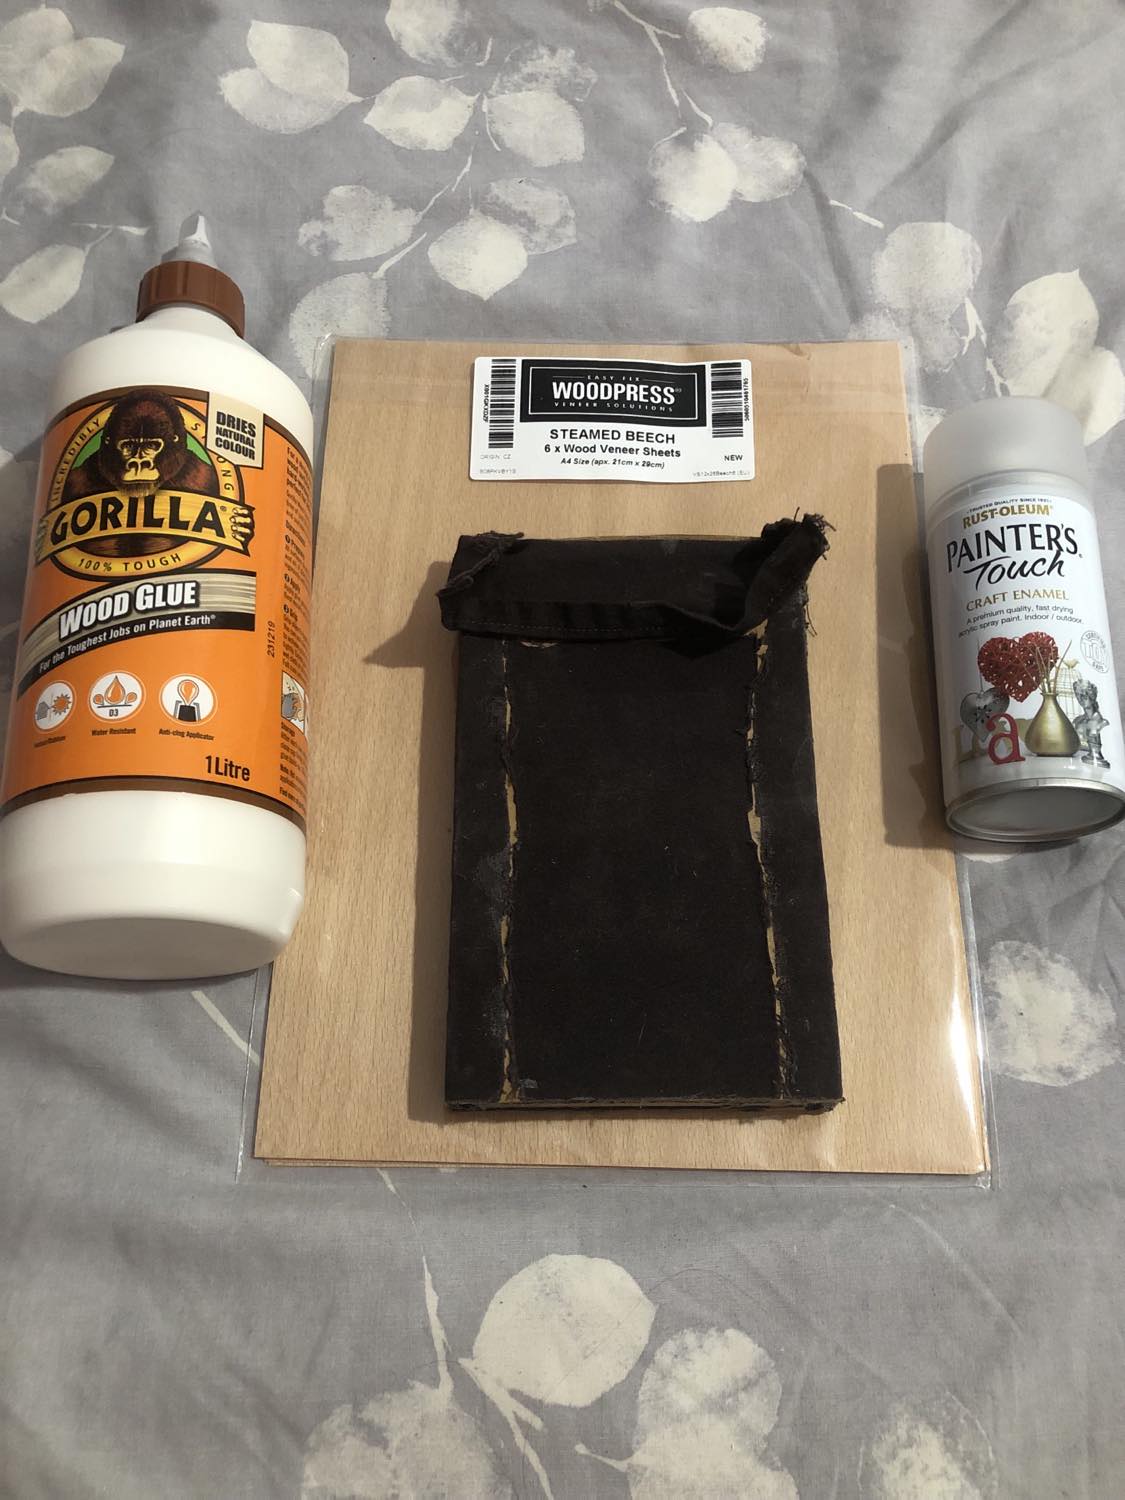
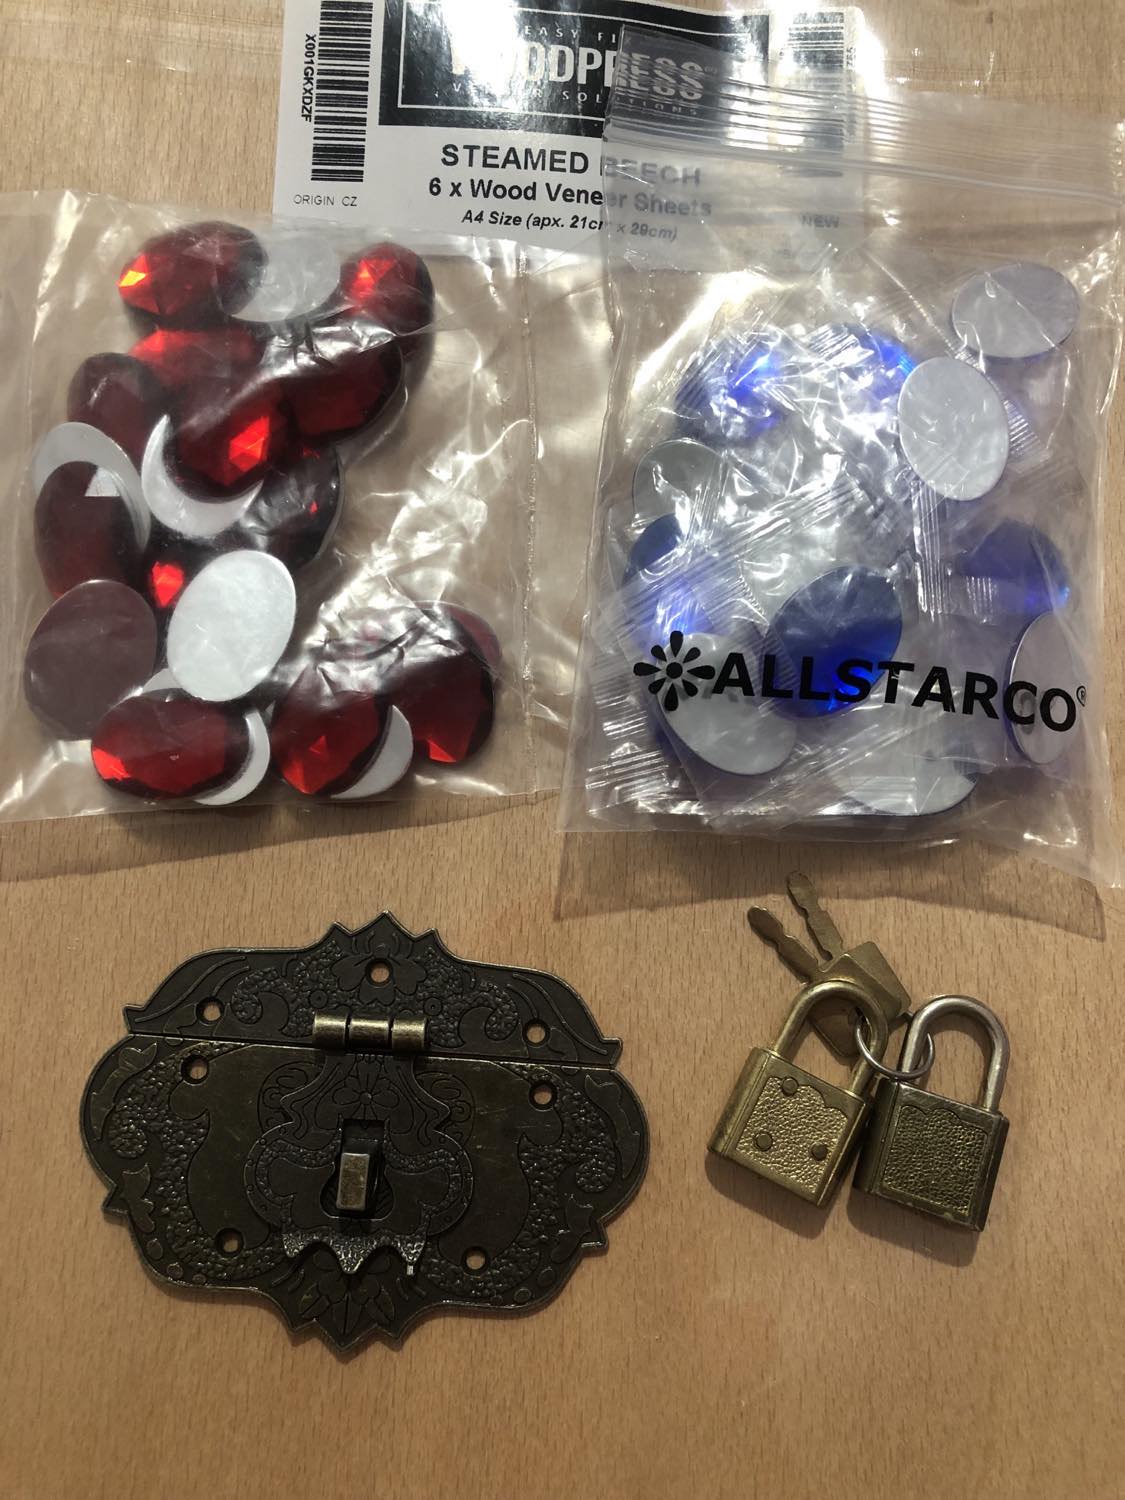
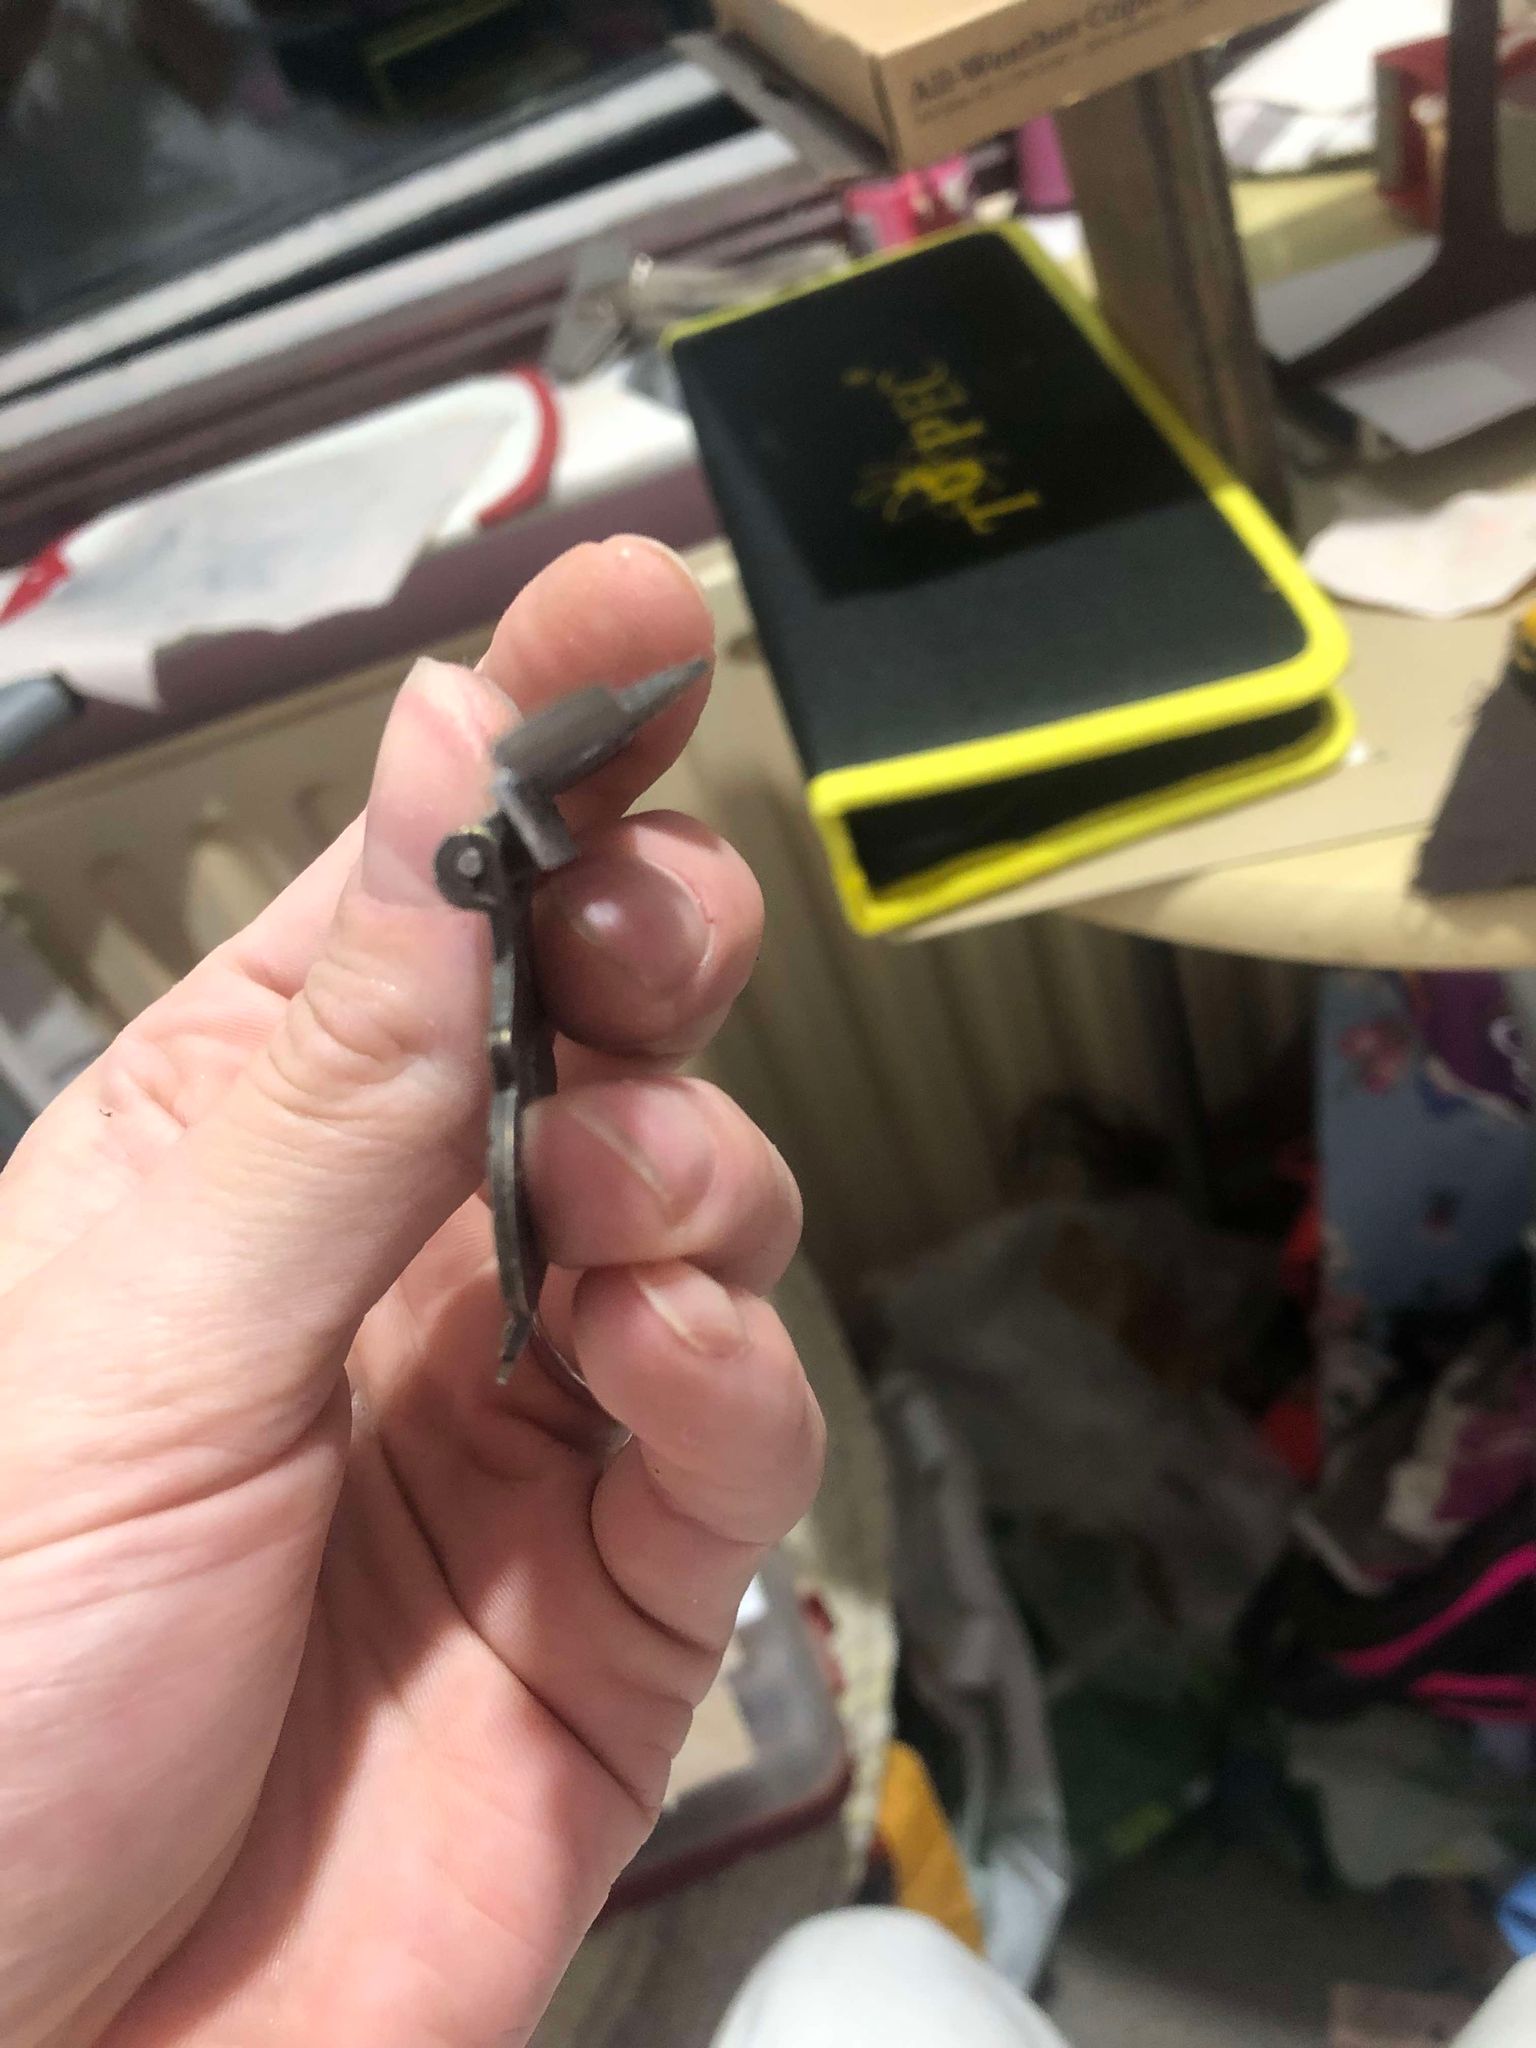
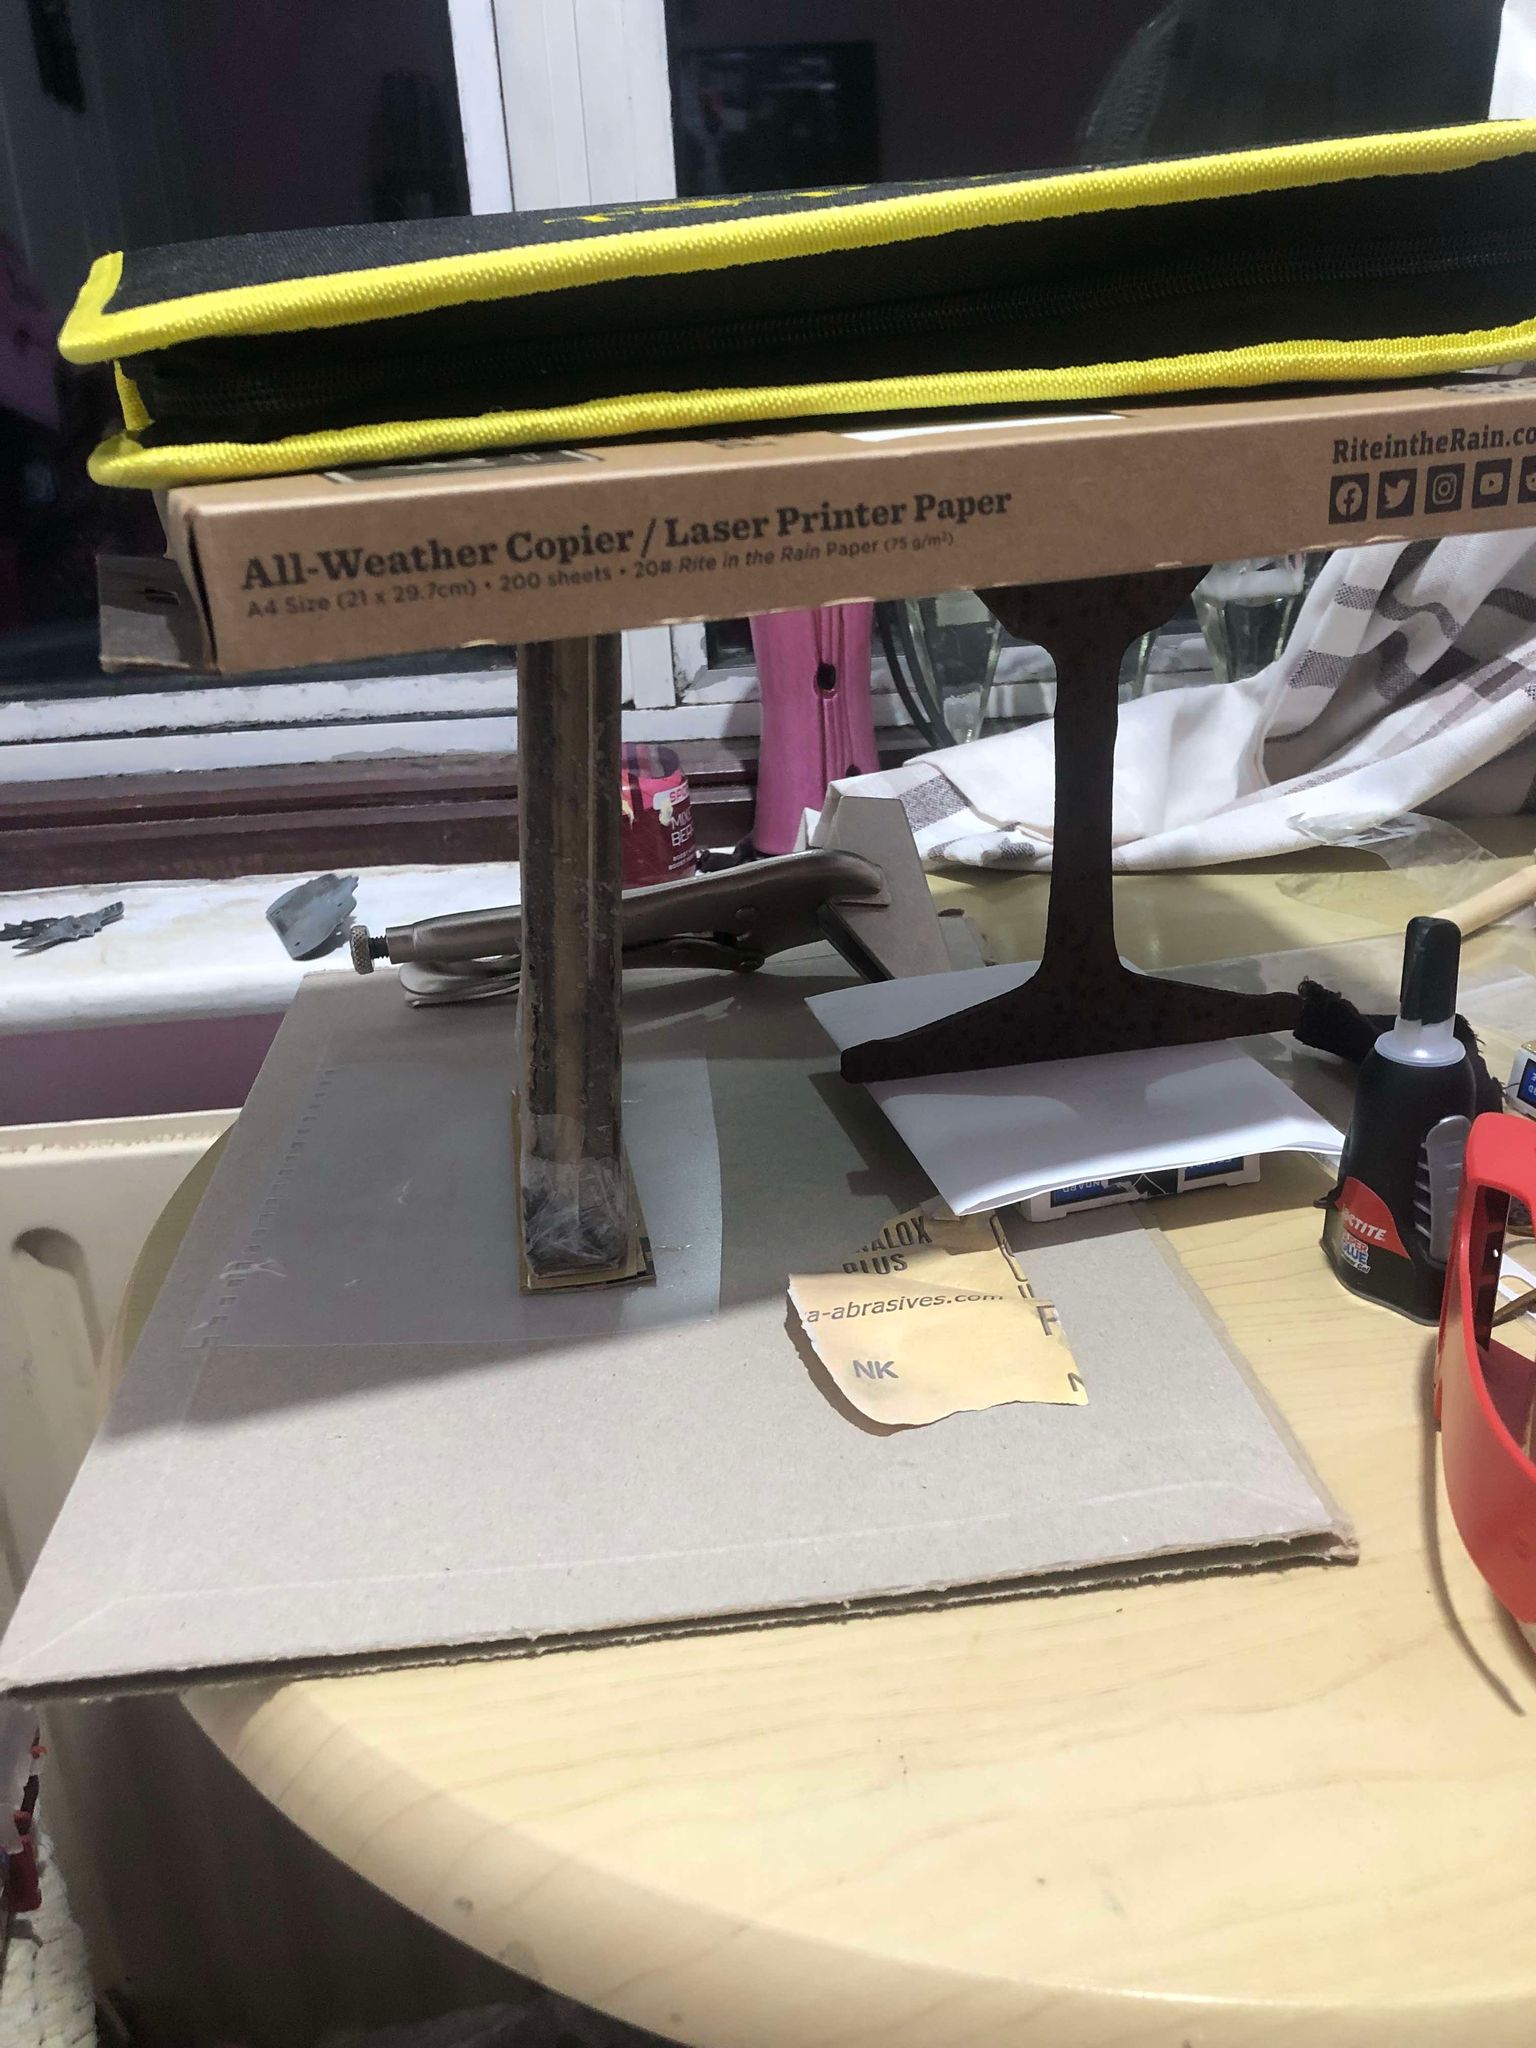
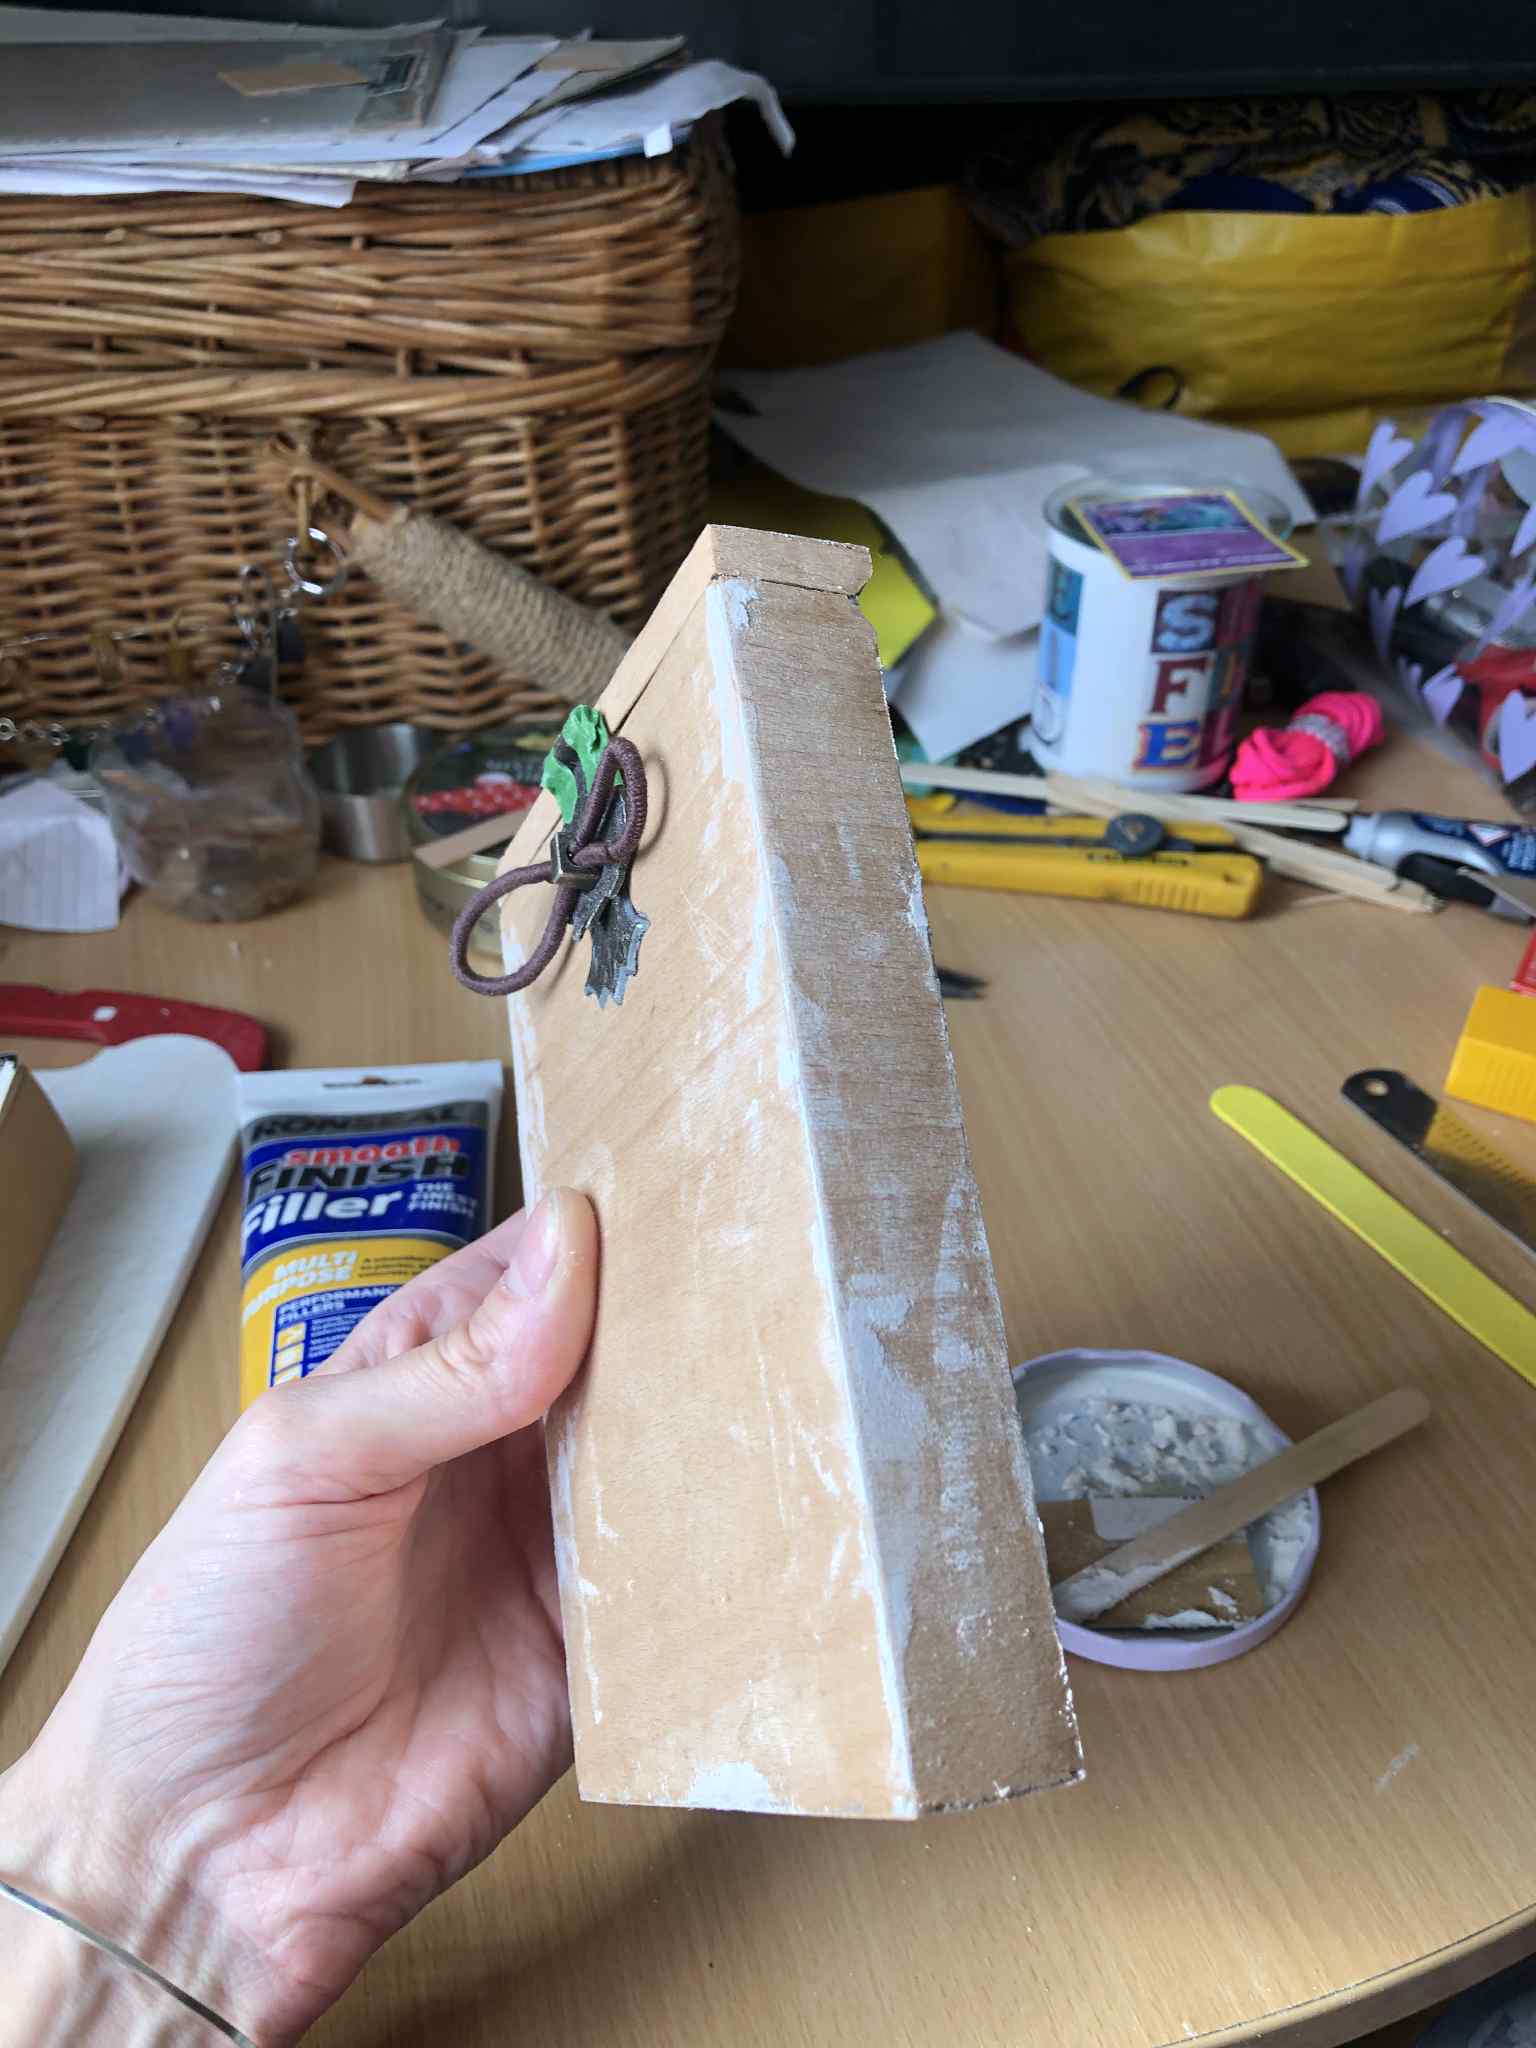
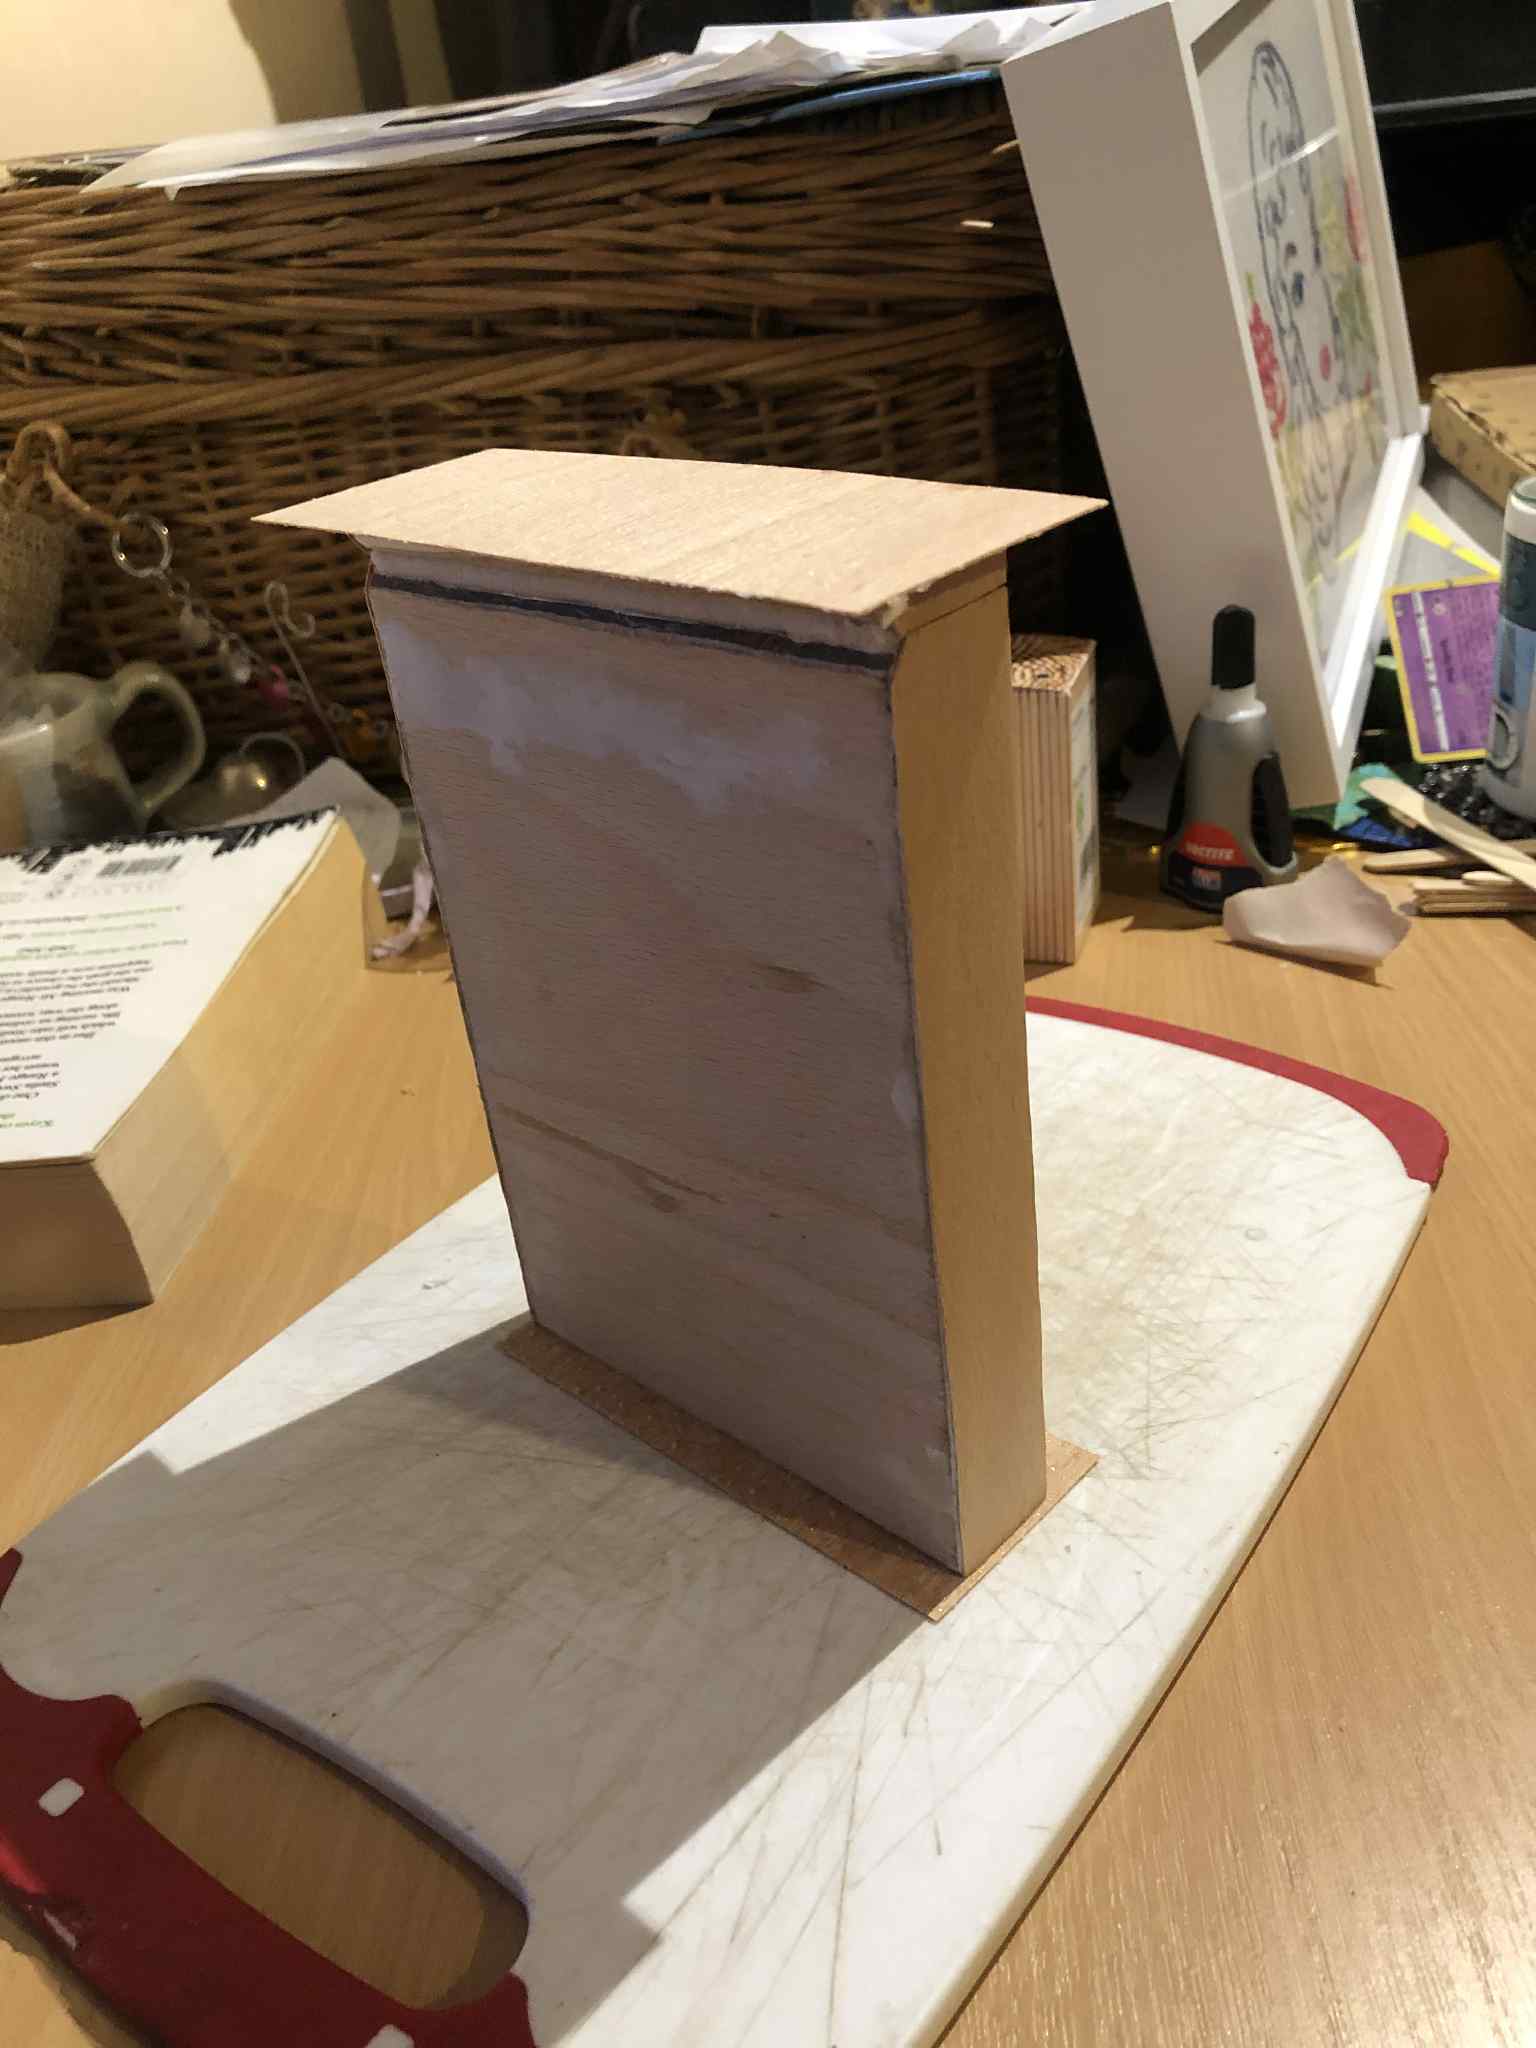
With much filing and careful bending with pliers, we managed to bend the upper portion of the hinge mechanism at a 90 degree angle WITHOUT it just snapping off (which I fully expected, so I'm very glad it didn't) just above the latch post. Following this, we thickened up the lid of the box to match the depth just set by bending the hinge, with the result being to embed the metal into the cardboard so only the latch is visible, and as well thickening the lid will mask how thin the sides of the box actually are (due to the hidden compartments), and imply that the entire box is much thicker than it is. We put this first layer of veneer on (using spray contact cement this time) with the grain running horozontally, in hopes that it adds strength and stability when I put the vertically running second and final coat of veneer on next.
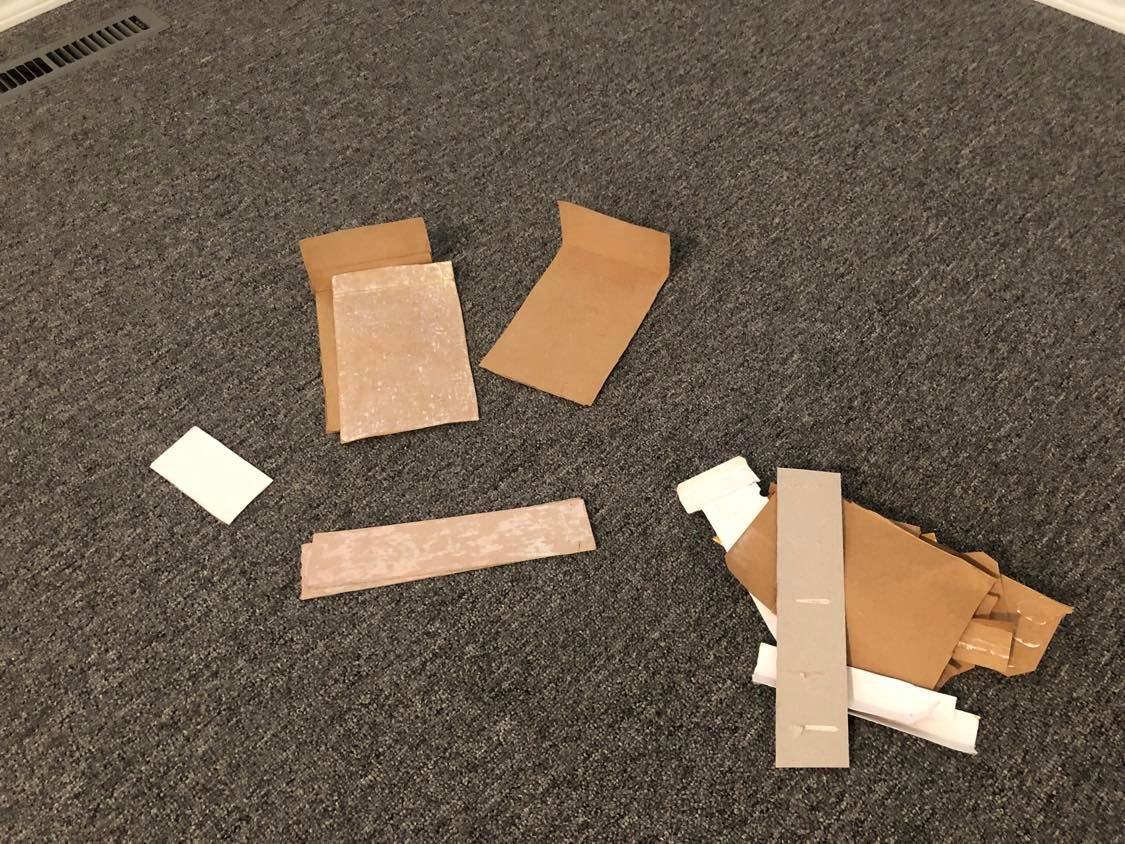
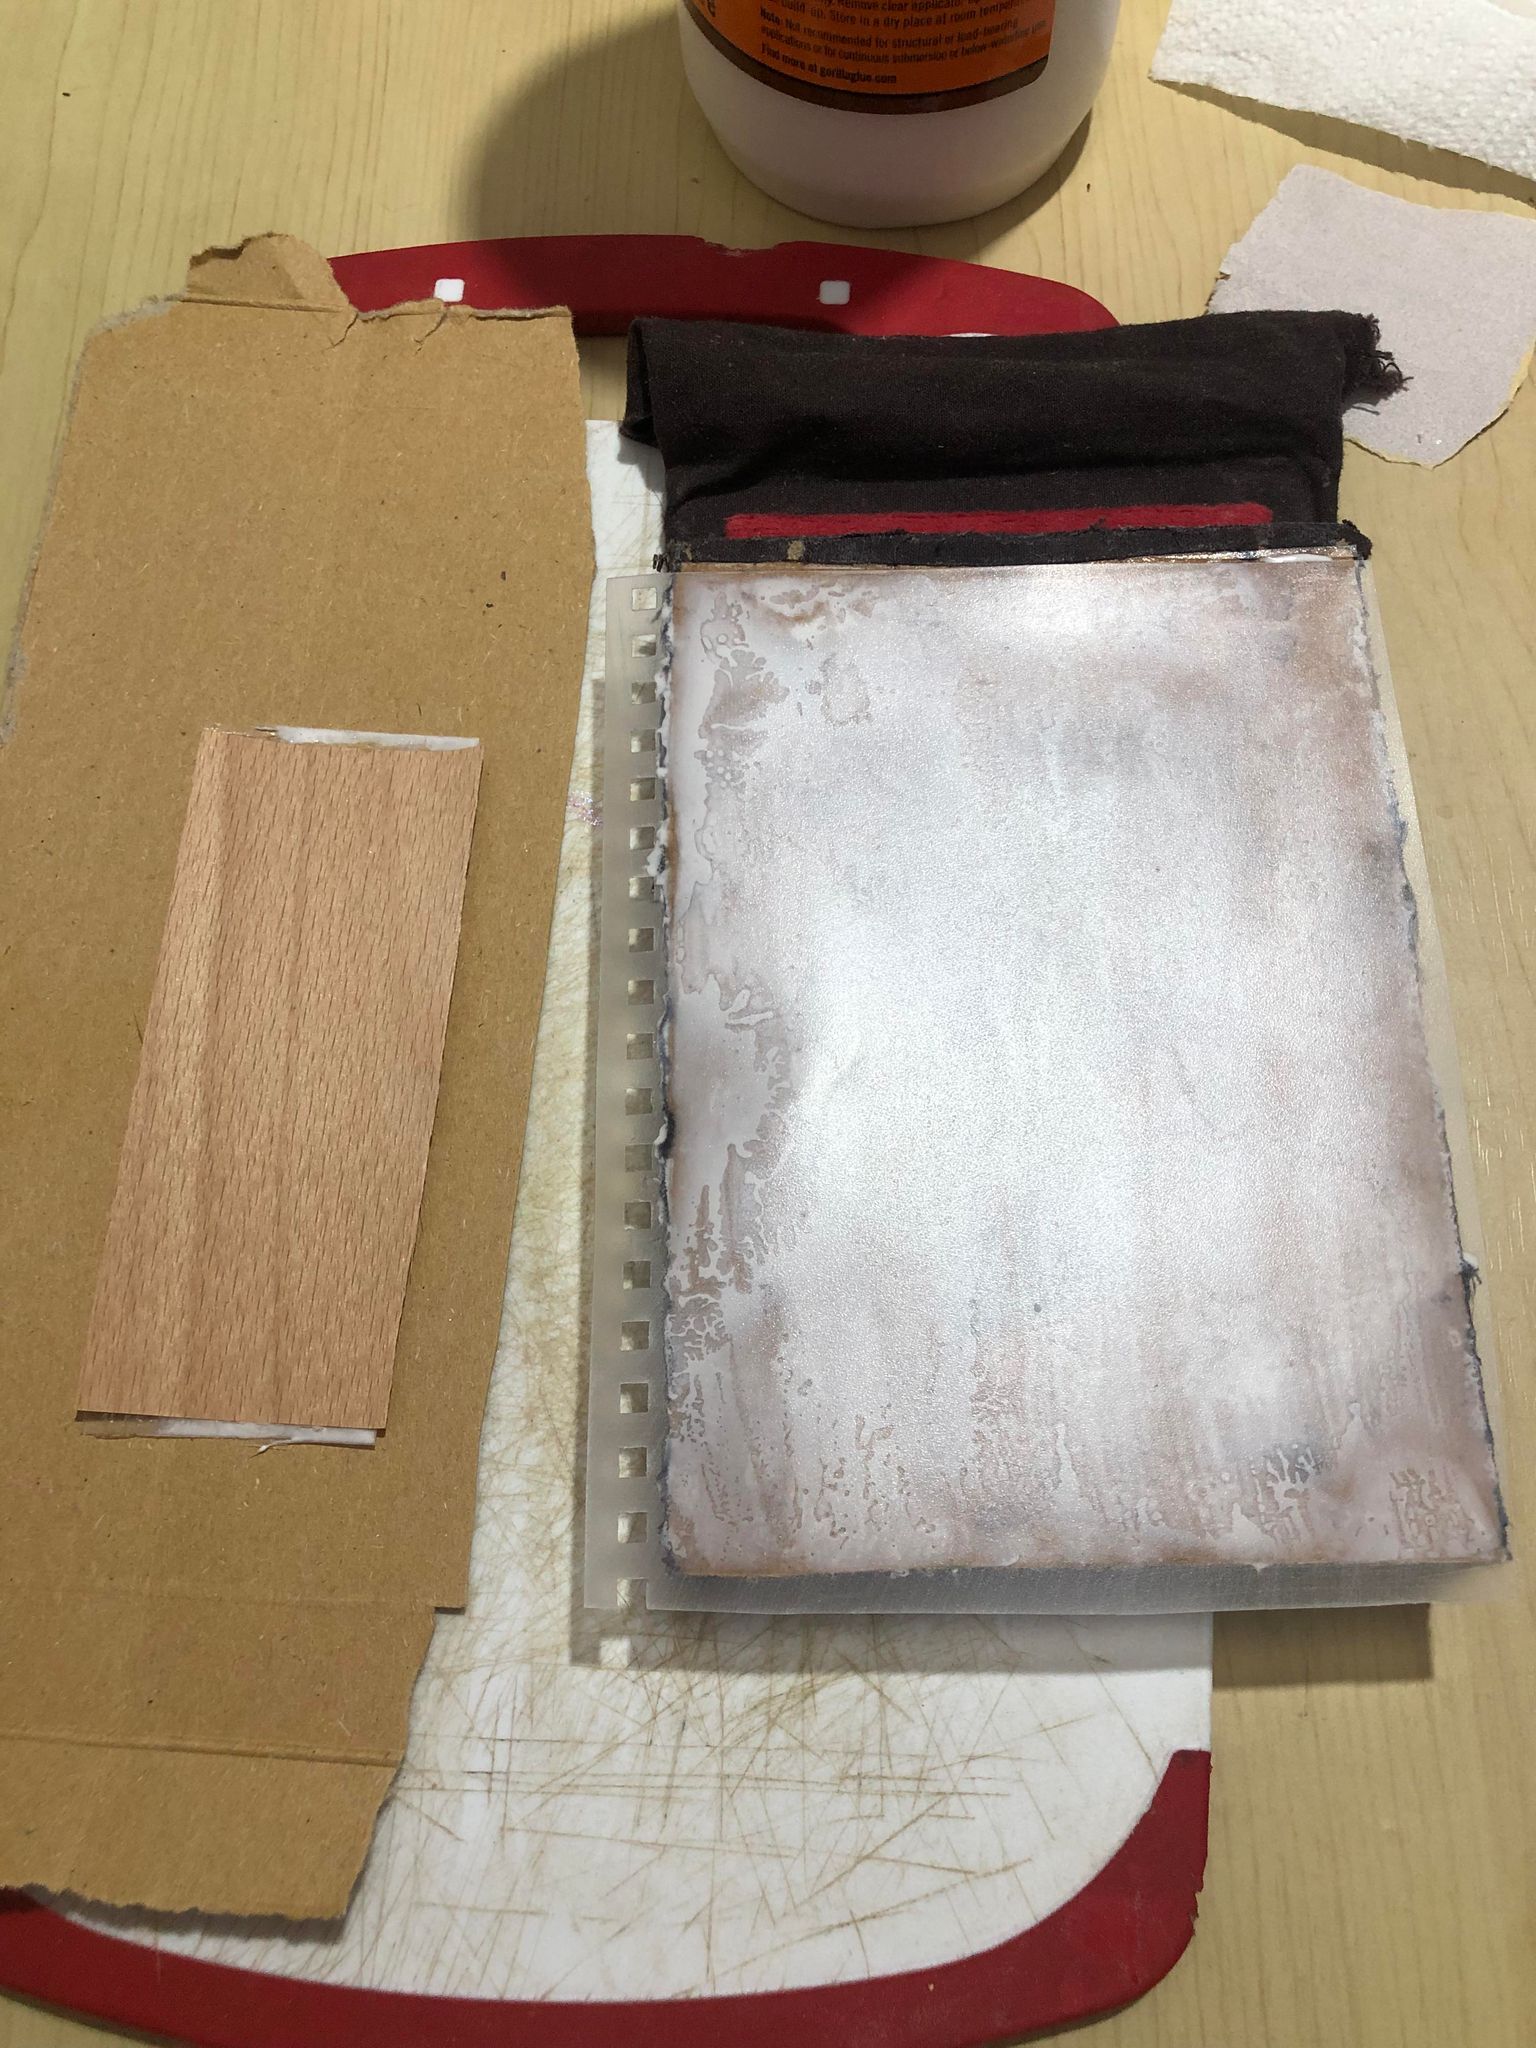
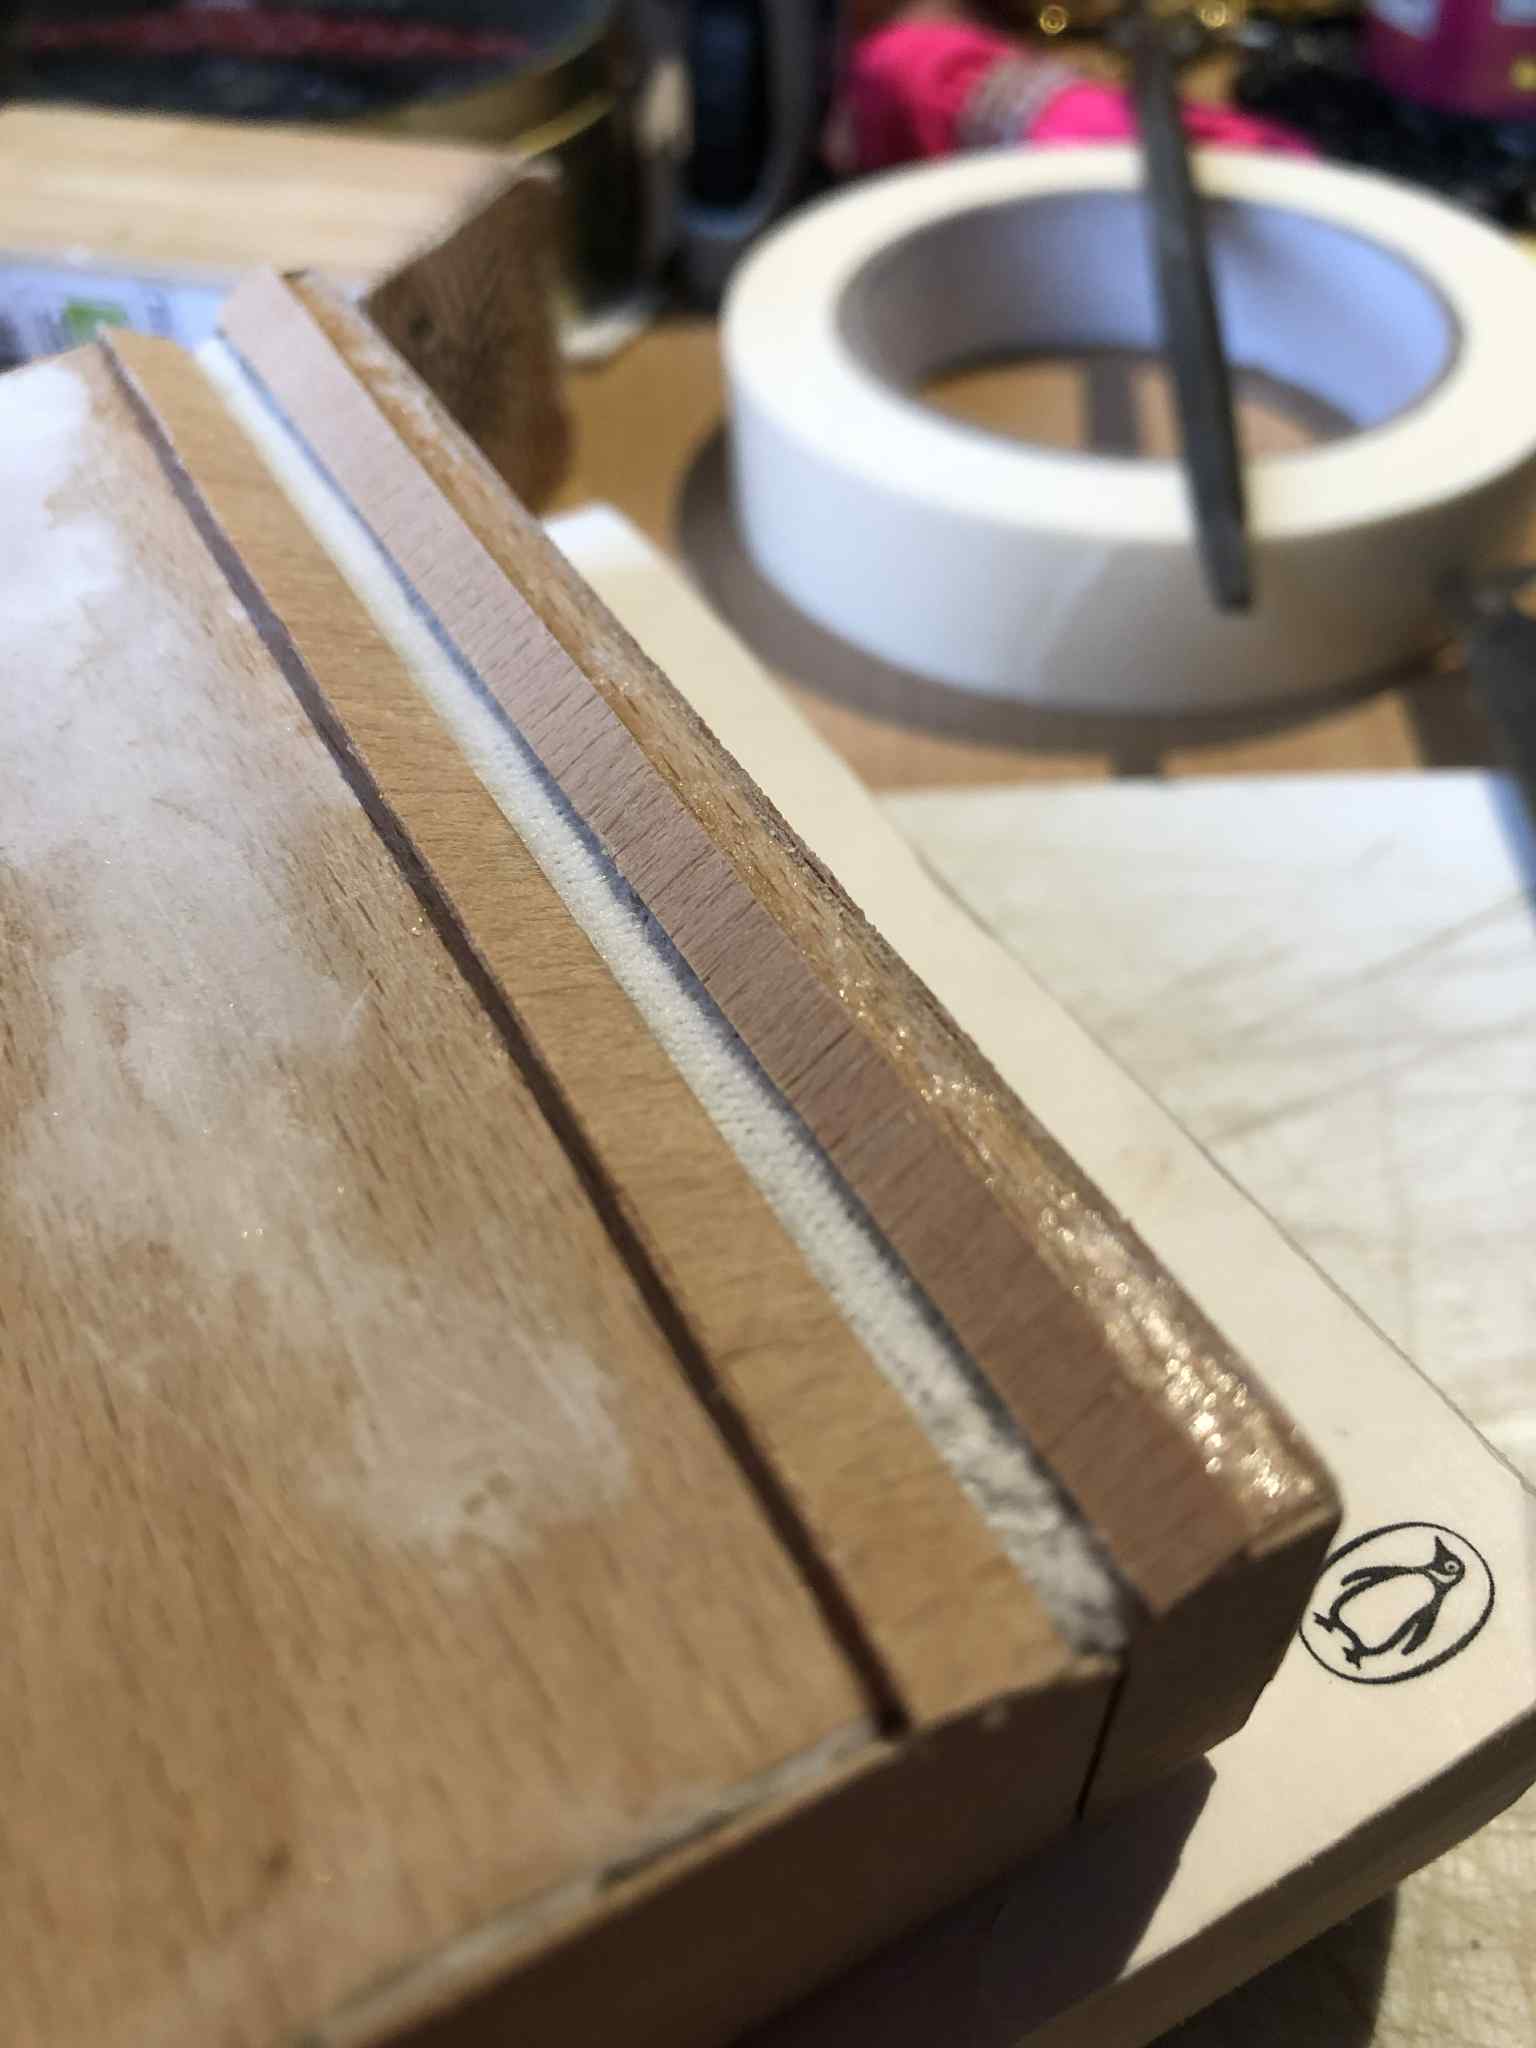
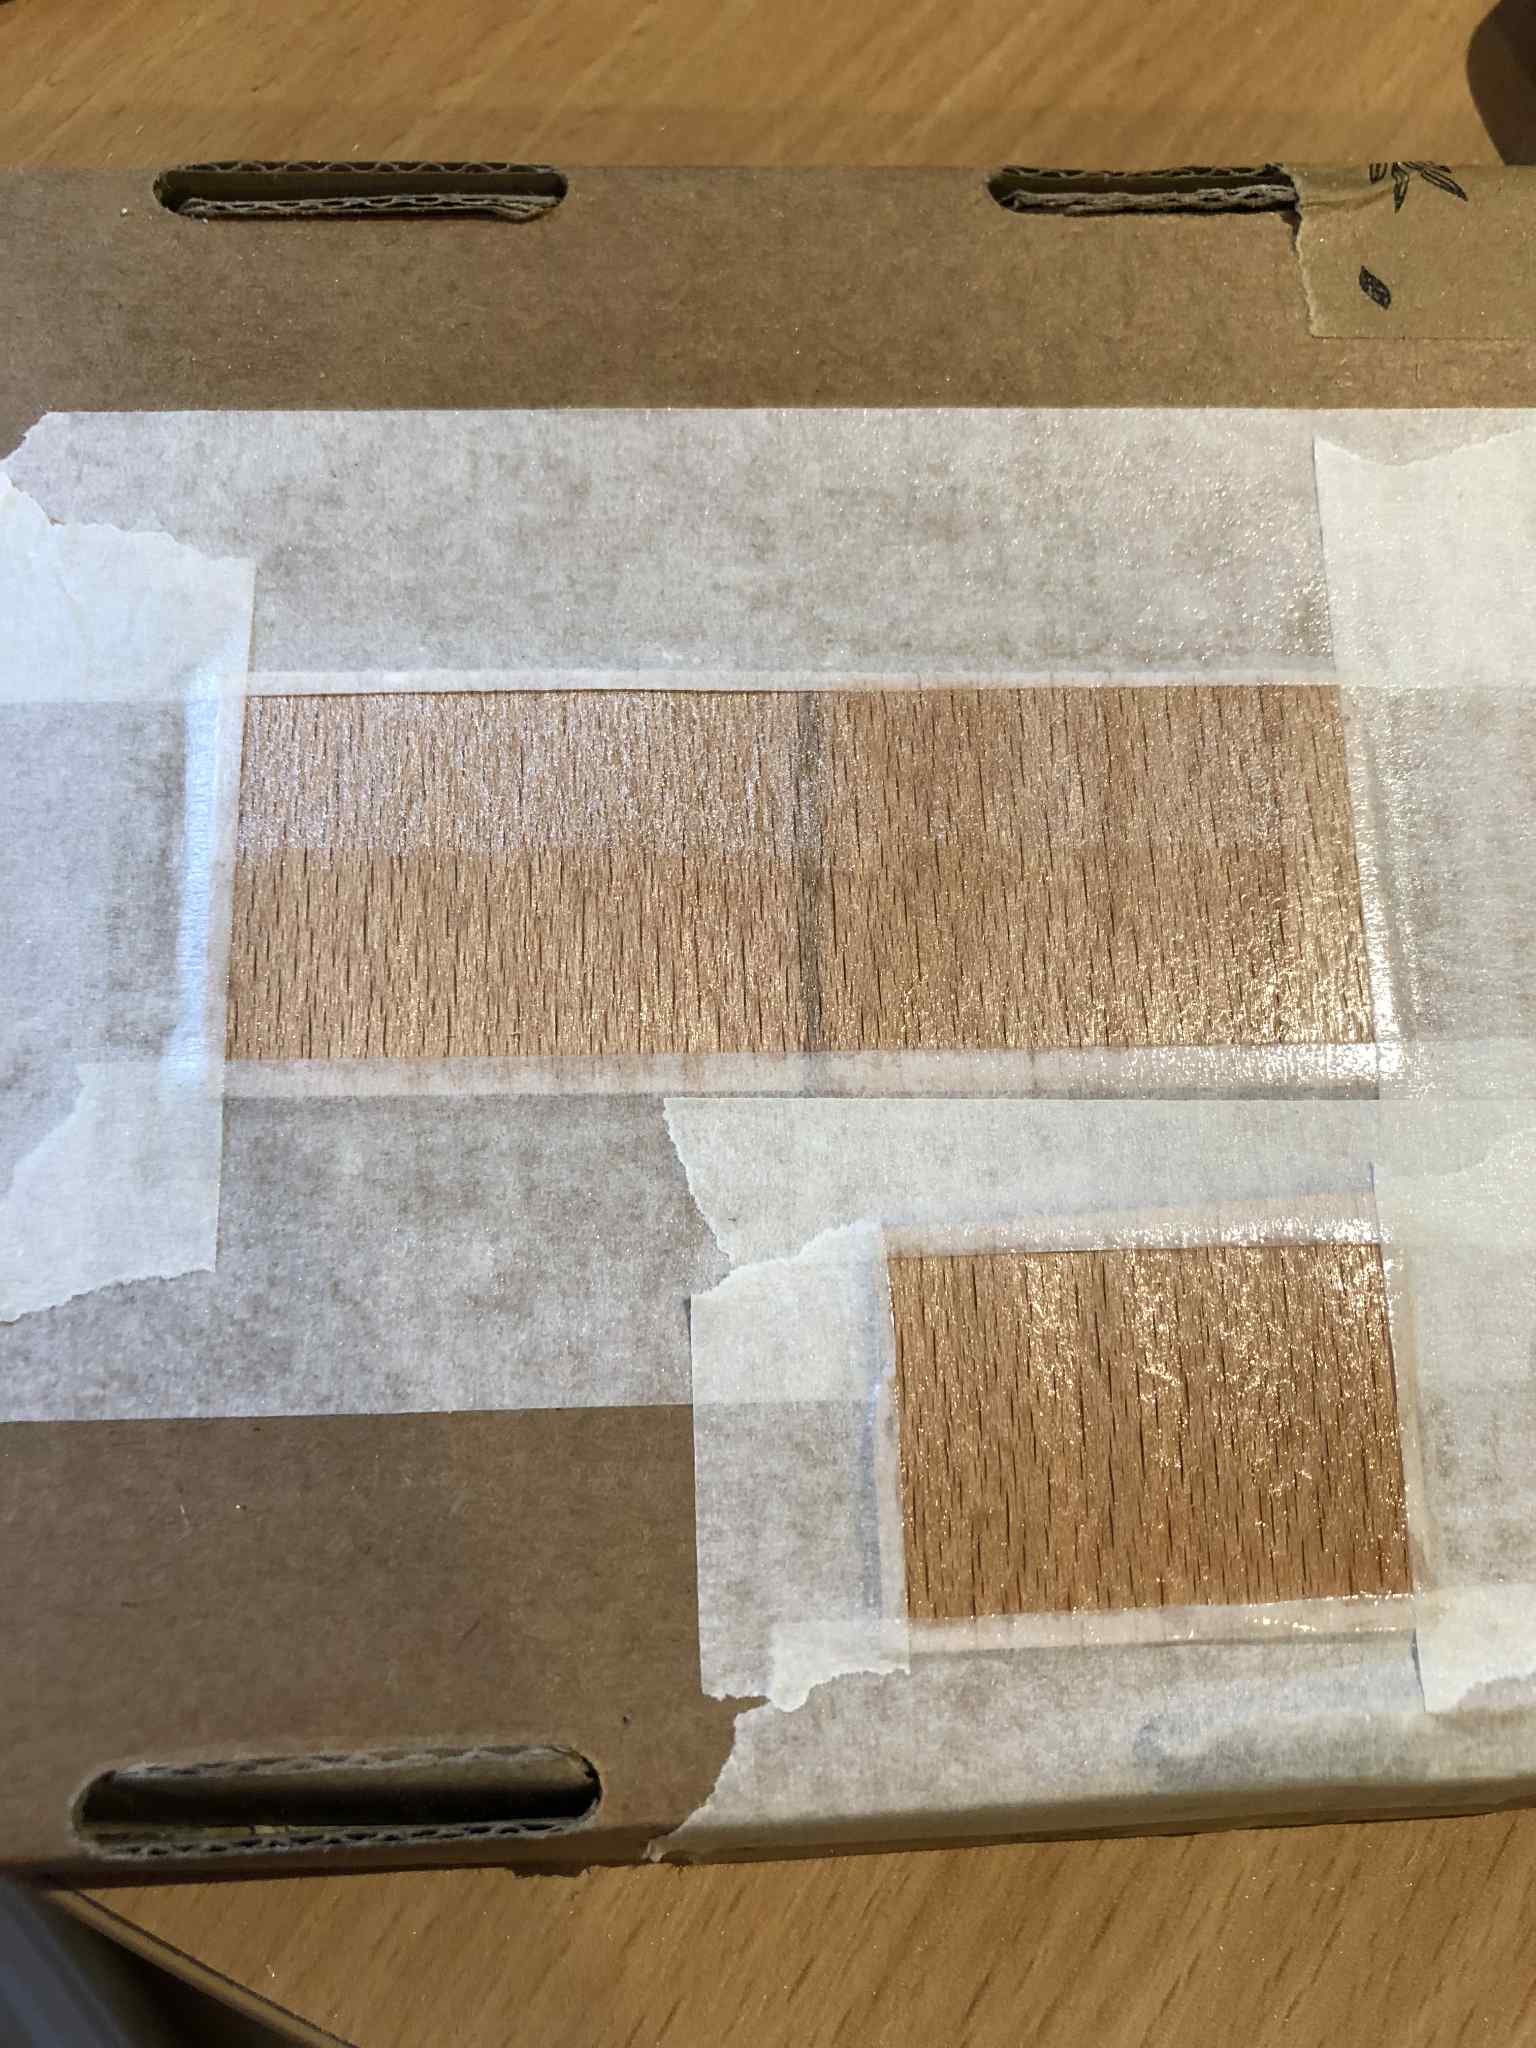
We used a smooth grout filler to fill in the corners where I trimmed the first layer of veneer a bit close and to fill in any other gaps or indents, and proceeded to add the second layer, the grain running vertically as earlier mentioned. Some areas were added with crazy glue instead of contact cement, the sides of the lid and the angled strips leading into the hinge. The back put up an unexpected challenge when I got excited and trimmed the sheet a little bit early (same day, several hours after application) and it shrank away from the corners. I pulled that off, and applied my last sheet of veneer, letting it dry for a full week before trimming it to size (mainly due to the now layer and a half of glue under the veneer), and then set about deciding where to put the gemstones. At the same time, we made a test piece of veneer to test varnish on unsanded vs sanded veneer, and sparkle powder vs none (and the bottom right is just a slight tap of powder). The sanded looked more shimmery and magical, and the powder just didn't look good. Rubbed on, way too much, slight dust, the little white specks just didn't work. So the final decision went to just sanding. But first, we need to made the slots for the gemstones before sanding, so I can sand away any accidental scratches while doing so.
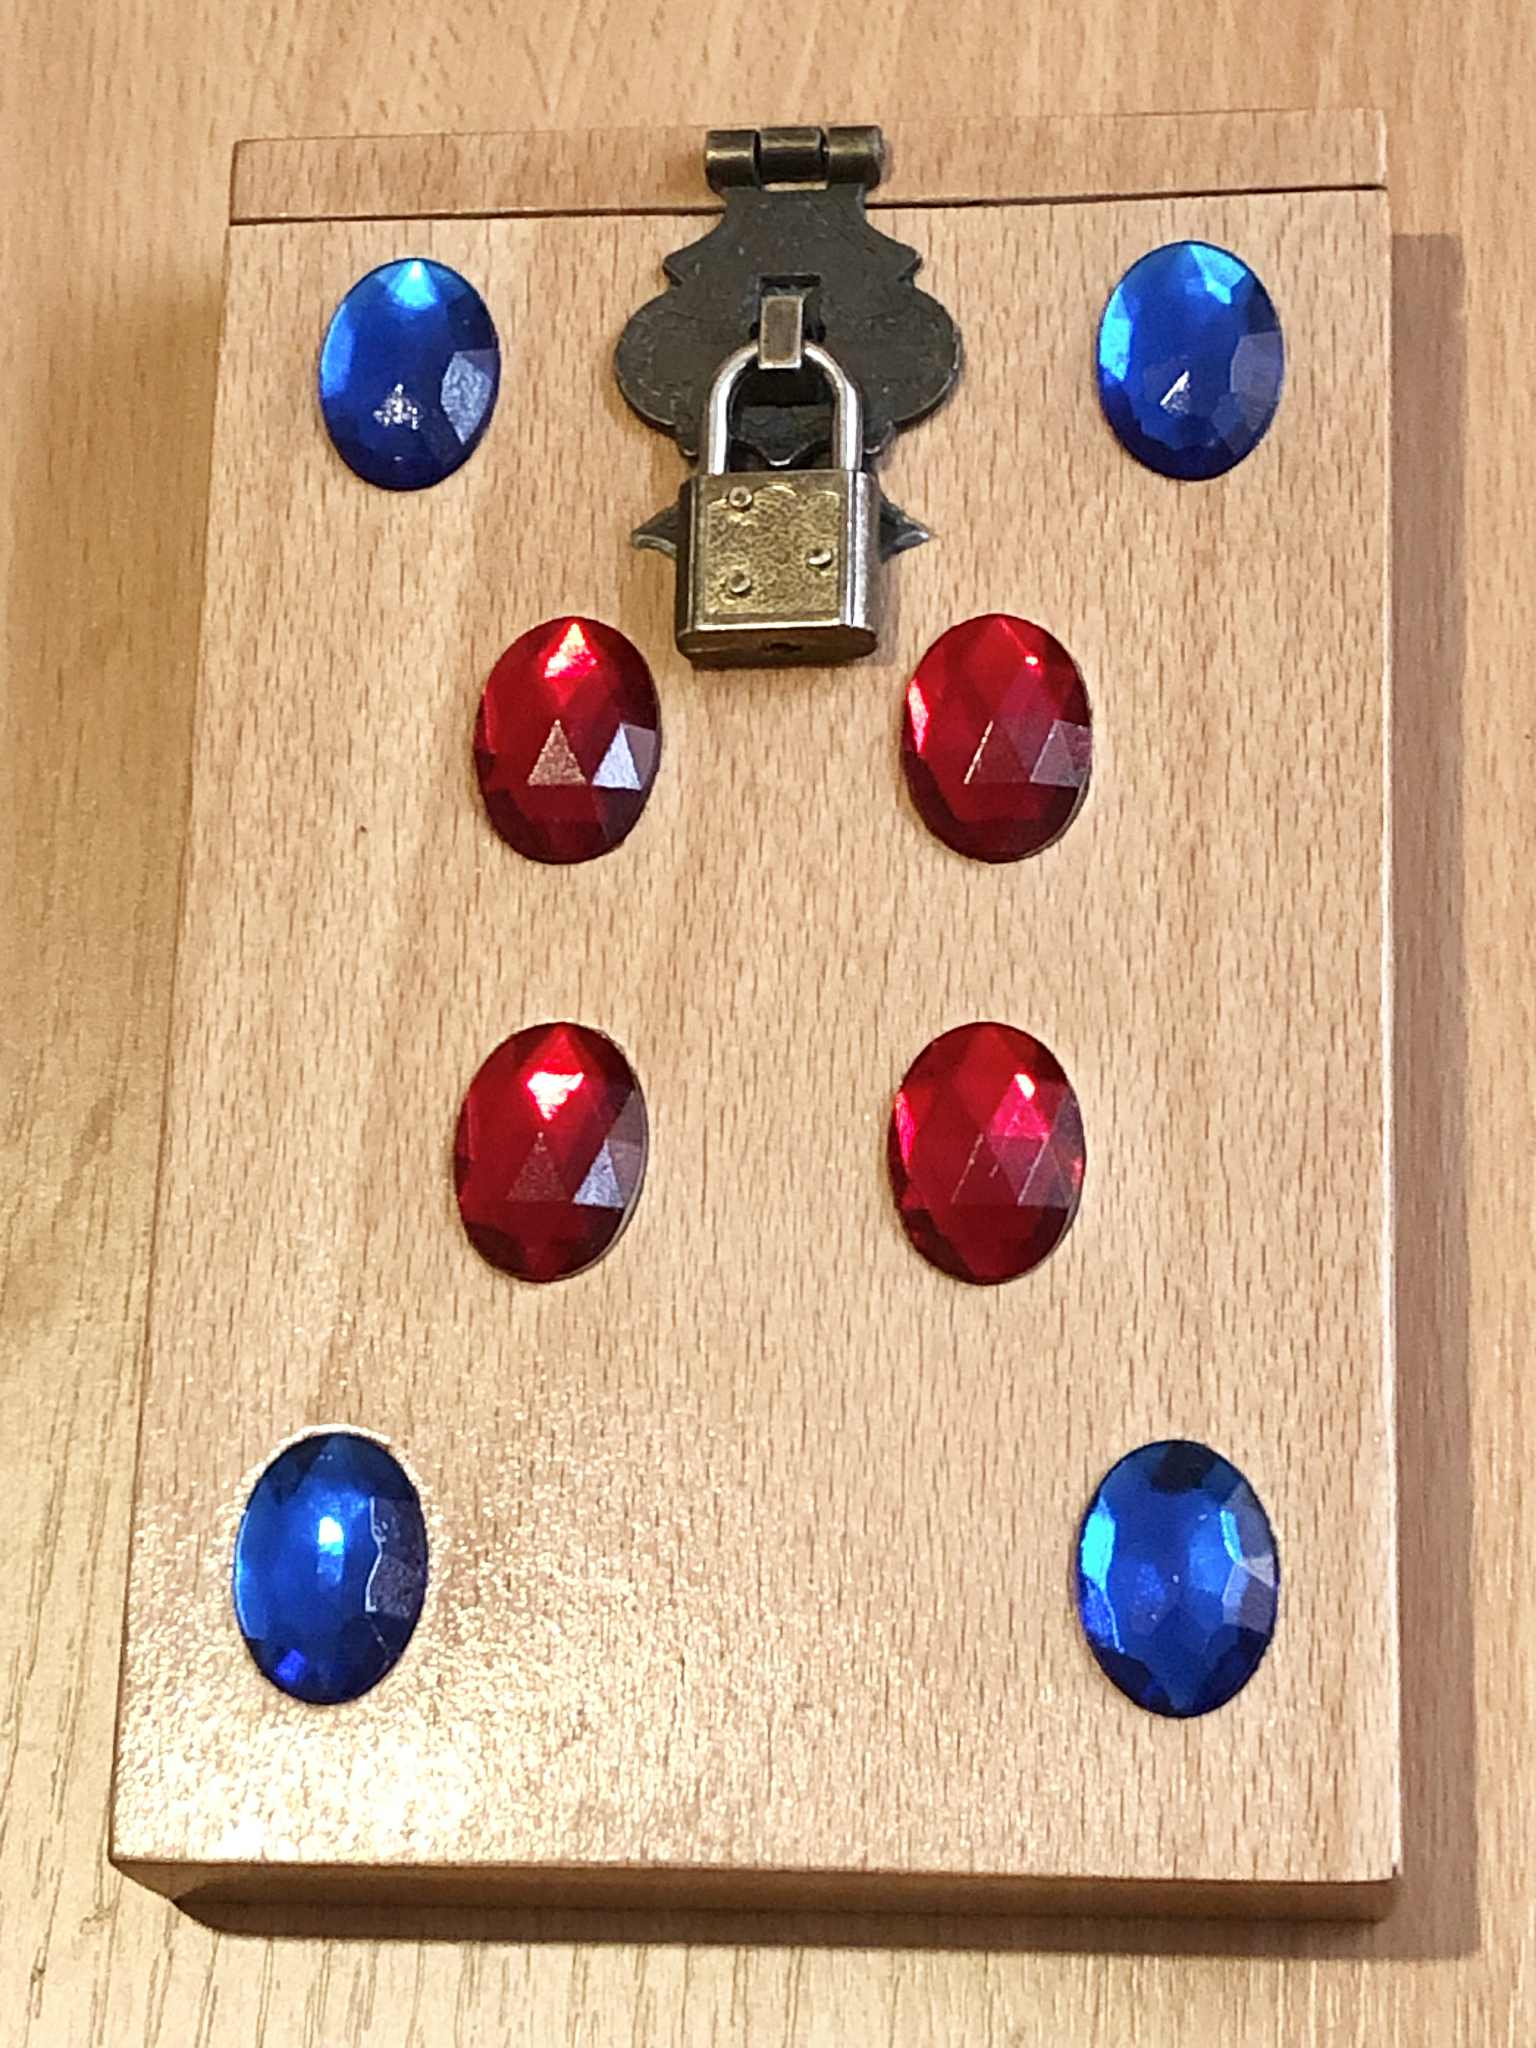
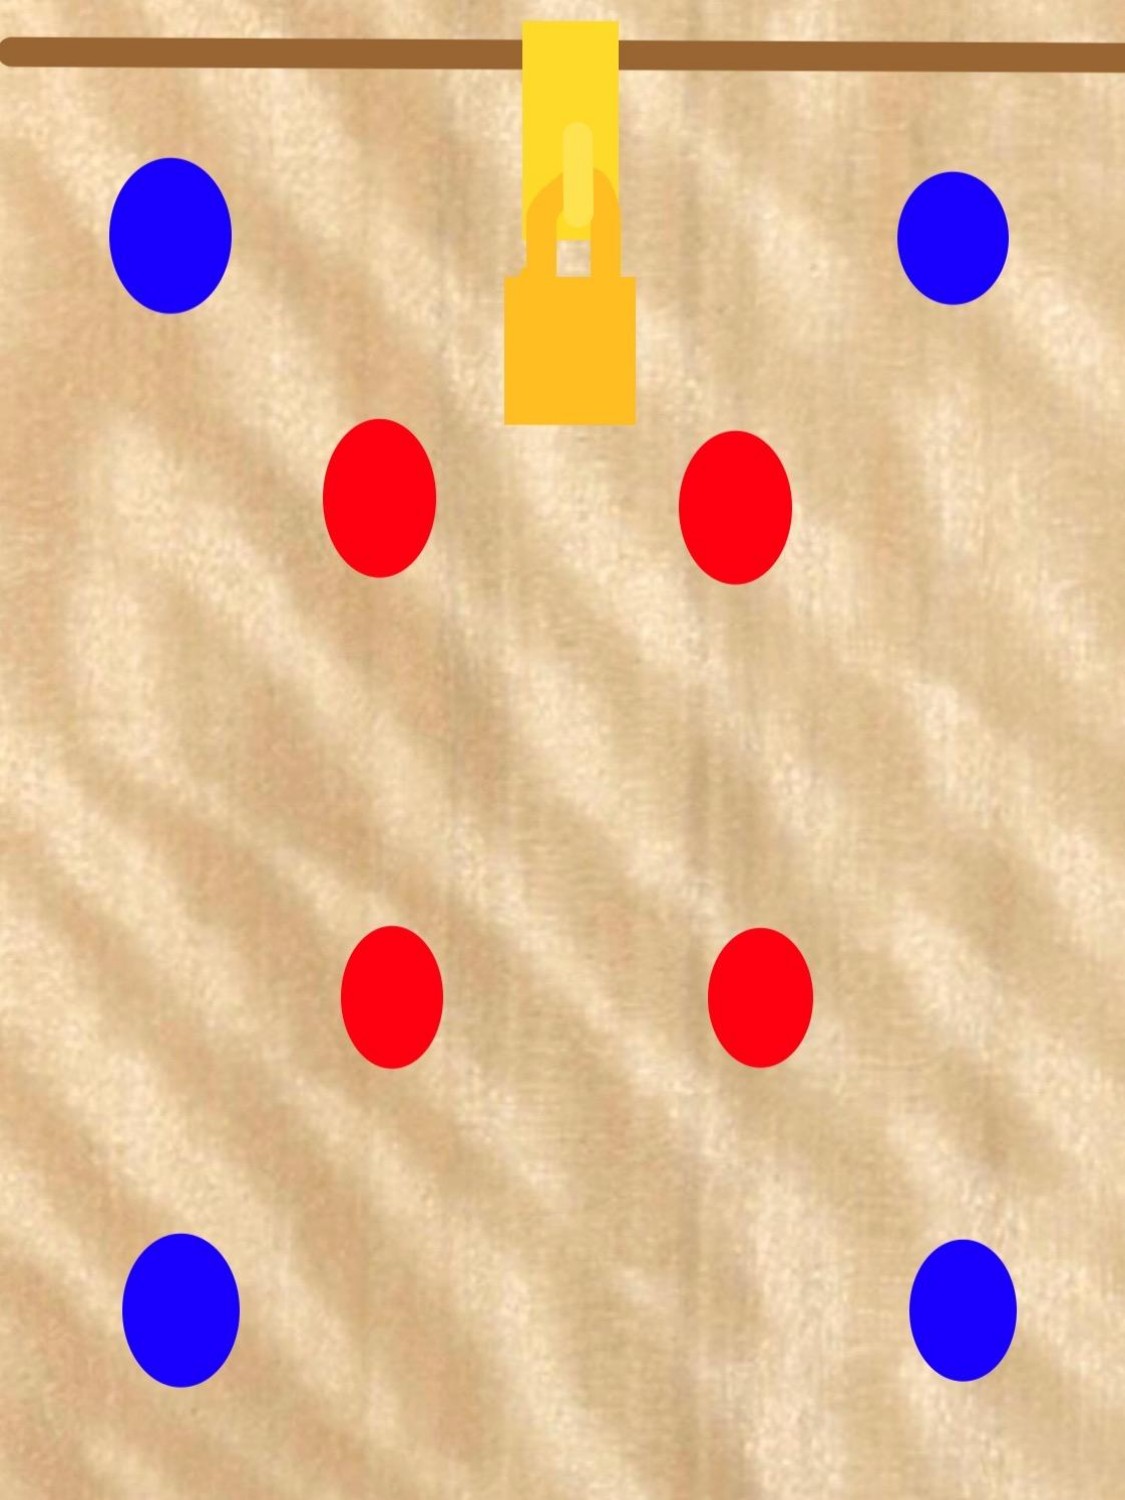
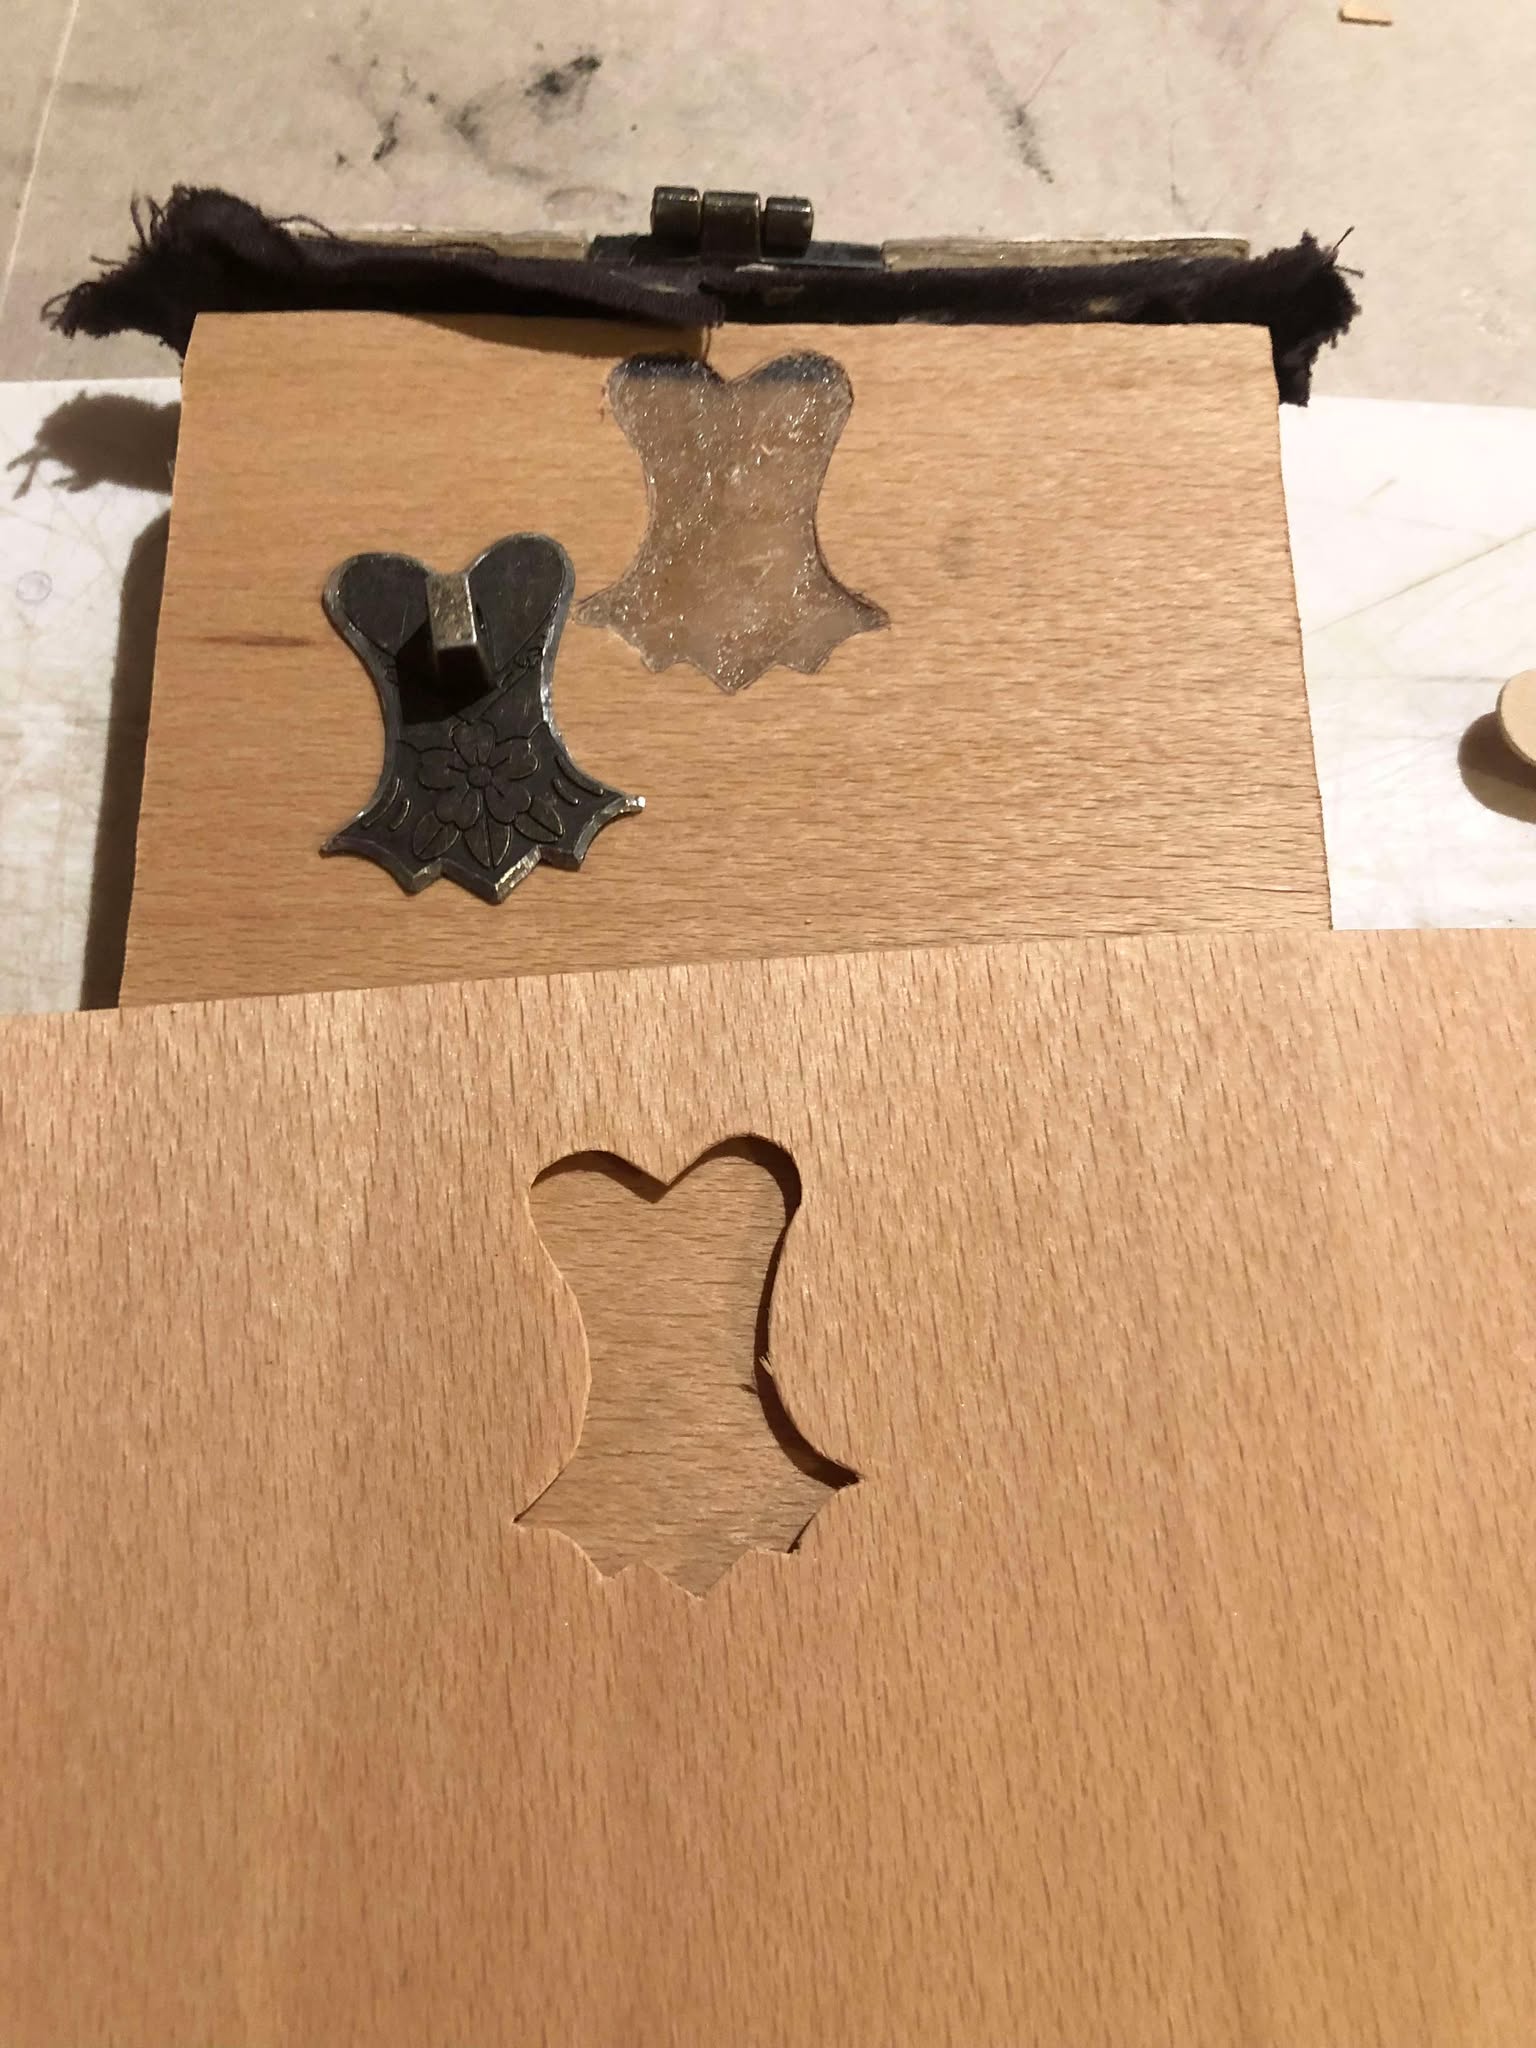
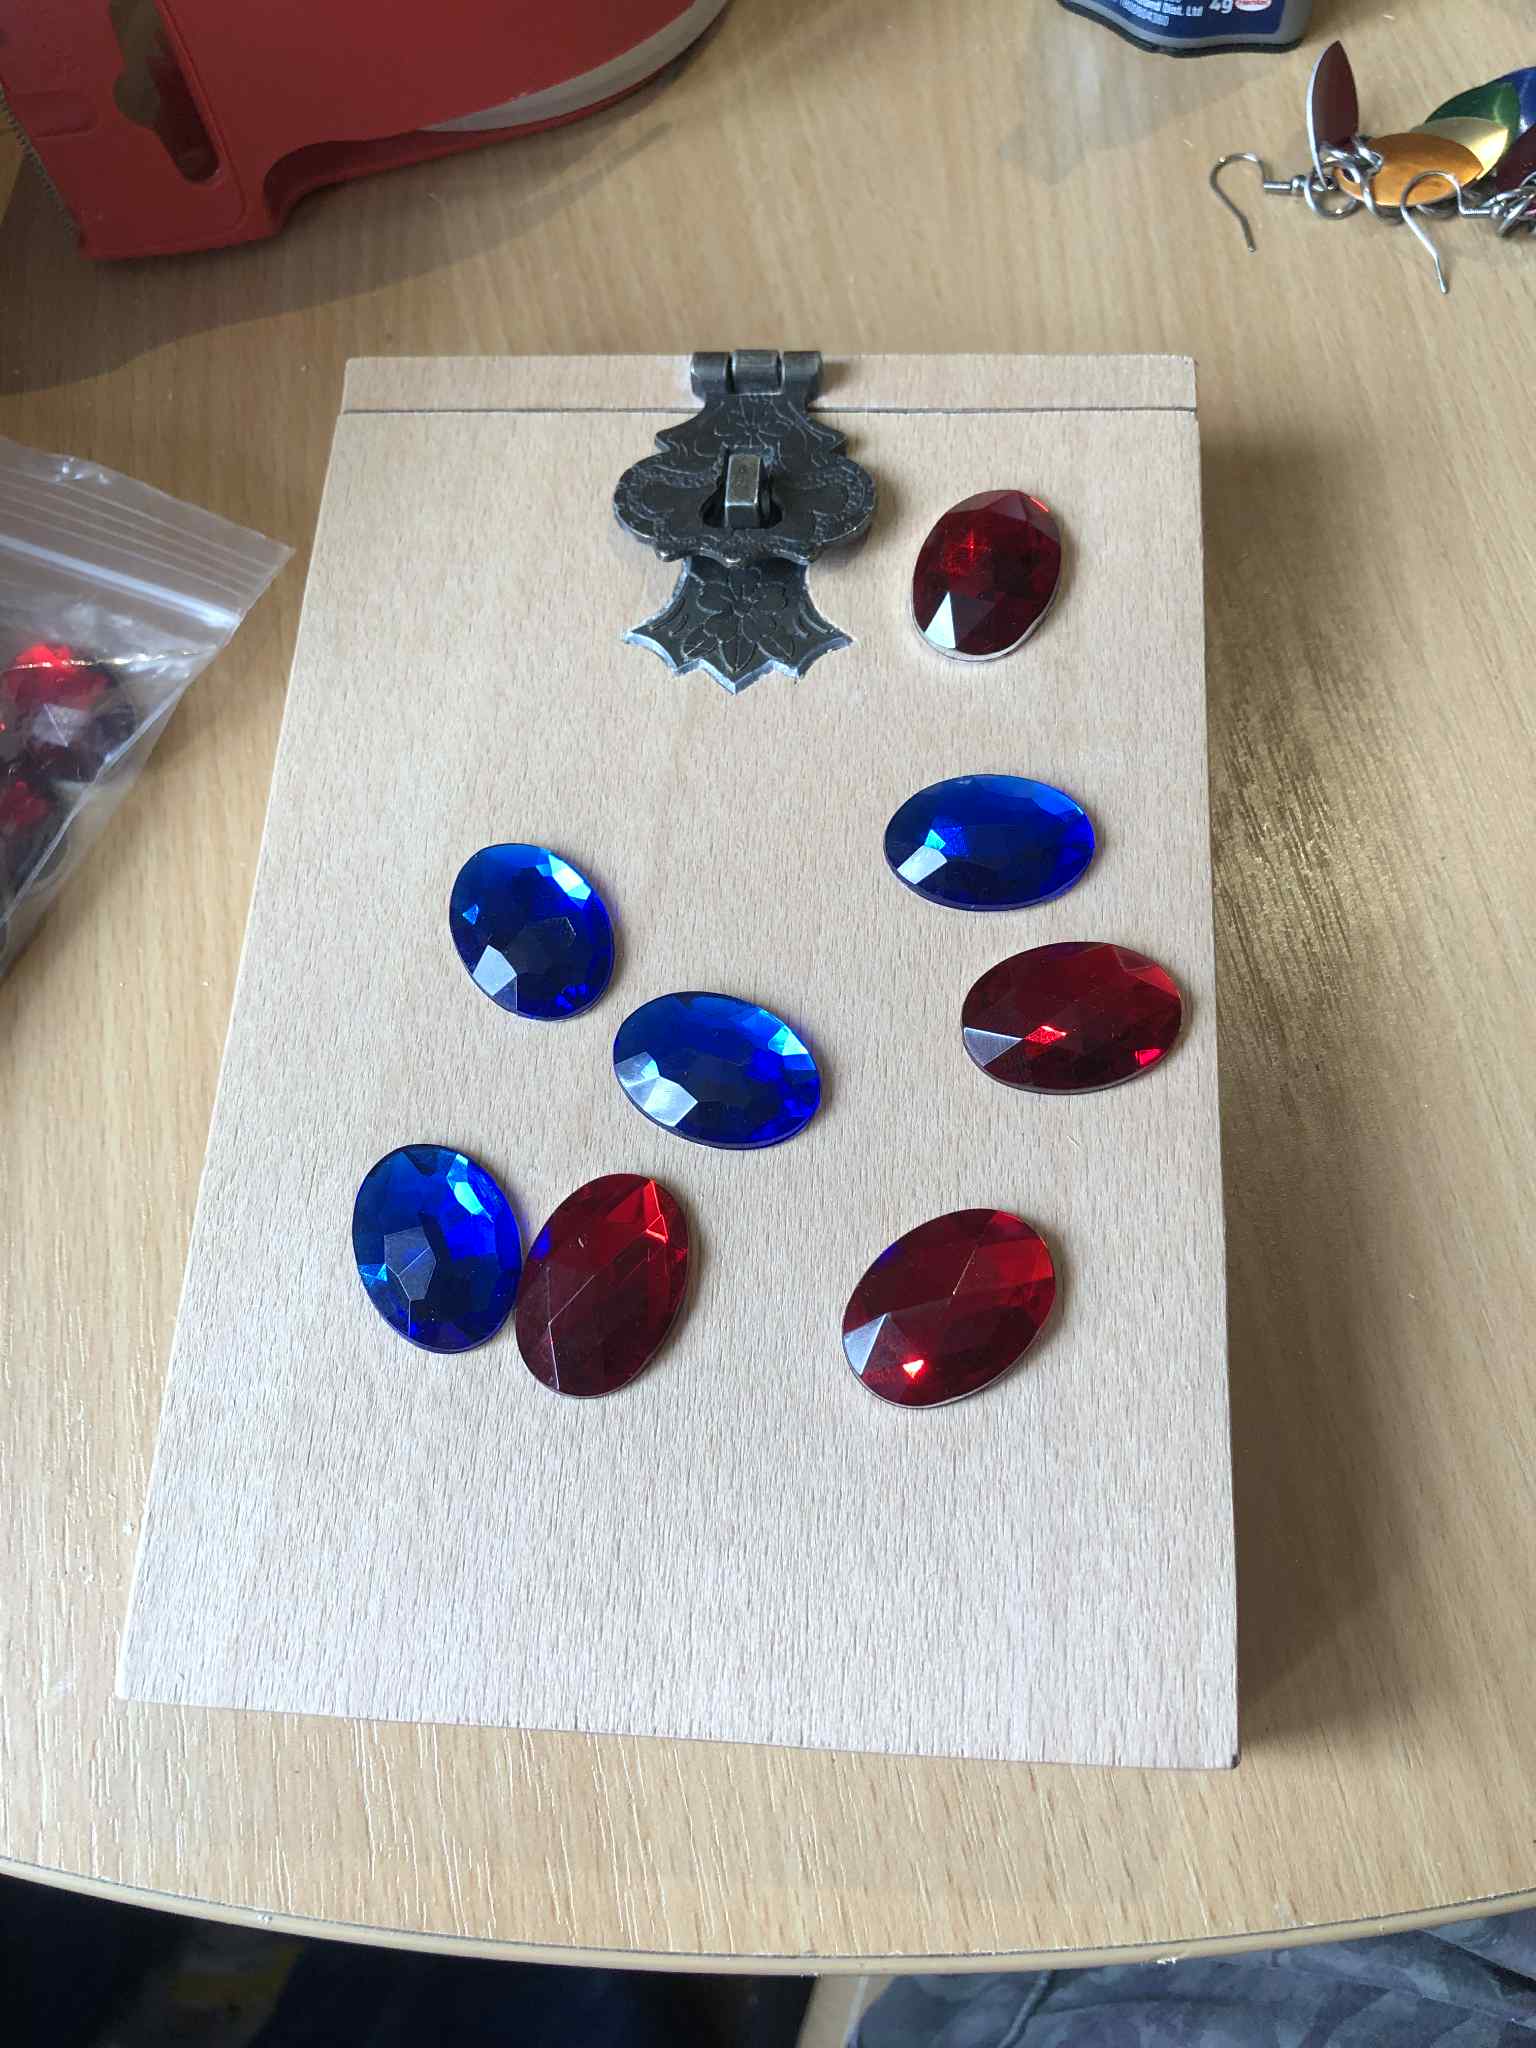
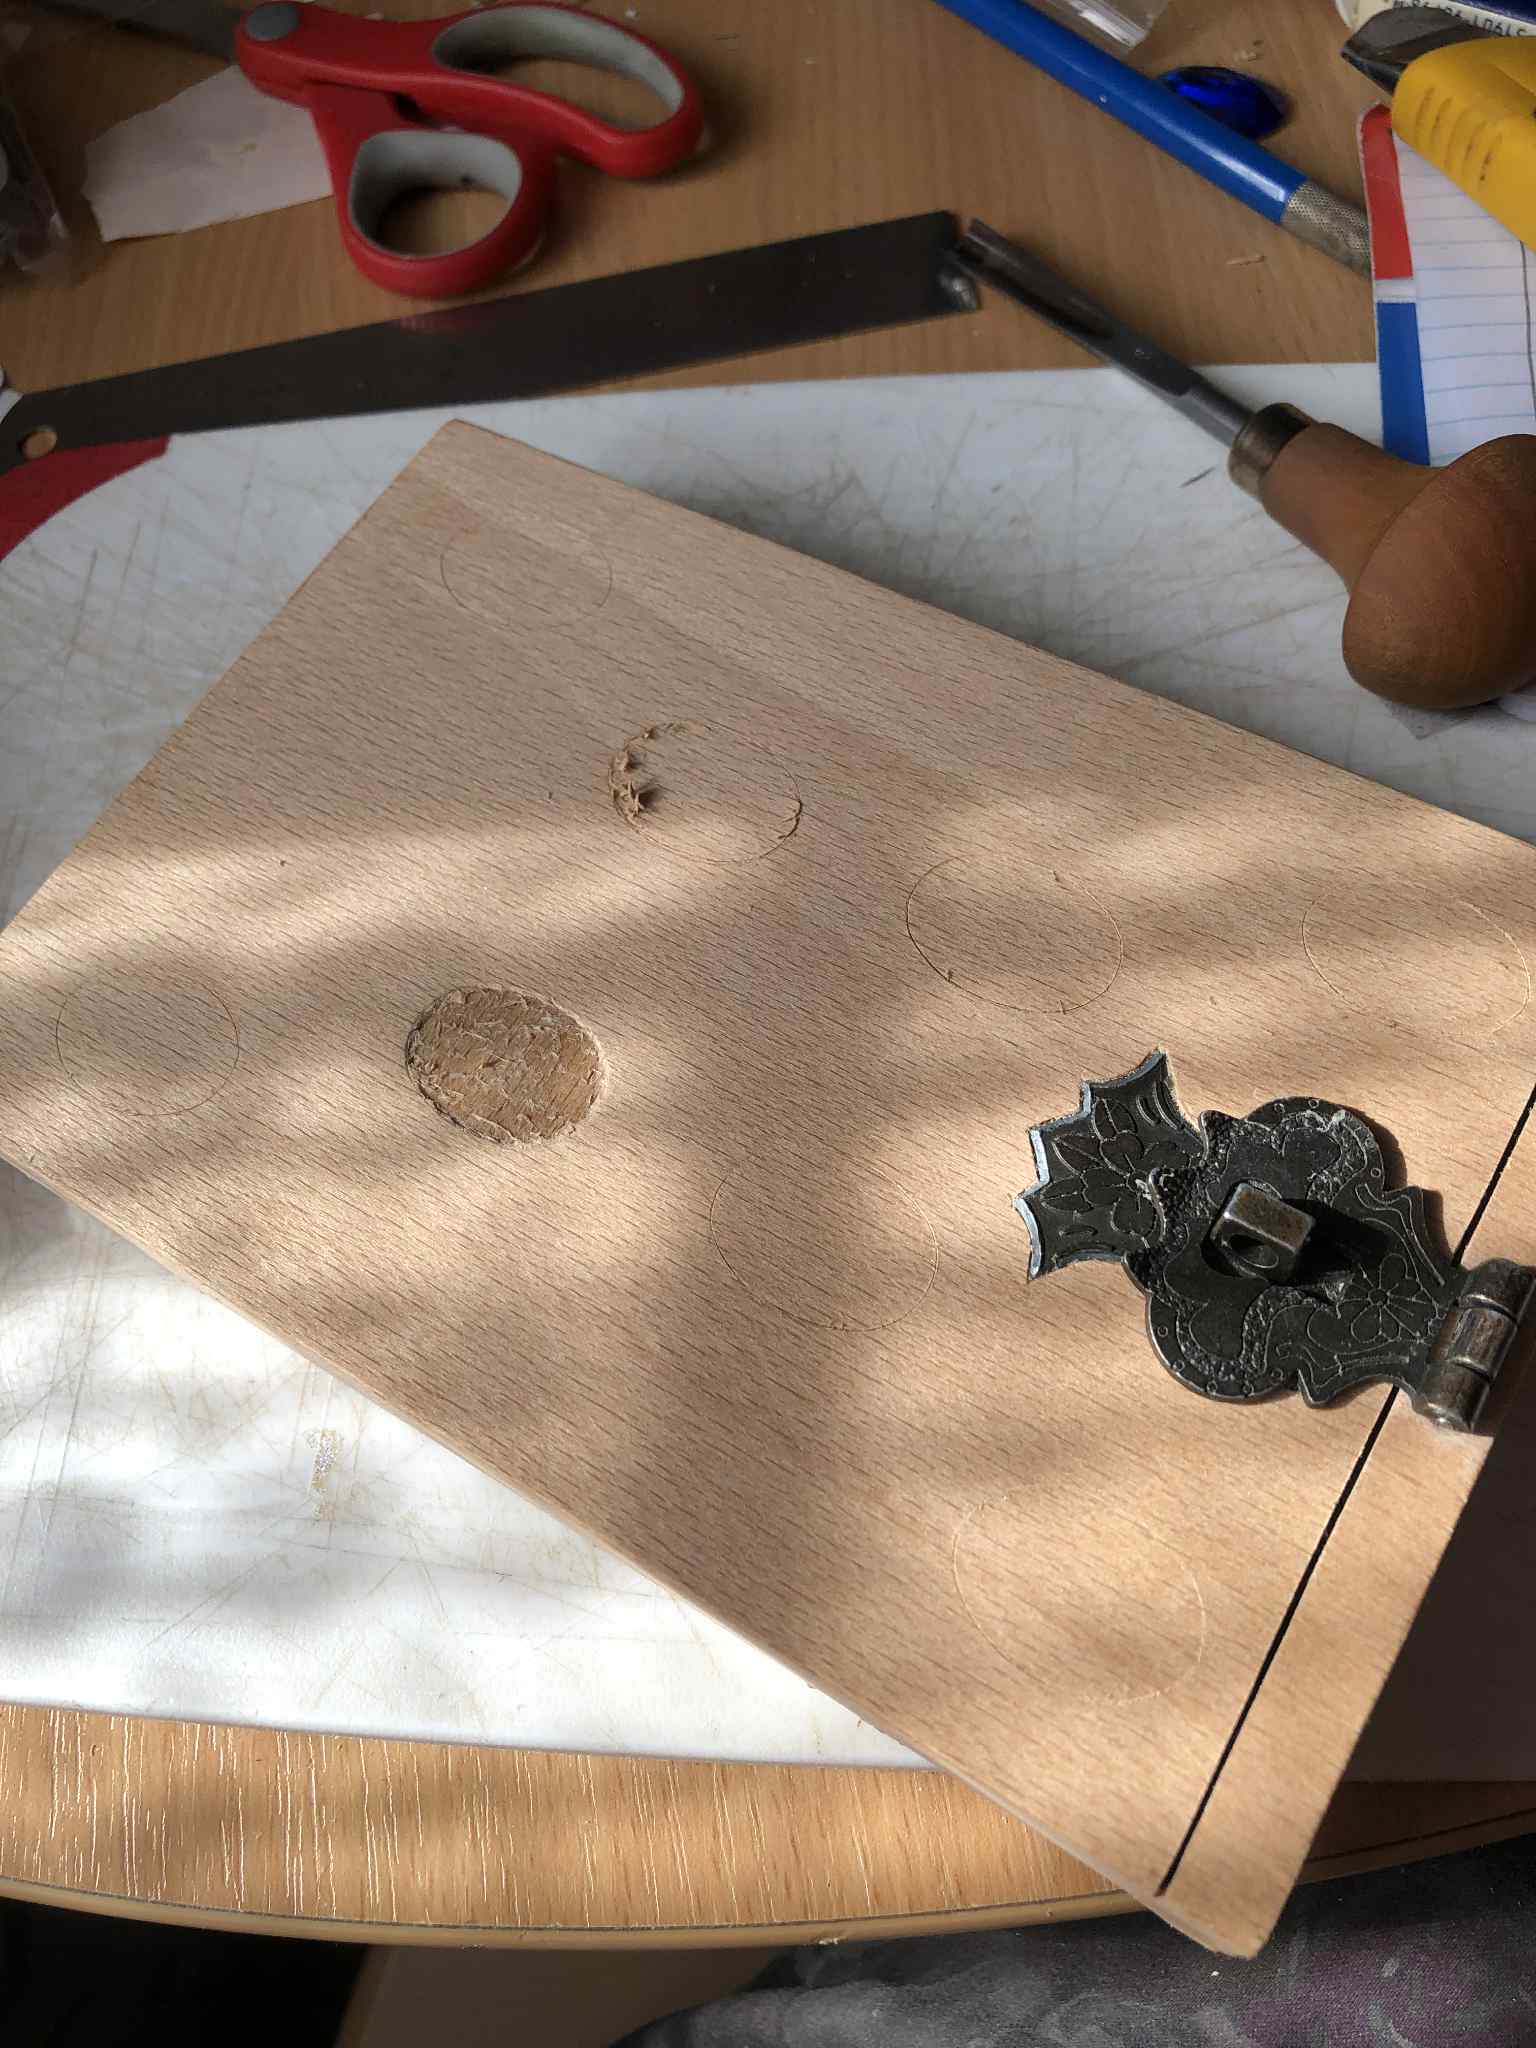
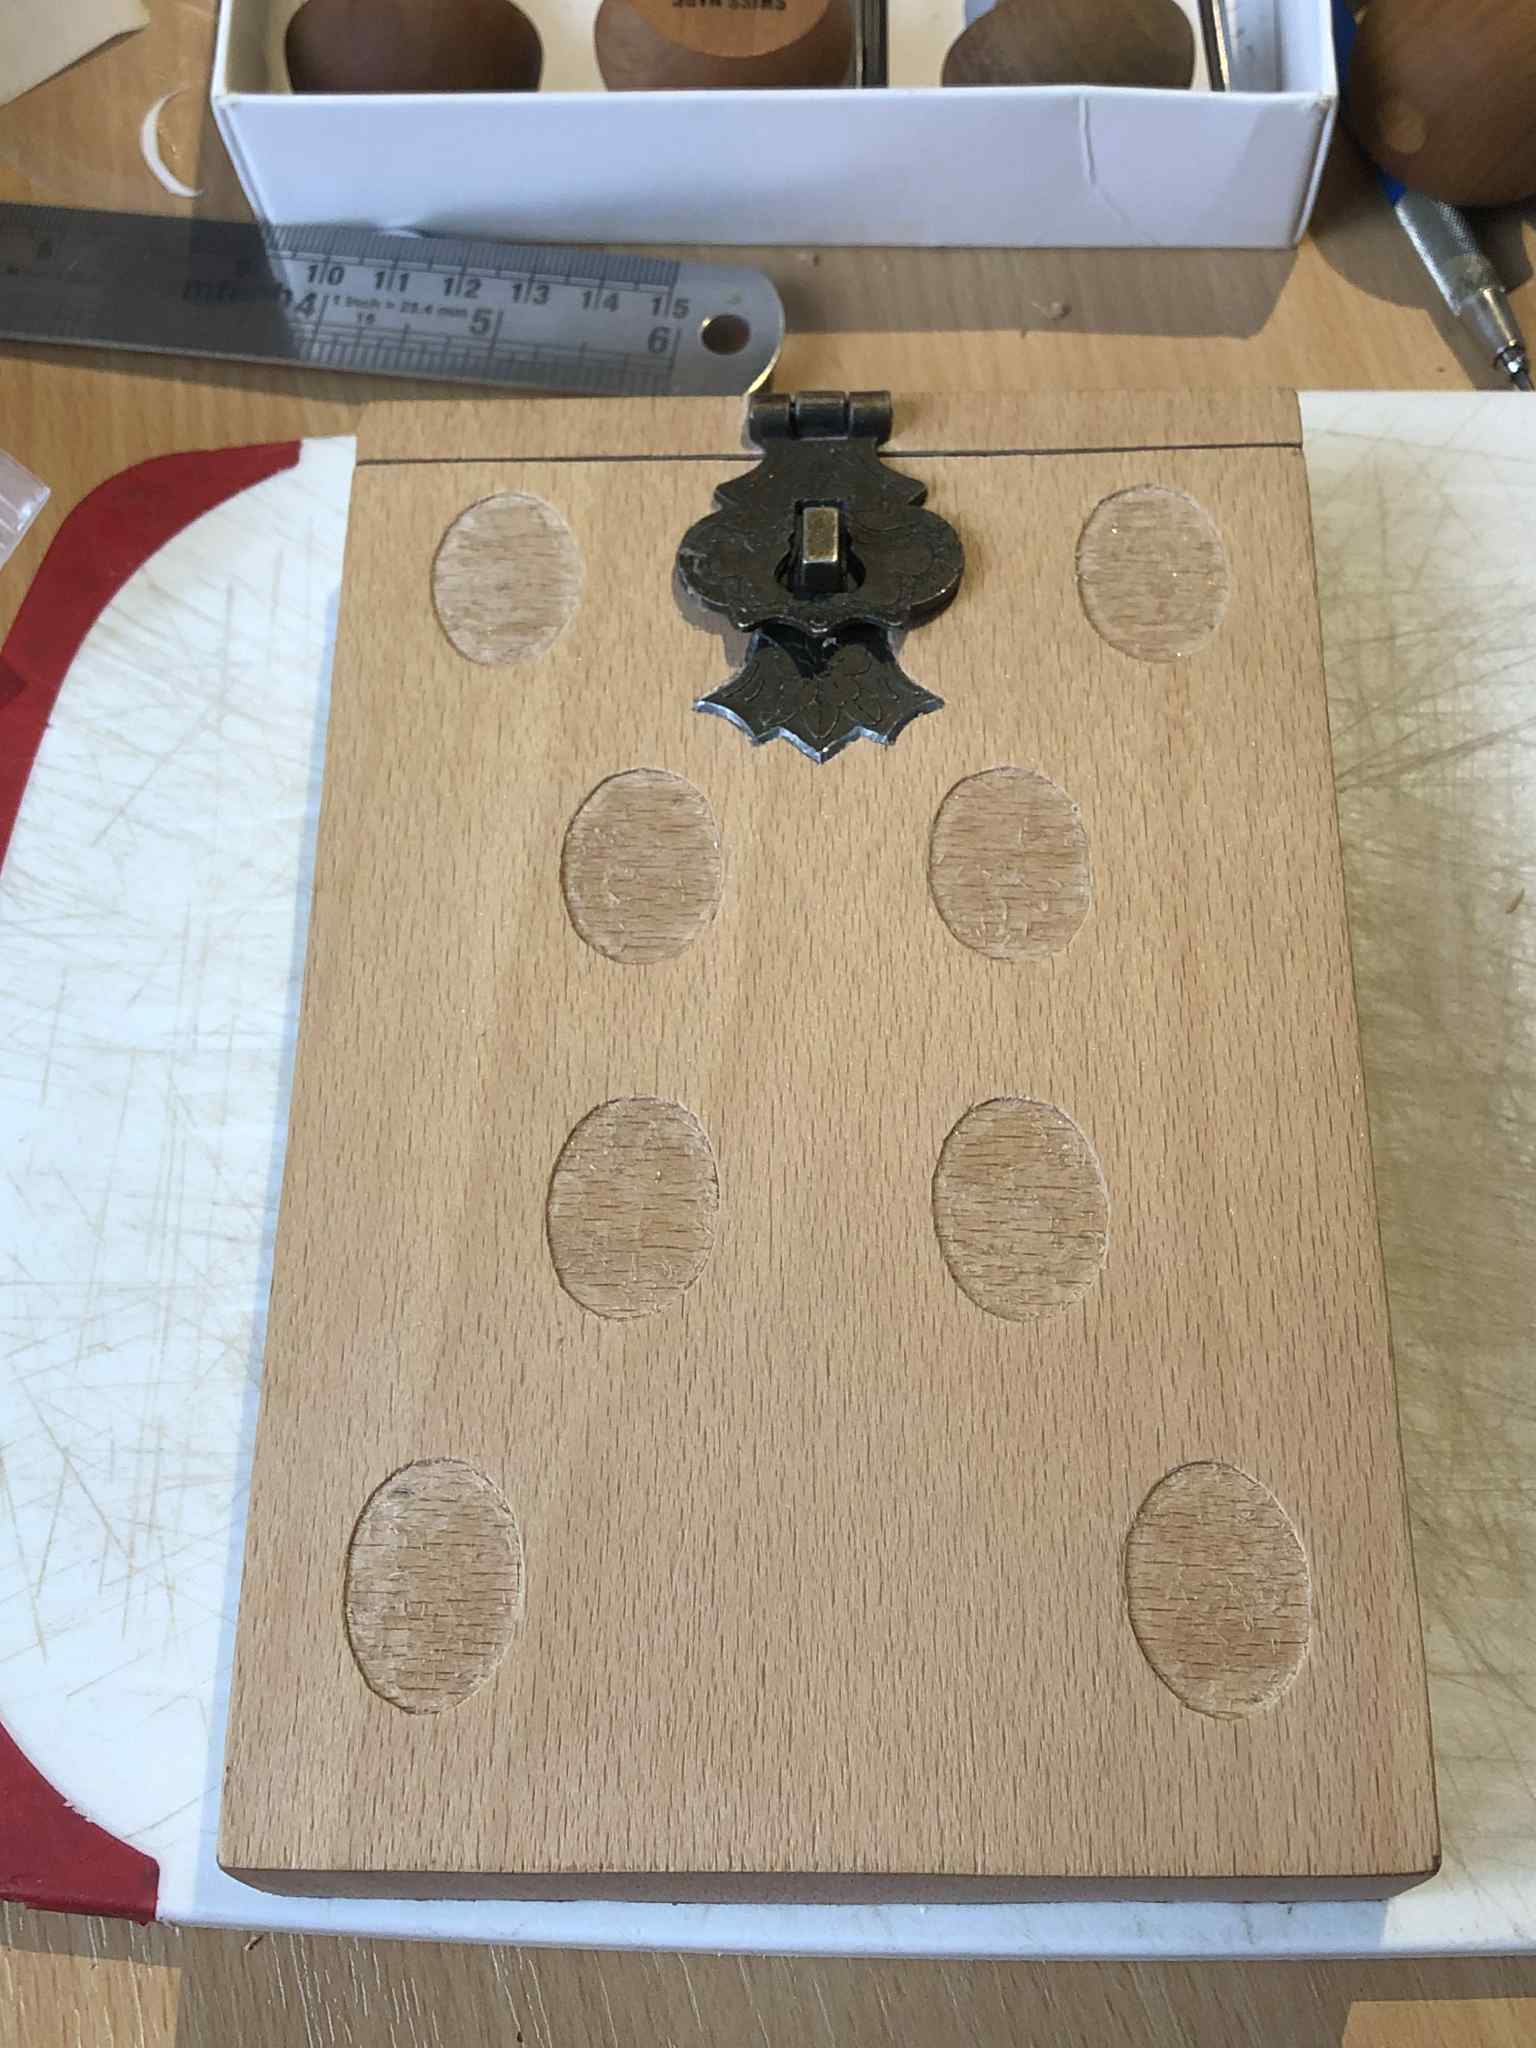
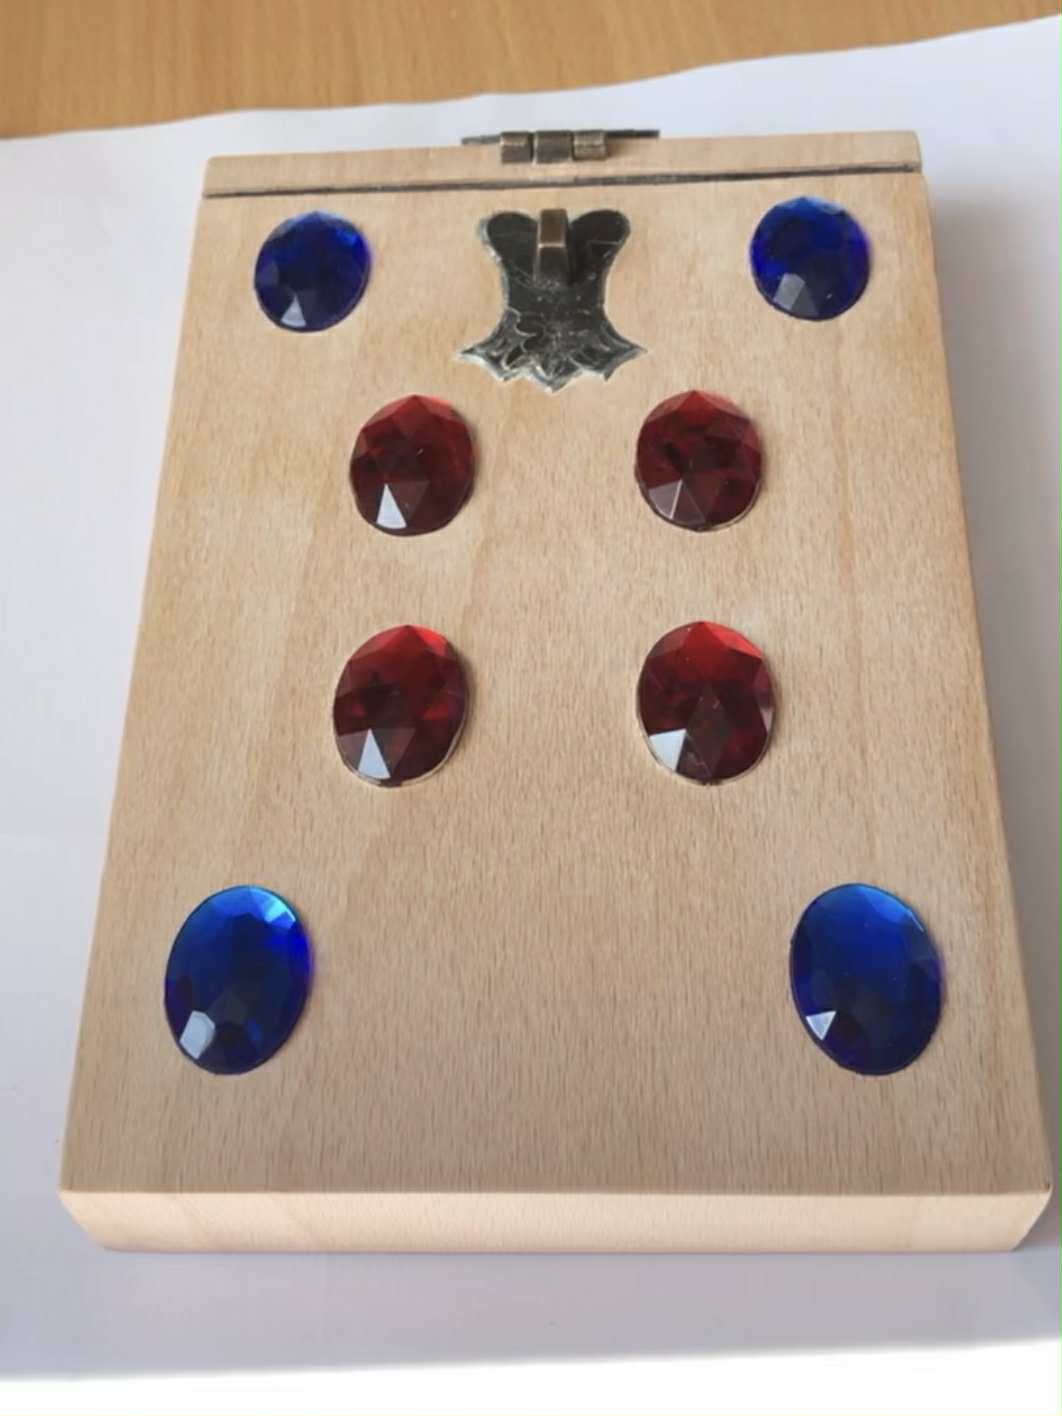
We decided on putting the blues 14mm from the top and 9mm from the side, double-sided taping them into place for now, and then decided on the red. I made sure that, when the lock is on and closed, it would not hit the gemstones swinging around, so it reaches about 2mm from the red gemstones, and the four were put on symmetrically. I then traced around the gemstones with a fresh boxcutter edge, removed the stickered gemstones, and carved out the top layer of veneer inside the traced lines. Thankfully, since I was angling in while tracing, the initial holes were a touch small, allowing me to trim to the gemstone size more exactly and carefully. With those slots removed, we were free to sand the veneer, the final wood preparation step! We sanded it initially with 320 grit sandpaper, followed by 600 grit, and then could finally attach the gemstones! I used some contact cement to glue the gemstones (new gemstones to be fair, there was some scratches on the tracing gemstones) into their places, and another day of drying later we were ready for varnish!!!!
Oh my goodness I was so excited by this point, this project has been in the works since 2021, and we were now in the final stages!
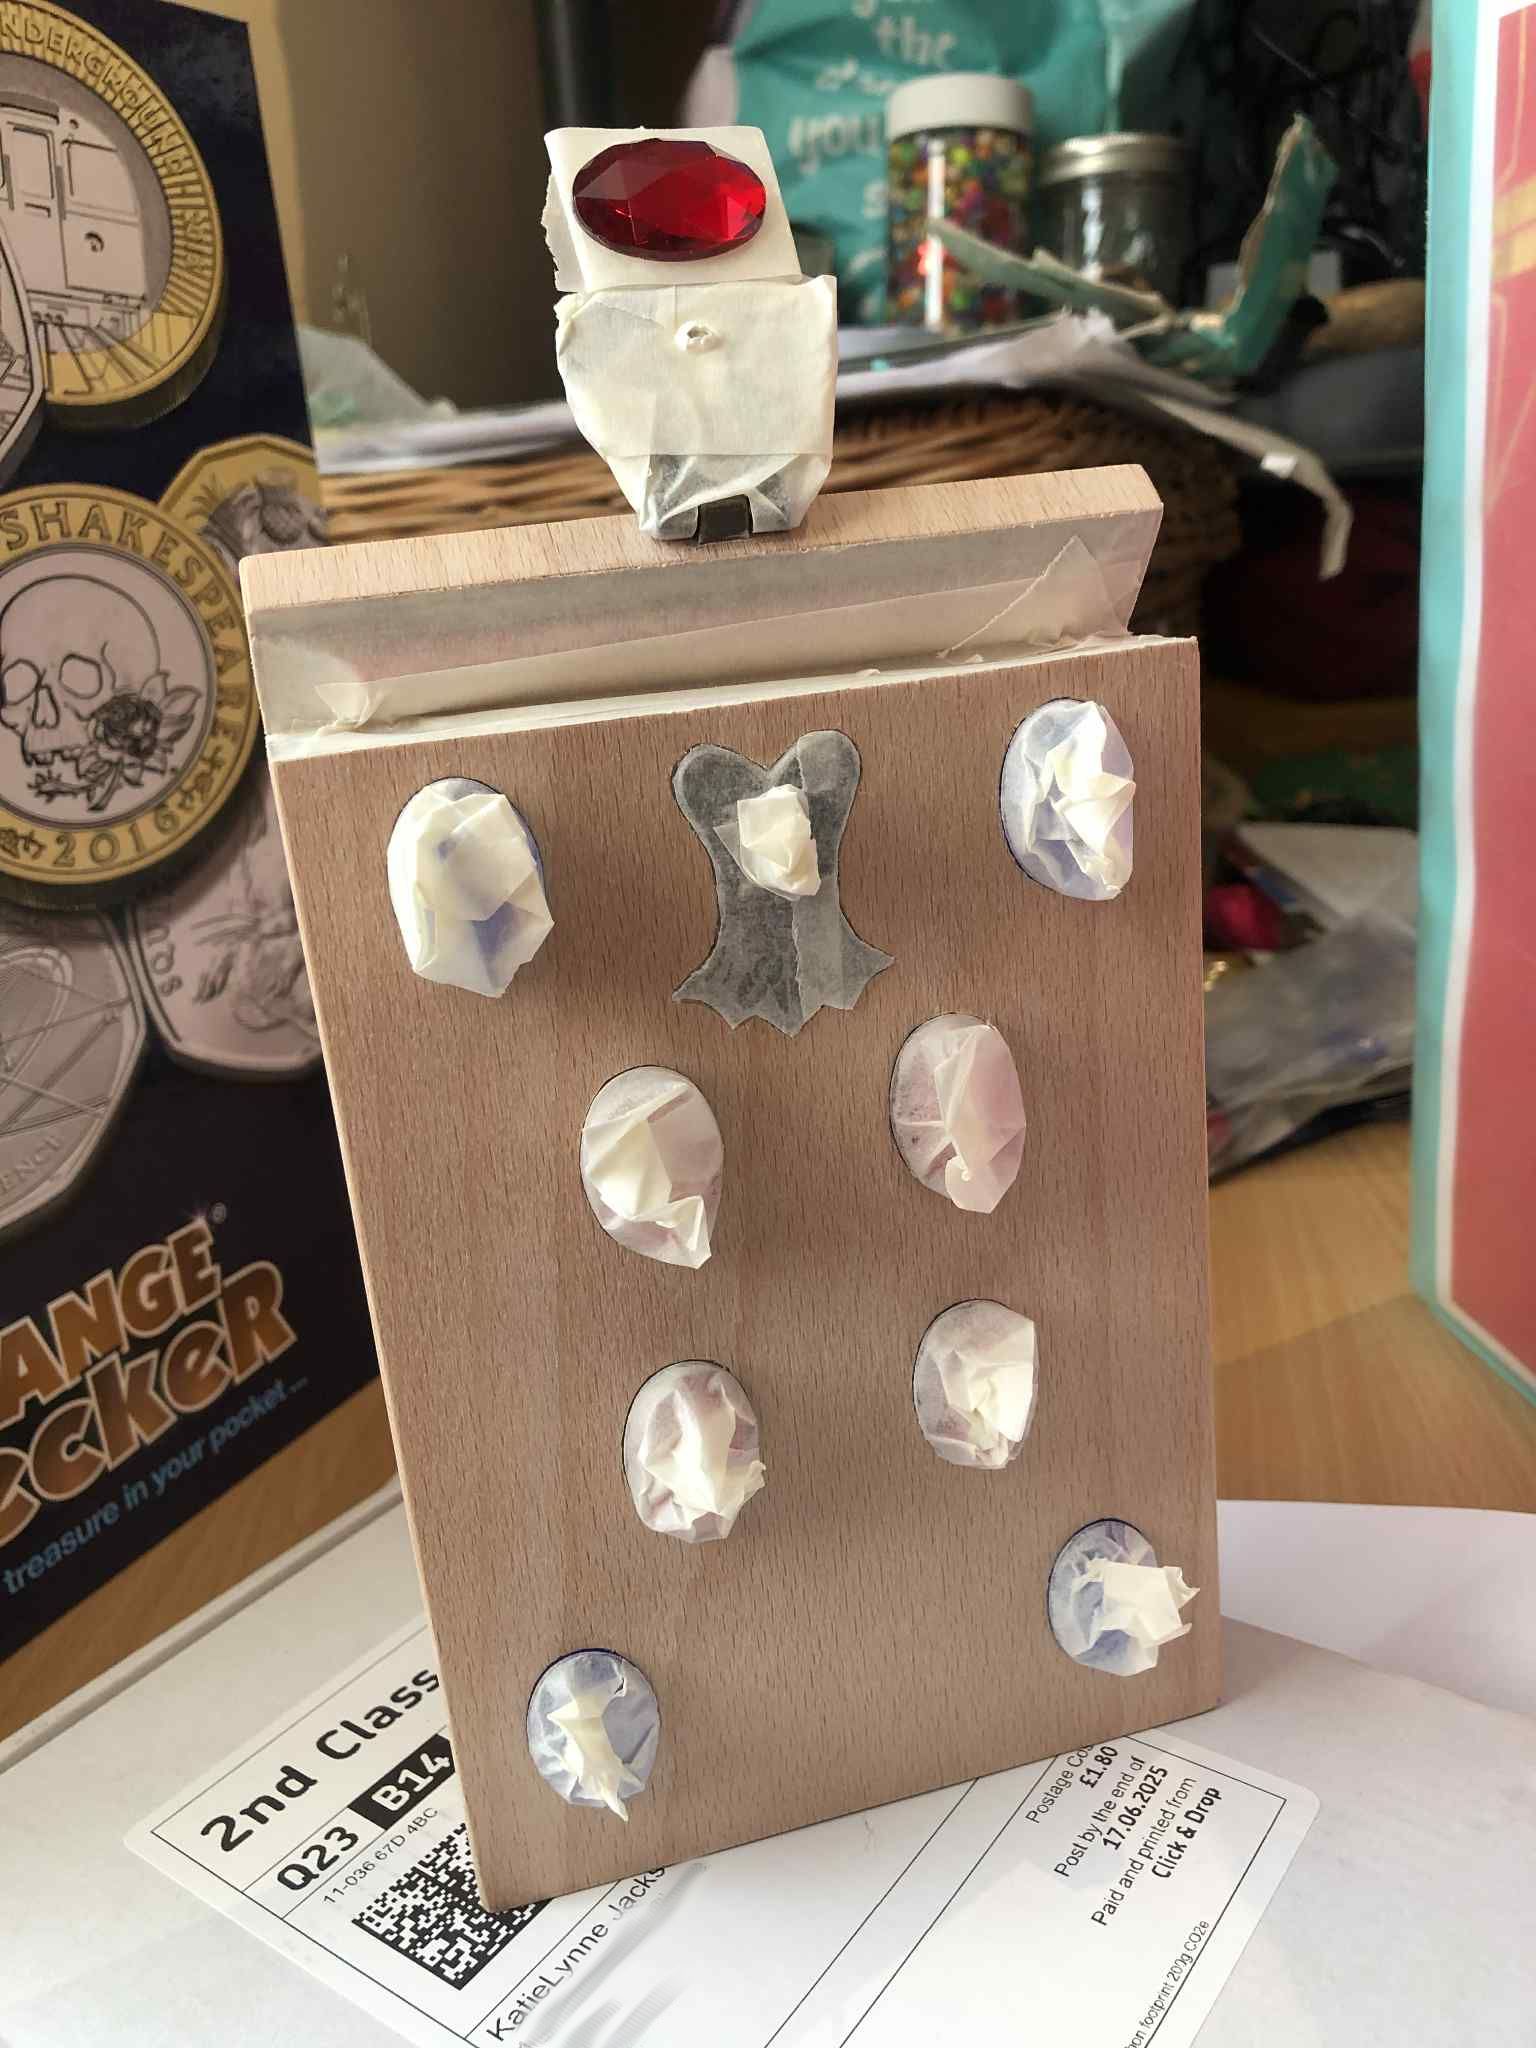
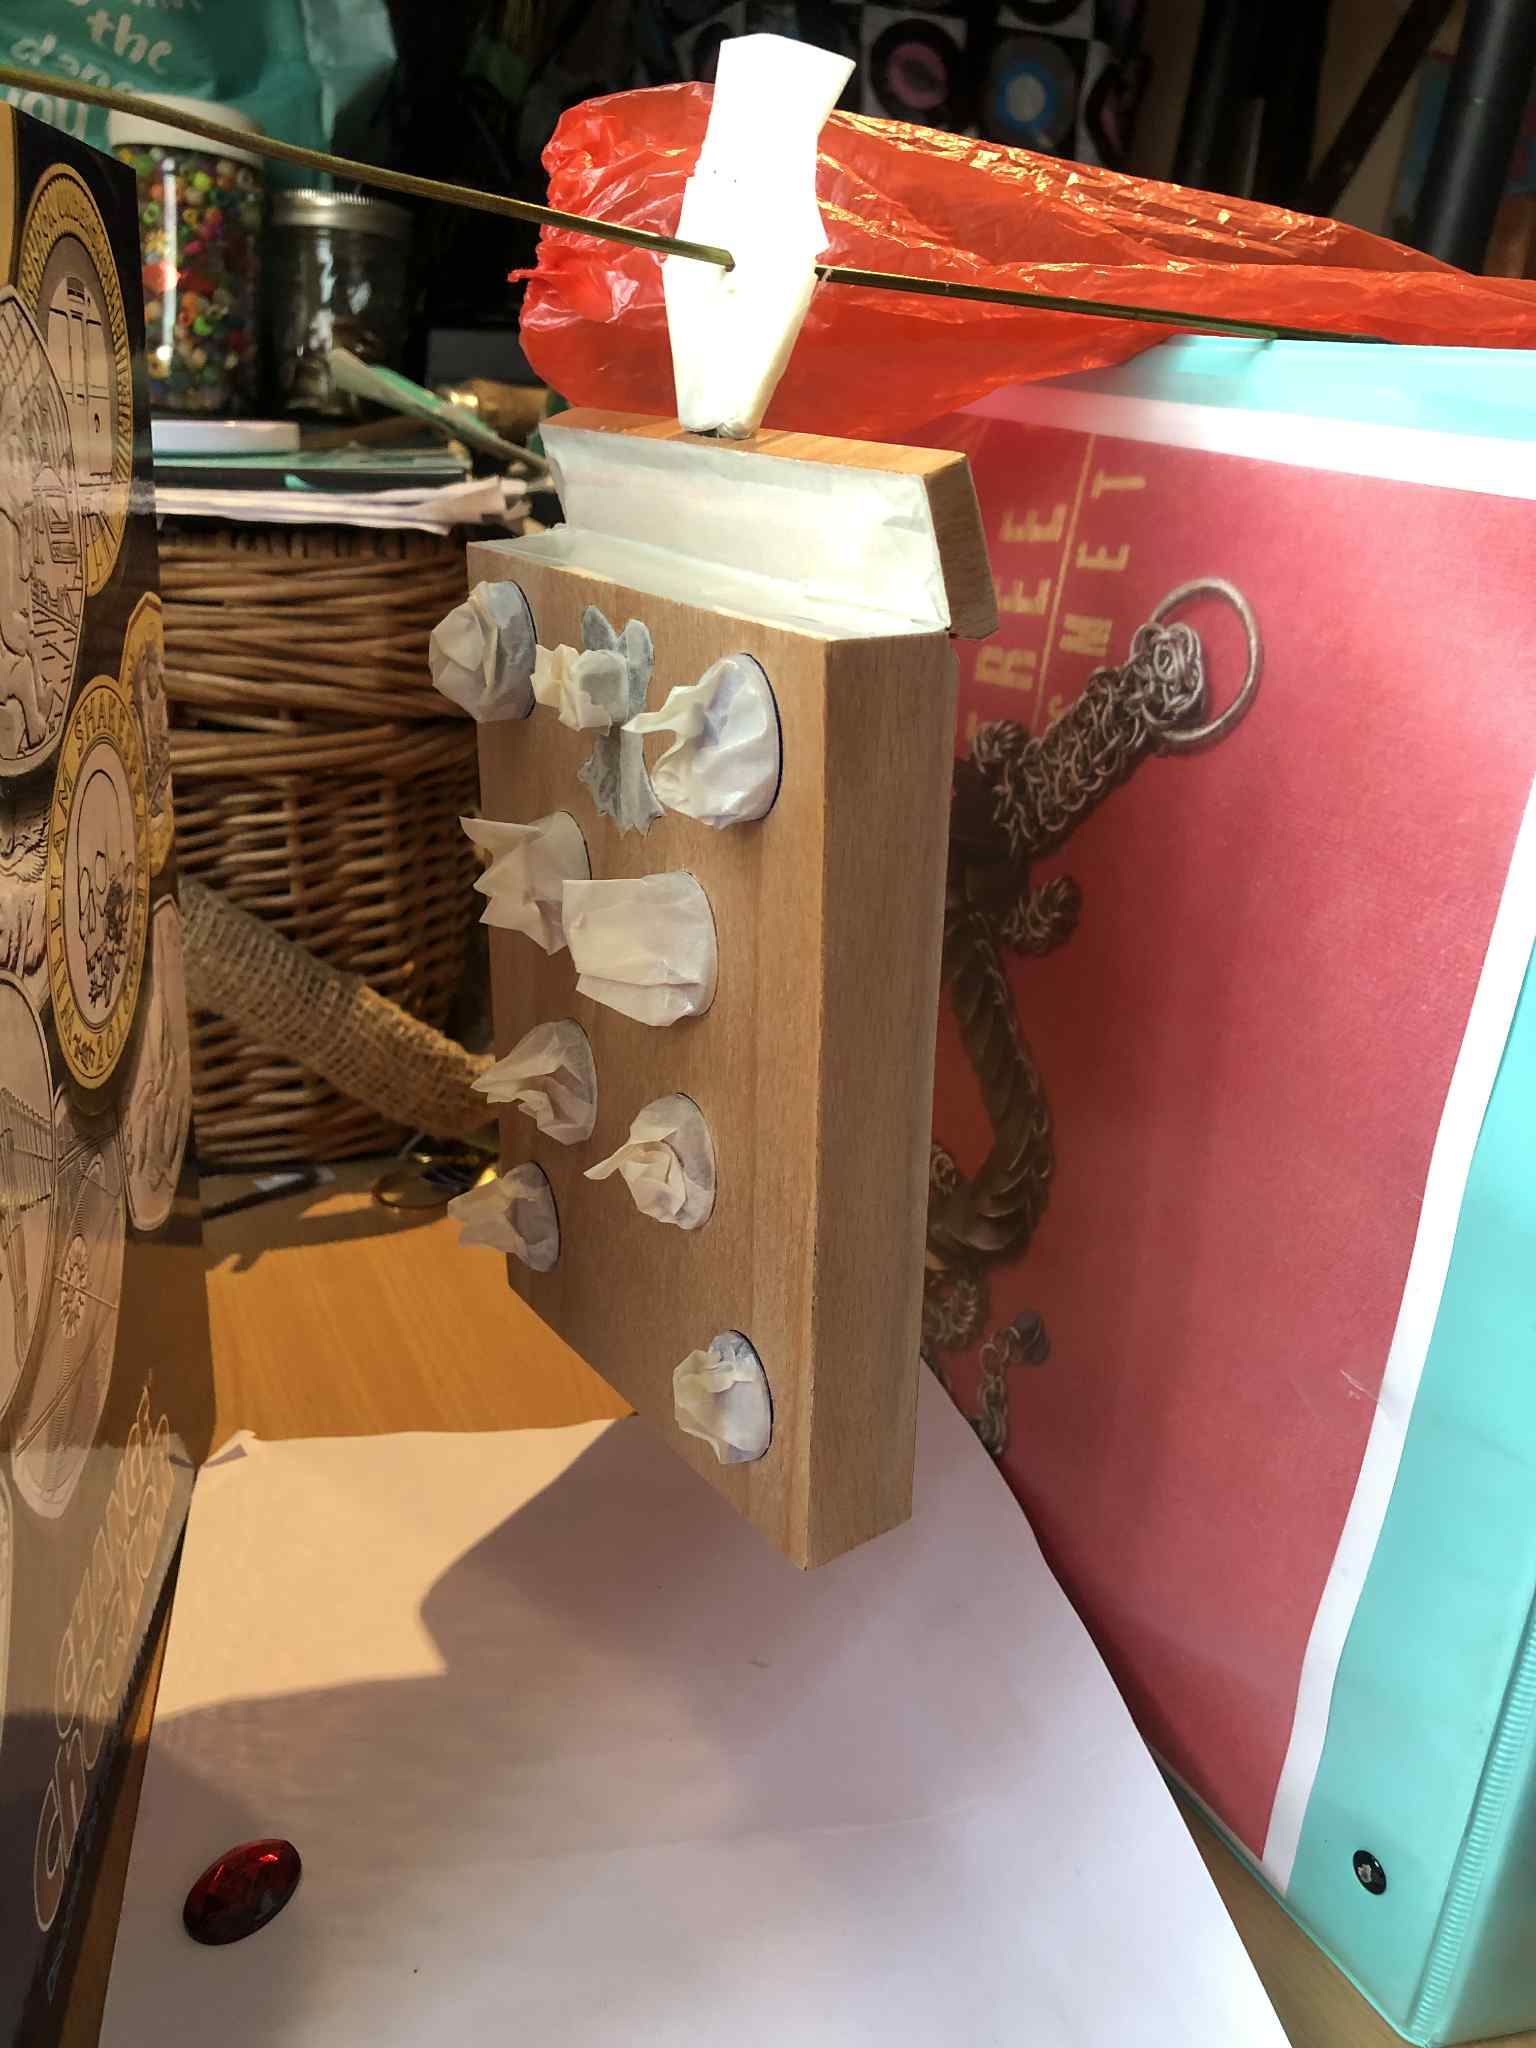
We taped over the gemstones and lock hasp parts, and gave the box its first coat of varnish, just a light coat to start, to seal up the wood and keep from saturating it. I also gave a bit of a heavier coat to a seperate gemstone itself, to see how the varnish will adhere to it, since I imagine the varnish will scratch less easily than the plastic, so we'll see if on layer 2 and 3 we can remove the gemstone tape and varnish coat them too. And the verdict on that is yes, the surface appears clean and smooth, and the surface is not nearly as scratchable as the raw plastic! And so, for the final 3 layers of varnish spray, we removed the tape from the gemstones, and then had but one step left to do once that had dried.
For the exposed edge of the veneer, right around the opening, I'd debated whether to include that in the spraying, but thought that would allow for varnish to creep past and get into the fabric of the inside. So I decided, especially since it dries to a very light brown as well (and especially so for a very thin bead), I traced the exposed edge with a bead of wood glue, sealing the two layers together and strengthening the end grains, and let it dry. As well, I went and touched that bit of veneer directly under the lid hinge with varnish on a very thinly shaved toothpick to ensure that the surface under there had a varnish coating as well.
And with that final touch, the project was DONE! Every bit, every surface, from it's original paperboard inception to the clean, glossy wood finish, with its hidden compartments and red velvety lining, the Box of Many Things is complete!!! Show-and-tell video and general playing-with video can be found here and here (both YouTube links).
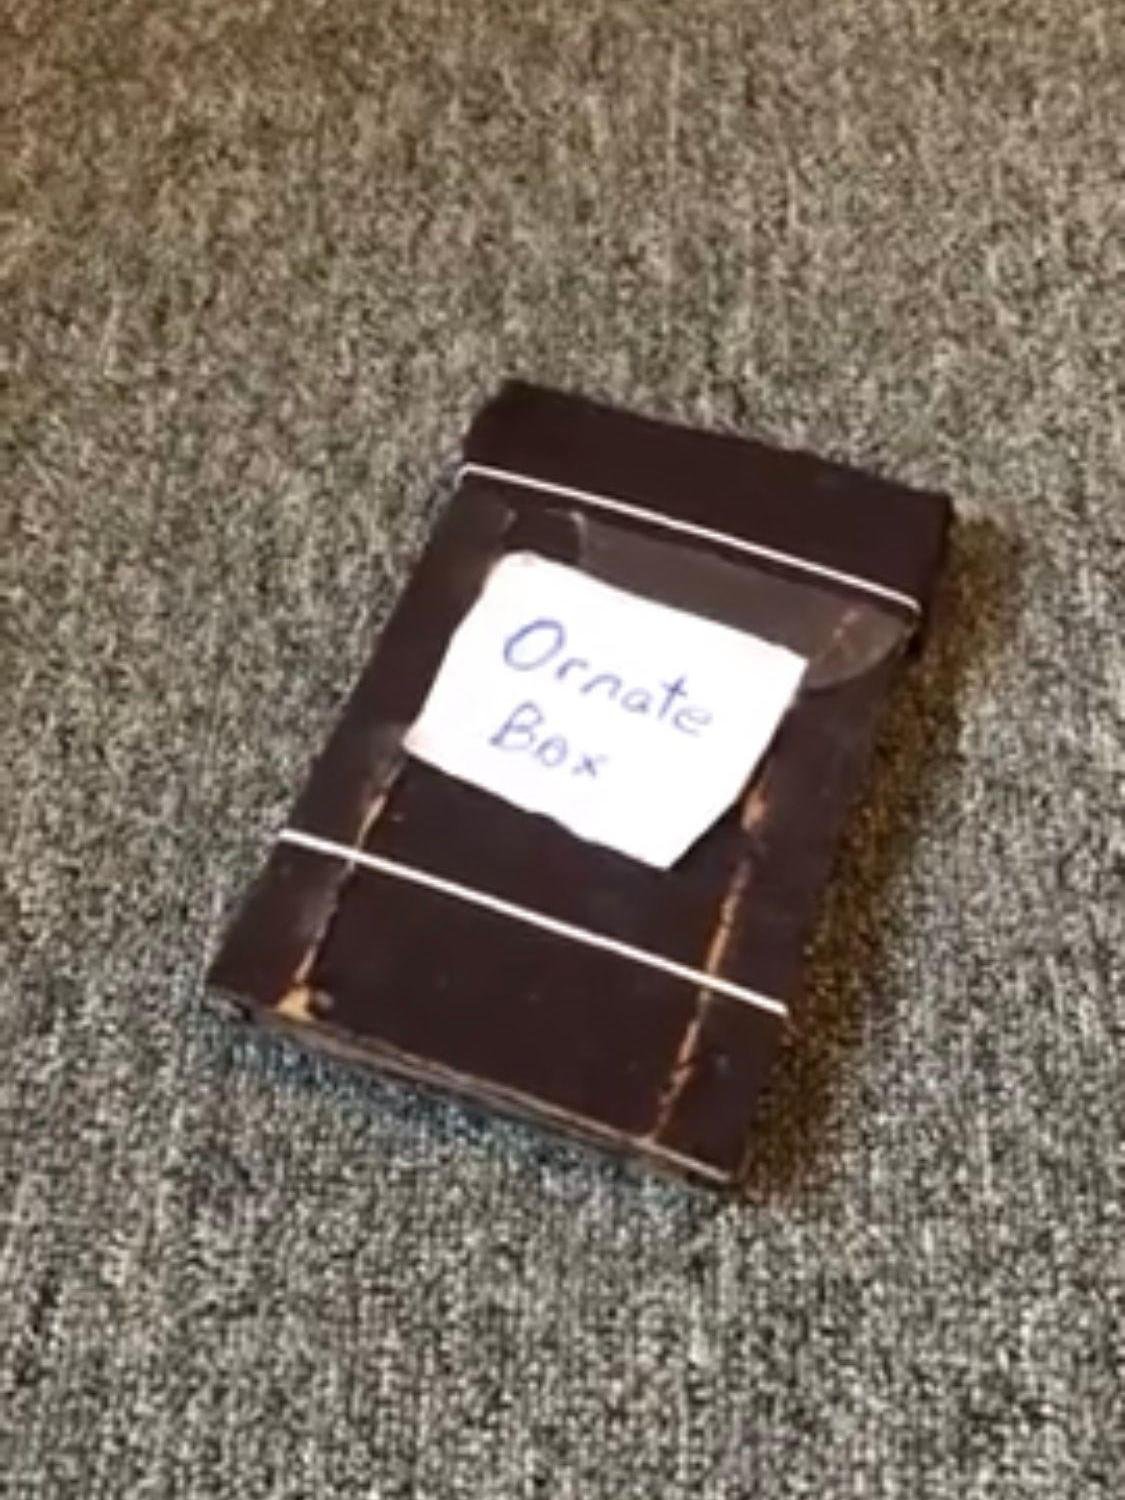
You come across an ornate wooden box with a lock on it. Picking the lock, it contains what appear to be approximately 13 or so tarot cards. What do you do?
Interior finished August 27, 2021
Exterior finished June 21, 2025
Did you want to draw a card from the 13 or the 22 card deck?
Or perhaps the 66 card Deck of Many More Things?


